 Search for specific products and use our comparator
 Search for a ressource in our library
During the vegetative stage your going to need to transplante you plant at least once. The question is when to do it, and how to do so.
The second thing you will encounter are nutrient issues, most likely Nitrogen deficiency. It is the most common issue during the Vegetative stage, luckily easy to fix too.
Let’s get into it
Transplanting your Marijuana plant
Here we’re going to cover
When to transplant your plant
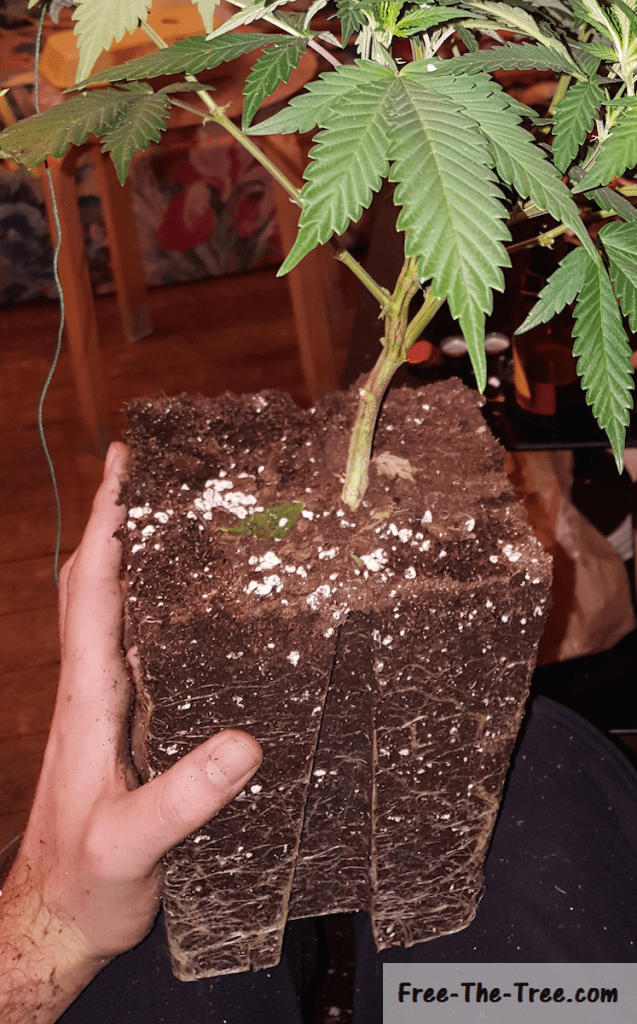
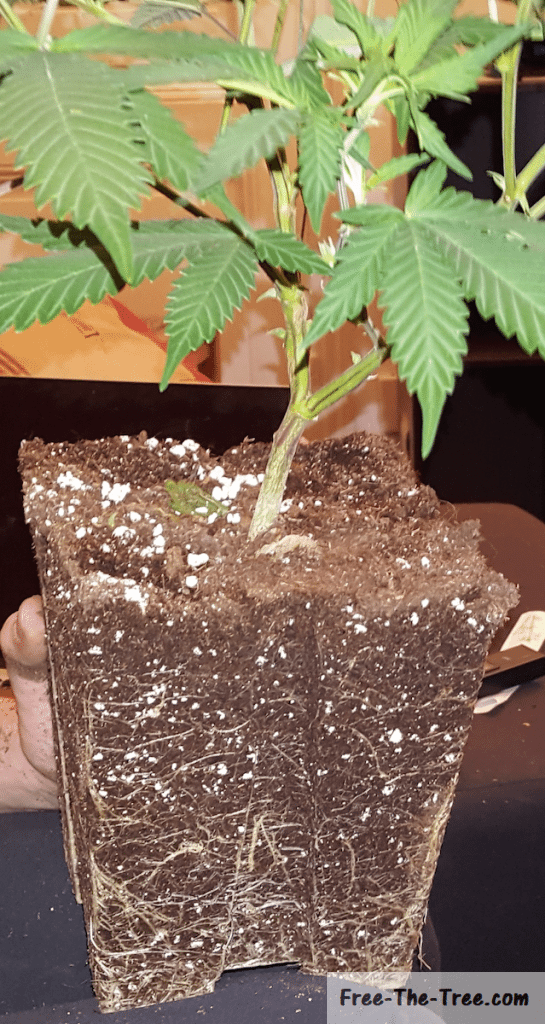
You want to transplant to a new pot when the roots have fully invaded the soil and are ready to grow into a new space.
How to find out when to transplant easily?
I find that the best way is to track how often you have to water your plant. If you’re watering every day or two then the roots have invaded the space and you should be transplanting soon.
How to transplant your Marijuana plant
- Make enough room in the soil for your plant.
If use one of your current pots to make the whole your plan will fit juuuust perfectly 😉 - Tap with your nails along the sides of the pot, on all 4 sides and all levels. This will get the roots loose in case they’re stuck to the pot
- Turn the plant up side down and try to slide the pot off, it should come easily. If it doesn’t don’t force it, just go back to step 2.
- Place the roots into the space you’ve made in the new pot.
It’s important to note that the best time to transplant is between 2 waterings, when the soil isn’t too humid, but not all dried up either
What to do after transplanting your plant
The most important thing here is to mainly water the new soil. Just like when you got the cuttings into the soil, you want your roots to invade the new soil as quickly as possible.
The best way to do this? Keep that soil more humid than the older one, so when you water your plant focus on it.
I find that adding a little more root booster at this times give a nice little boost to it.
During the next week or two you will see the effects of having more room, she’s going to love her new home!
Now that you know how to transplant you Cannabis baby, let’s get into the deficiencies and other issues we encountered during her vegetative stage.
Deficiencies during the Vegetative Stage
During this time period we got 2 main issues. The first, Nitrogen Deficiency, is one of the most common deficiencies during growth. The second, Nutrient Burn, is pretty common when you’re a noob, and even not so noob, when you don’t know your strain.
Here’s how to spot each and recover:
But before we start, ask your self these 3 questions:
- Has you pH been around 6 and 7 your last waterings? (N°1 source of problems)
- Has you’re grow space been under 30°C (85°F)?
You’re good on both fronts? Alright let’s get going.
In this section we’re going to cover:
- How to spot Nitrogen deficiencies
- What is Nitrogen deficiency
- How to fix Nitrogen deficiencies
- How to spot Nutrient burn
- How to fix Nutrient burn
- What is Nutrient burn
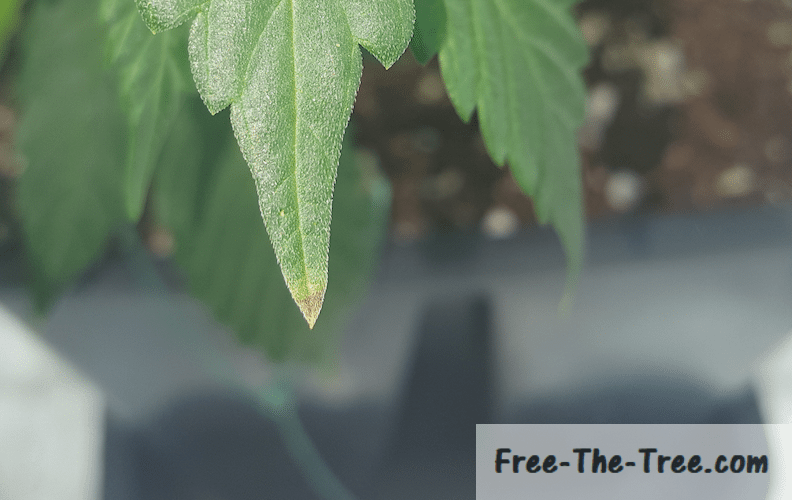
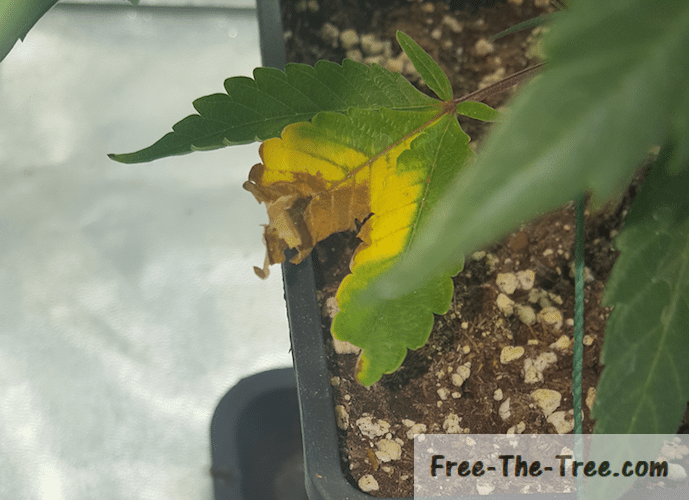
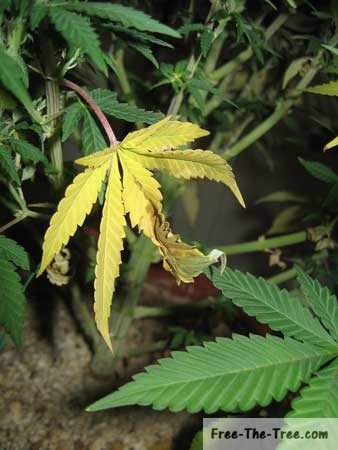
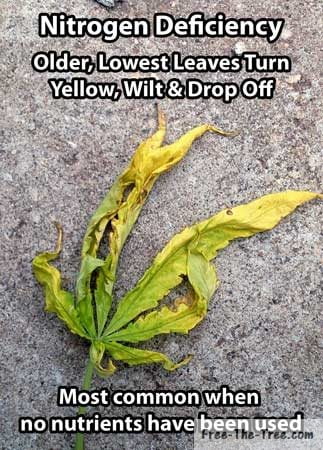
How to spot Nitrogen Deficiencies?
- Are the bottom leafs dying first?
- Are the leafs turning yellow then brown before dying?
- Is it starting from the tips of the leafs, center first?
If you’ve said yes to all 3, it’s most likely it!
So why does this happen?
Basically you’re plan needs nitrogen to make new leafs and branches. If she doesn’t have enough in her environment then she’s going to take in her stock, the leafs.
Since the bottom leafs have less chances to get direct sun light, they’re the first one’s to go (makes sens).
Now during the Vegetative Stage this is definitely something you want to avoir, you need her keeping as many leafs as possible! During the mid/late flowering stage it’s actually normal and something you want.
Wondering what all the stages of marijuana’s life are? Check out our article about it
How to fix Nitrogen Deficiencies?
- Get Vegetative stage growing mix
- At you’re next watering add a little more than the minimal brought forward on the label to your water.
- Check the pH of the water. As long as your pH is over 5.5 nitrogen will be absorbed, but remember that the sweat zone is between 6 and 7.
- During the next days keep an eye out, if the spreading has stopped you’re good.
Now remember:
- Check the pH after adding the ingredients but before you thoroughly shake the mix, although you should have mixed it with a stick a wood or so.
- The leafs that suffered damage won’t recover. Although you might want to remove them I wouldn’t do so except if they just fall off.
Why you say? They still have some stock in them, so the day your plan has another deficiency she’ll take from this one instead of attacking one of your clean leafs.
Now at the other end of the spectrum, nutrient burn… I’m covering this right after the Nitrogen Deficiency since that’s how it happened, by fixing that issue I had open a whole other one, and what a pandora’s box
How to spot Nutrient Burn?
- Did you recently water your plant with extra nutrients?
- Are the tips of the middle of your leafs starting to become black/brown?
- Does it progress from the middle down through the leaf
- Do you start to see it appear at different area’s of the plant and spreading quickly?
If your saying to yourself, yeah that’s exactly it, chances are you’ve given her too much nutrients, and now they’re killing her.
Do you feel like all is lost? No worries here is how to get out of the situation.
How to fix Nutrient Burn?
In order to fix nutrient burn you’re going to need to flush your soil, that’s the only way. What do I mean by flushing your soil? I mean at least getting 2 times the volume of you’re container in plain, pH’ed water through your soil.
You heard me right and it’s important, you can’t just add a couple of liters in there, or else you’re actually just going to let more nutrients out, causing more harm then good.
So, what do you need to flush your soil?
- A recipient that can hold 3/4 times the volume of your container in water
- 3 times the volume of your container in plain, pH’d water. Get your pH around 6.5
- An area where you can have everything near
Once you’ve got all of this ready get flushing.
How to flush your soil:
- Place your plan within the empty recipient
- Poor 3 times the volume of your container with the pH’d water you’ve prepared
- Get your plants back into the grow room
During the next few days you might see your plant get droopy with signs of over watering but it’s normal. They’ll get better as the medium dries out.
Now that you know how to identify and fix this issue with your Marijuana plant, let’s look into what this is exactly
What is Nutrient Burn?
Just like taking too many vitamins is harmful to us humans, too many nutrients in the soil is harmful for your plant.
The roots, doing their job, will take in all these ingredients and send them up to the “out of the ground” section of the plant where it is used for different tasks, if the plant doesn’t need it she stores it in here leafs. When there’s no more “room” within these leafs, well that’s when the issues arrive. The access ingredients having no where to go from there start killing the leaf.
This is the reason why we see it start from the extremity of the leaf and slowly grow inward.
Well folks that’s all for this one, be safe and grow easy!
This plant was actually my first personal one, so the experience was full of learning, multiple mistakes were made, spent hours scouring the internet trying to find the answer to what was my issue, between forum threats and sites pushing their products, didn’t what to do.
That’s actually when I first thought of making a site regrouping all the info we’ve gathered through time and experience. Couple years down the road finally making it!
So let’s get started on these first weeks of the vegetative stage of this Big Buddha Cheese clone.
In this post we will cover :
Getting the cutting into soil
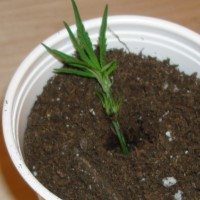
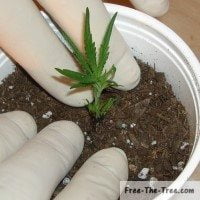
However you got your cutting going, your going to have to get her in a new pot.
I didn’t take any pictures at this moment, but for you to see what to expect I’ve gathered a couple pictures out there.
Now if you don’t have this many roots no worries! mine had just a couple and finished just fine 😉
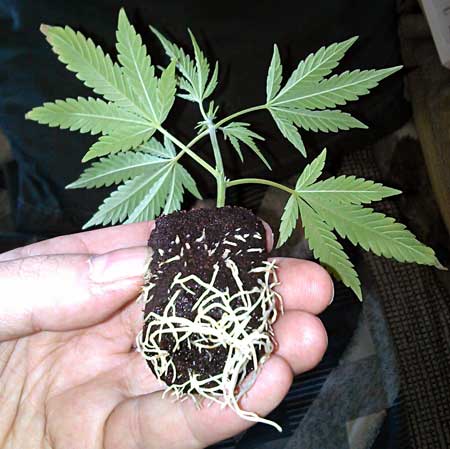
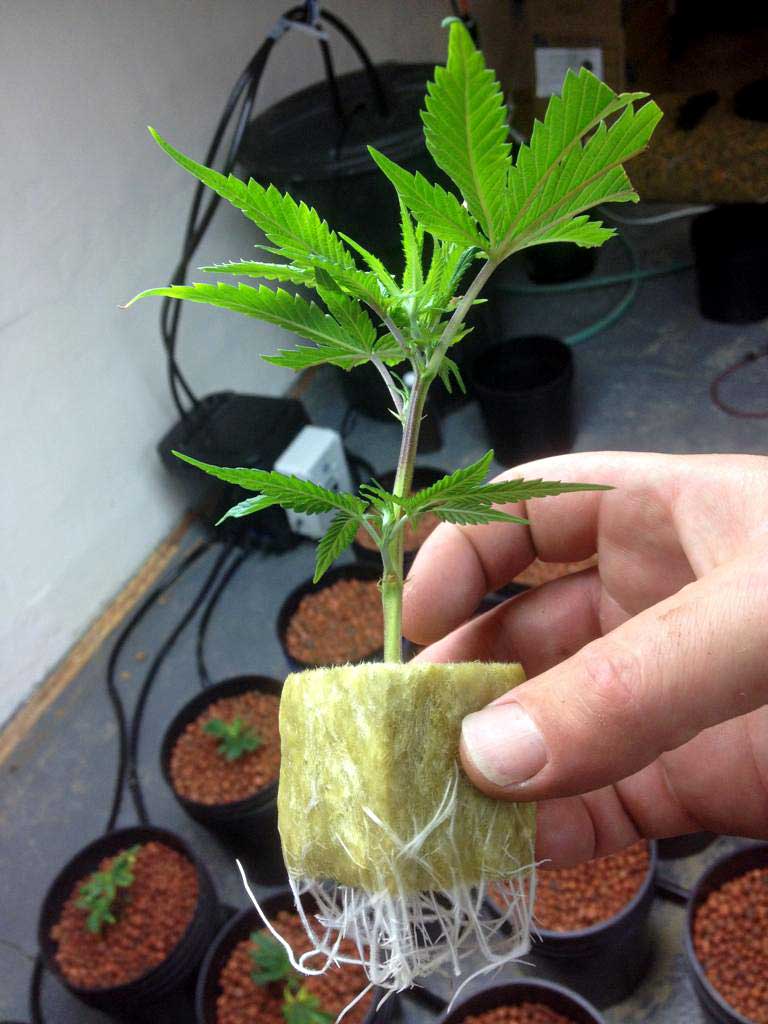
image credits to Grow Weed Easy
If you’re looking to get a friend to give you a cutting to get started, or you’re trying to clone one yourself, here’s a good guide to Cloning in 10 steps.
So let’s get the main part of the section, now that the our roots are going let’s get them into soil for the branch to finish her transition to a plant
How place Marijuana cuttings into soil
- Prepare your soil by making a whole to the depth and width your roots or cube.
- Place your Cannabis cutting into the whole you’ve prepared.
- Fill in the gaps with soil if needed.
- Prepare a water mix with a Ph around 6.5.
- Water the soil favouring the outsides. You want the roots to start conquering the new soil, best way to do so is have more humidity there.
- Let her do her thing.
Now that you know how to plant your cannabis cutting, let’s get back to the evolution of this Big Buddha Cheese
First days of the clone
The initial plan was to have about 4 plants, unfortunately 3 out of the 4 didn’t take.. I decided pretty quickly that this would be the opportunity to go for a SCROG, but I’m getting ahead of myself here.
Here’s a couple pics between day 0 and days 4 after potting the cuttings into the soil. She took real well and just started growing 🙂
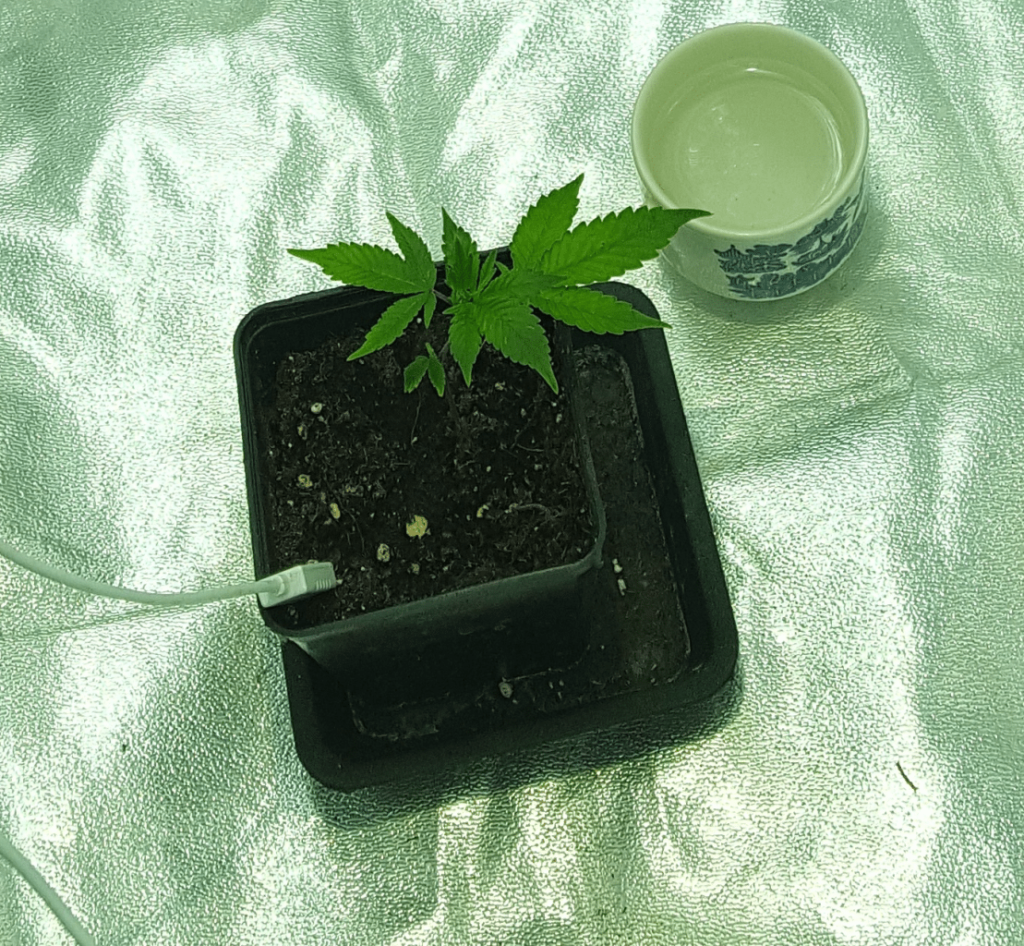
You can see on the left image that she’s already go 1 good branch already going on the side.
This picture is actually about day 3/4 so she had already started growing, but pretty cool for this scrog testing
We’ve also got 3 nice leafs for her to produce energy, new leafs growing and 2 or 3 branches starting to grow. All good signs for a nice big plant.
Make sur you keep the Ph around 6.5 during this time period, this will allow the plant to get all the nutrients she’ll need for her gwoth
My mix was simple, mainly composed of root booster and a little Nitrogen.
The early Vegetative stage
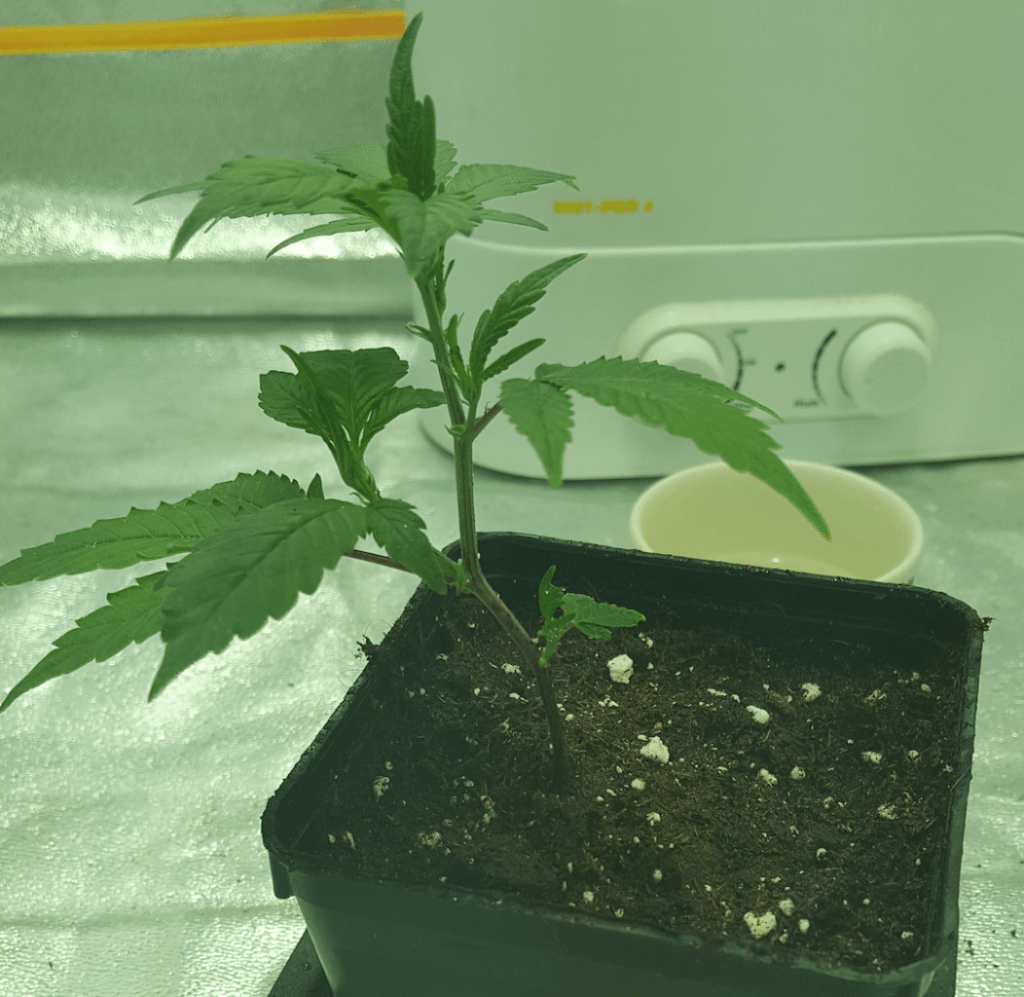
This plan got pretty big pretty quickly which is awesome. Before getting into it here’s a couple picture of her at this stage
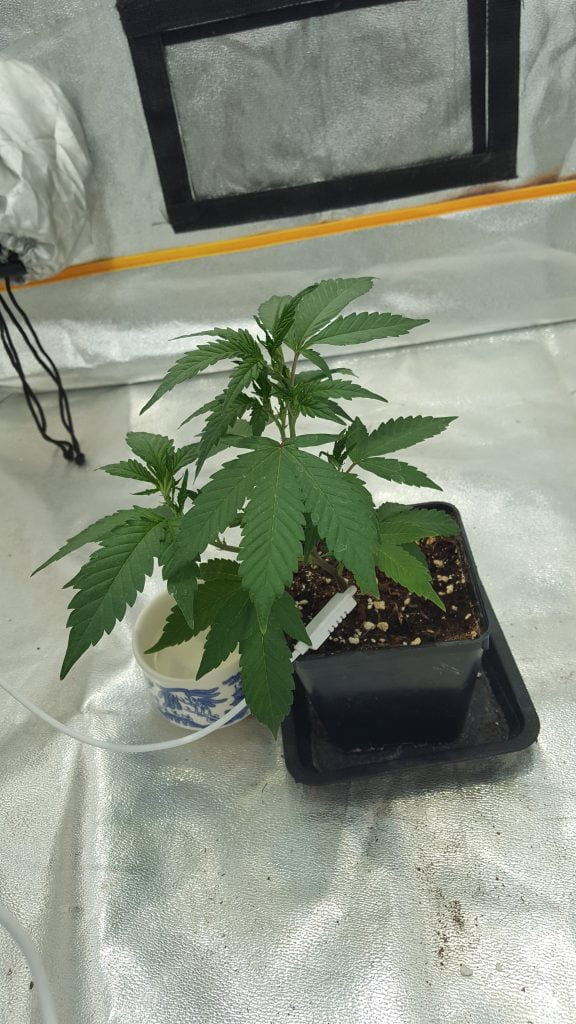
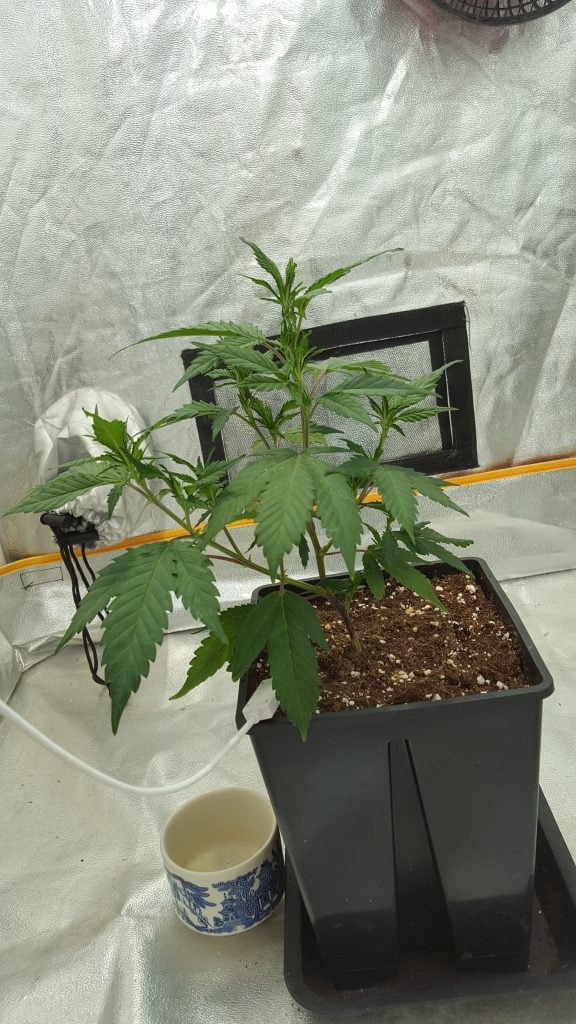
You can see that during these first couple weeks those first branches, we talked about earlier, started to stretch out and get pretty big, developing their own leaf mass allowing the to produce more energy. Perfect.
In length the left one’s actually almost as long as the Apex, pretty nets!
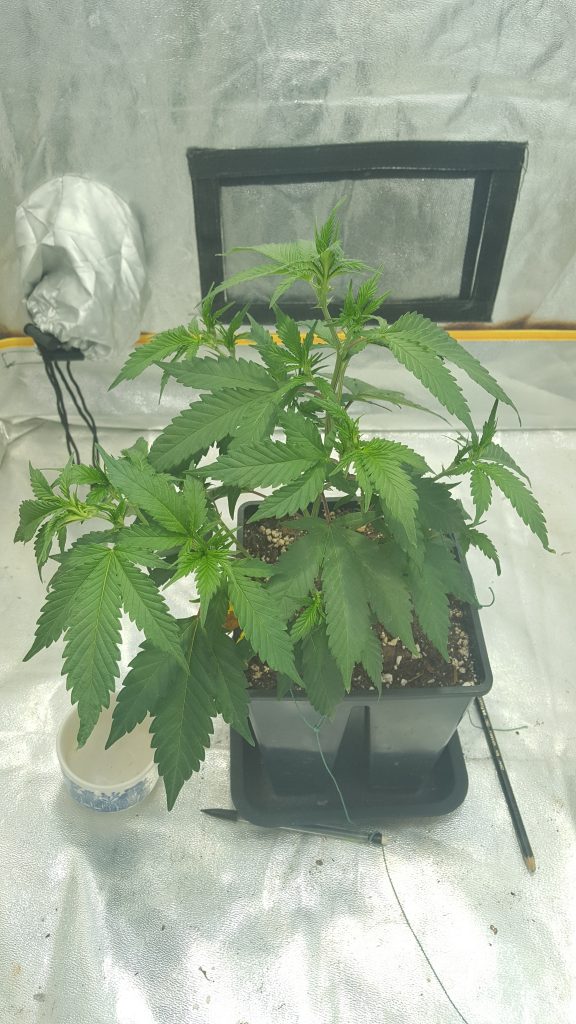
By the time we got to the third picture I should of starting cutting branches more intensively. I had my main one’s to keep and just let her produce more and more branches.
She got all over the place pretty quickly. meaning the energy is spread out producing a bunch of little branches instead of focusing on a few strong one.
Even when going for a SCROG you want to choose the branches that you will use to invade the screen.
Looking back these first couple of weeks were pretty chill, I tested different types of dosages of nutrients for the plant, and that where it starting going sideways.
It started with nitrogen deficiencies, then nutrient burn… tell you all about it in the next post on of our Big Buddha Cheese series!
Until then, be safe and grow easy