 Search for specific products and use our comparator
 Search for a ressource in our library
Heyheyy everyone, it’s been awhile since the last little grow report!
We’ve been real busy improving the strain comparison tool available (check it out!) as well as the citizen lobbying tool that will be deployed on free-the-tree.org, so some exciting times ahead, but it leaves little time to write about our babies ^^
In this grow report we’re going to cover the past month of the grow. The little ones have grown nicely, we’ve got different levels of development as well as different strains, it’s going to be one interesting flowering period with all their different needs.
We’ve also still been dealing with these pests which has delayed us starting the flowering period. The hesitation comes from the fact that we’re mainly dealing with fungus gnats and these suckers attack the root system. Once we start flowering we want the plants to be in good condition so that they can focus on bud growth, not survival… sooo decisions decisions.. Anyway, here’s what were going to cover today
Table of Content – Grow Report n°5
- Big Buddha Cheese clones rooting
- SexBud early vegetation stage
- Fungus gnats… and other pests
- Making cuttings
- Laughing Buddha vegetation stage
- Blue Thaï Scrog Setup
- Round of transplantions
Big Buddha Cheese clones rooting
Last grow report we told you a friend brought us some clones of one of our faaavorite strains Big Buddha Cheese 😀
We had had a mother of this strain for awhile but she didn’t survive last year’s crazy heat (RIP) and we were all out..
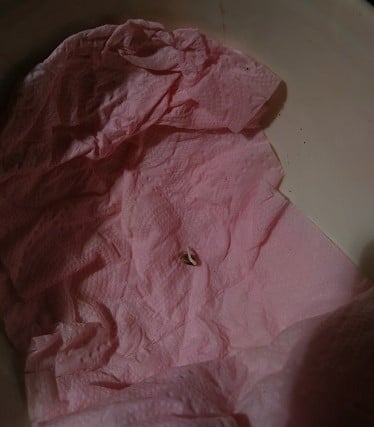
The little clones started rooting nicely, although we had a freaking stink bug-type insect lay eggs (ty to Bannana_bin for helping ID it). The larvae seems to have fed on the foliage of the cuttings, killing the weakest clones..
Luckily we noticed quickly and were able save one individual. As you can see in the pics below, the bugs larvae is chillin (and feeding) on the leaf, leaving black scaring behind.
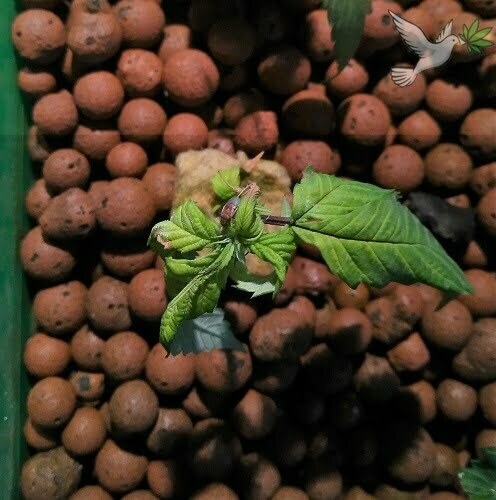
Beetle type pest on BBC clone
Pest larvae feeding on leaf
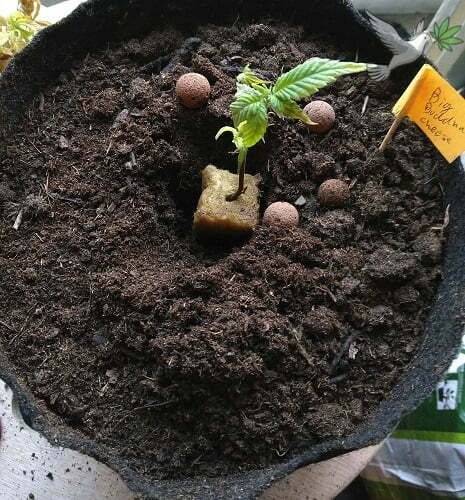
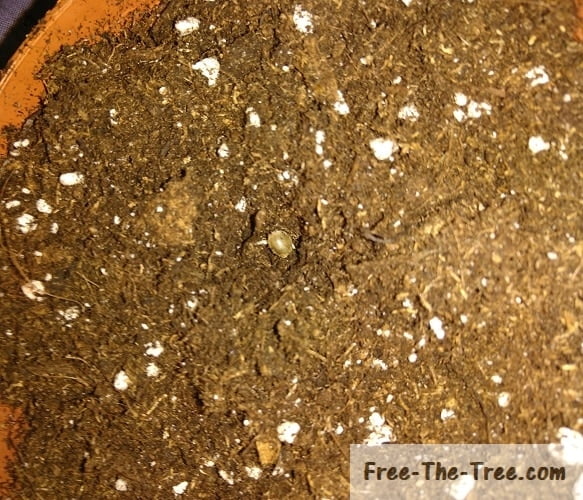
BBC survivor planted into soil
That said, she’s now fighting the fungus gnat larvaes and pupas… If/when she survives all this, we will have one stroooong mother plant!
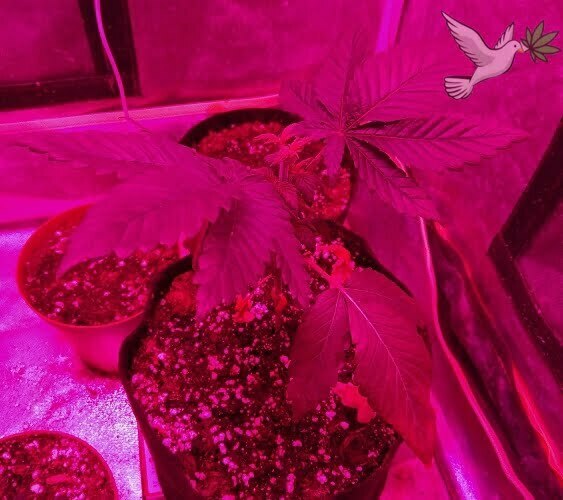
SexBud going through the vegetation stage
Now this little SexBud, by Female Seeds is growing real nicely although our humidity levels aren’t optimal at aaaall 🙂
We had just germinated her when we wrote the last grow report and look at her now. We haven’t given her any nutrients so far, although we’re going to start adding some NP in the next feed to prepare her for the stretch
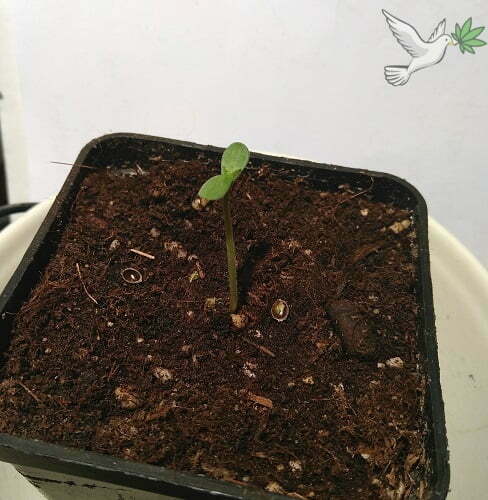
SexBud cotyledons freshly deployed
First stage leaves fully grown
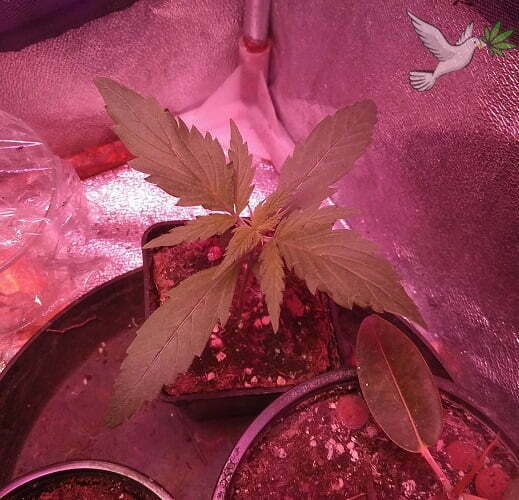
Second stage leaves grown, third level coming in
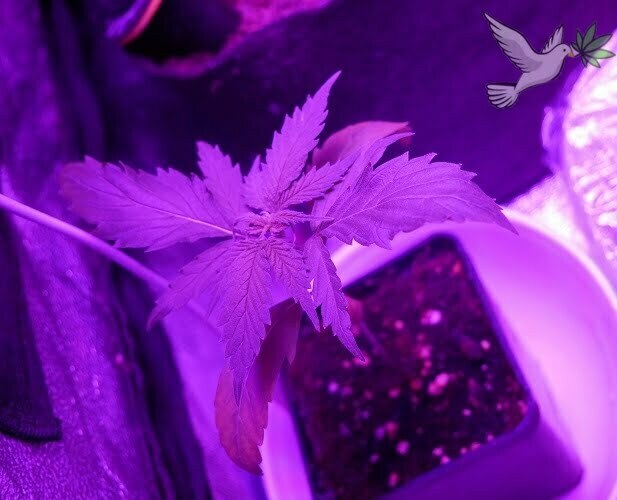
SexBud just before being topped
Auxiliary branches growing in
We topped her before writing this piece and are still hesitating on on scrogging her or going for the same LST training as the laughing buddha (see below).
Until we decide we’re going to let her grow a little and then place her in the special little spot we got for her in the flowering tent. Just before the stretch we’ll decide if we place her on the smaller screen or not.
Can’t wait to see go through the cycles of the flowering period!
Fungus gnats persiste and signs of other pests
Once introducing the nematodes into the tent everything started getting much better, we really though we had jumped through this hoop..
Turns out, we had forgotten a pot in the room and a little female laid some eggs in there. We were gone for 10 days, when we got back found a couple individuals within the grow room soo… here we go again..
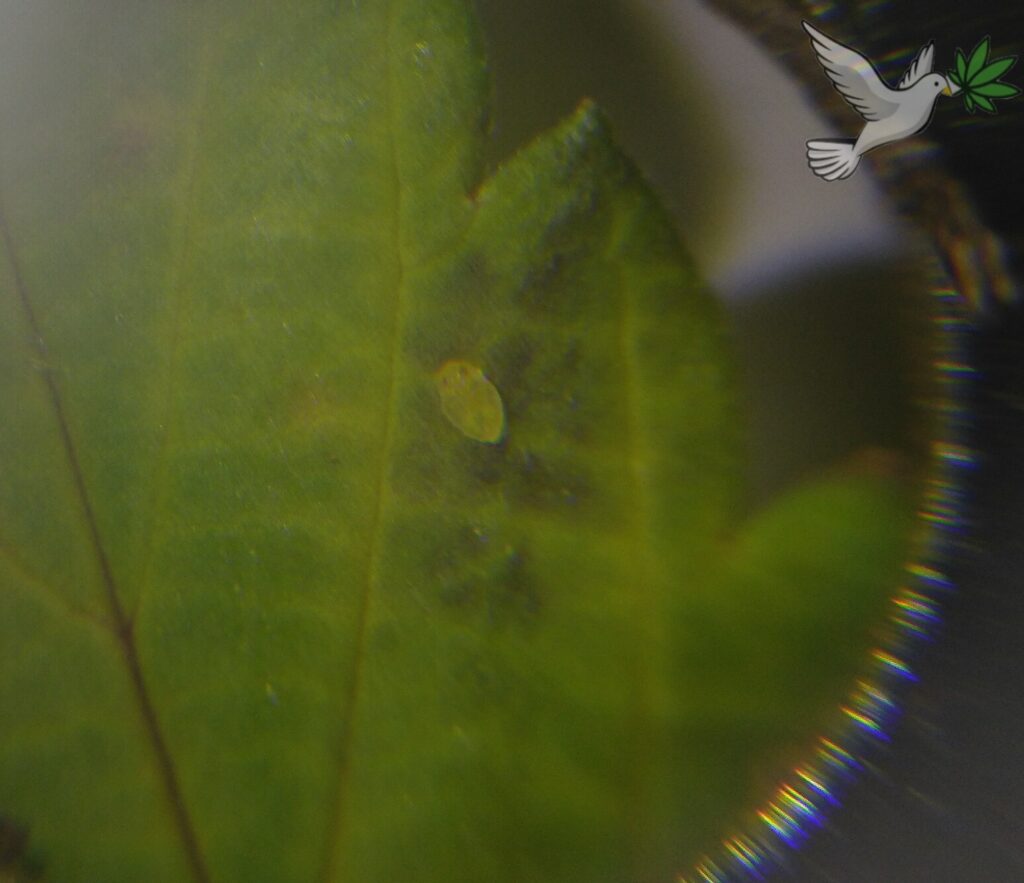
We also had the pleasure to discover a blackflie and spidermite nest within our outdoor “garden”… hopefully we will be able to manage them well enough out there, avoiding any indoor issue
Sticky traps deployed to catch adult fungus gnats

2 spider mites (and a couple eggs) under strawberry leaf
Hundreds of blackflies feeding on lemongrass
Making some Laughing Buddha and Blue Thai cuttings
For these 2 strains we popped our only seeds and wanted to keep the strain around just in case so we decided to go ahead and clone them hehe
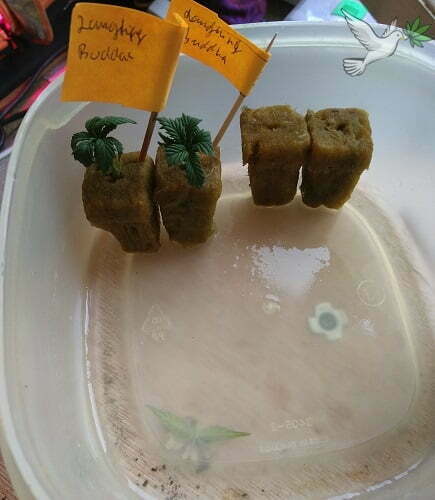
2 of the 4 cuttings made
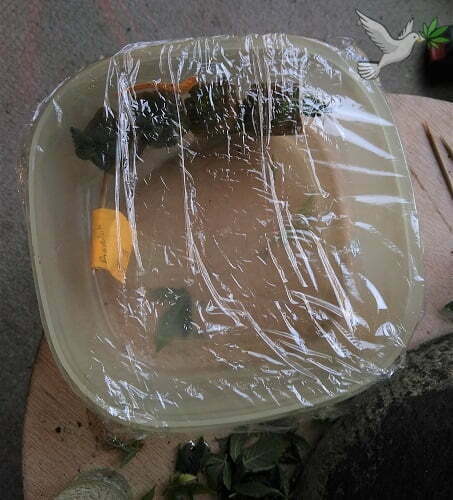
4 cuttings in air-proof container

about 10 days later – 1 visible rooted plant, 3 pending (but still alive!)
At the time we’re writing the article one of the laughing buddha cuttings has grown a nice, strong, tap root. We’re about to set it into soil to let it grow.
The 3 other cuttings are looking ok, we’re going to leave them a couple more days in the container to make sure they’ve rooted nicely before planting them in soil
Laughing Buddha – About to start the flowering stage
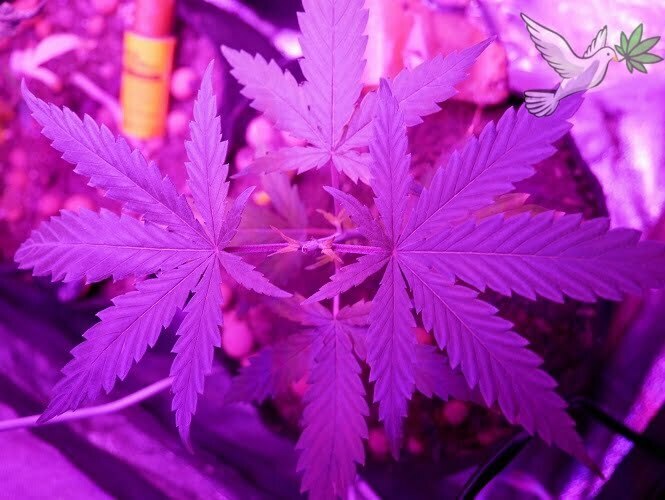
Last grow report we had just topped this little one in order to prepare her for a scrog. As you can see below, the had grown nicely since. We defoliated her a couple times in order to keep these 4 main auxiliary branches.
Since the blue thai is about ready to flower, and we have successfully cloned her we’re going to flower her like this, can’t wait to see the first pistils starting to appear 🙂
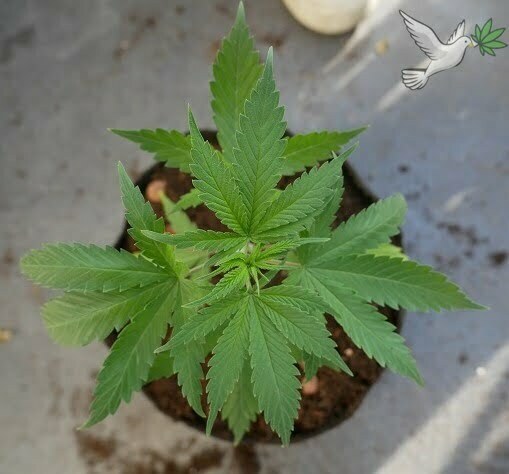
Freshly topped, first auxiliary branches growing in
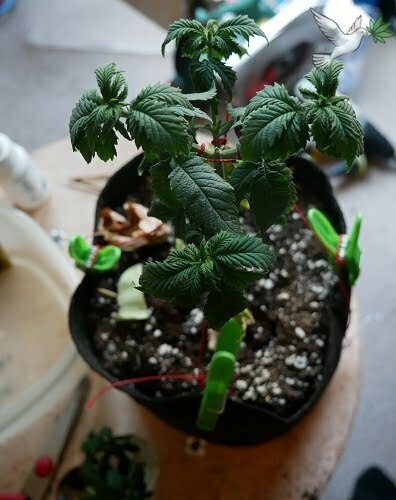
4 branches growing in
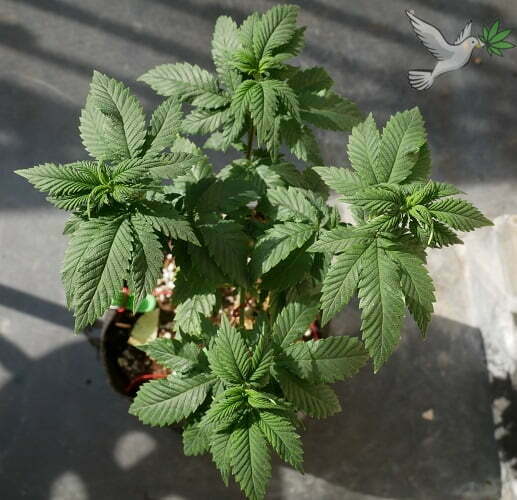
4 auxiliary branches grown in, flowing time approaching
Blue Thaï ScrOG setup
Sooooo, if you’ve followed some of our previous grows, you know we’re pretty big fans of scrogging.
The thing is, with the back to back pest issues we’ve been having for the past year it’s becoming problematic not to be able to take out the plants for inspection during the whole flowering period.
In order to get the best of both worlds we decided to make some individual scrog screens for 2 of our plants. We’re definitely loosing a bit of room, but we figured it’s not a real problem, it’ll allow each plant to have a little room to breath.
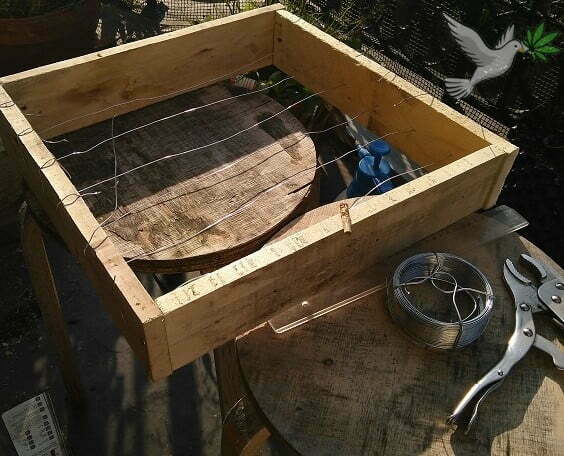
Frame of the net and first wires in
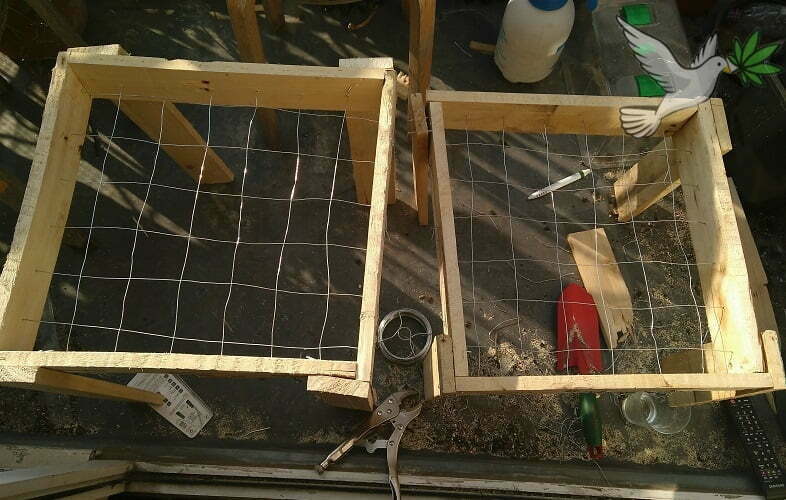
2 scrog nets ready to use
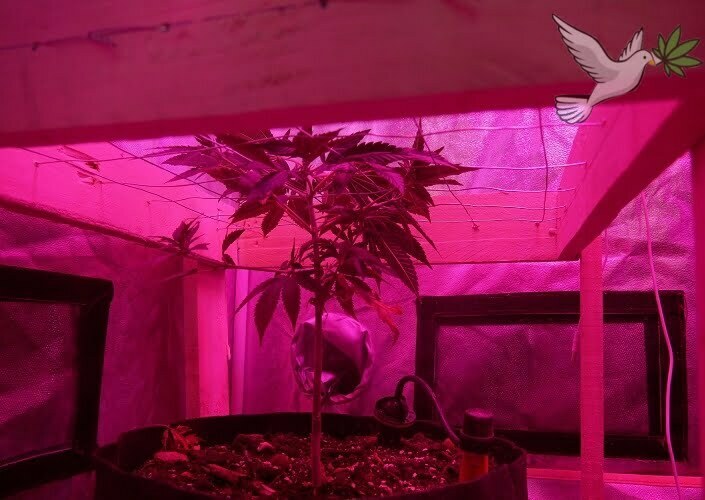
Blue Thai freshly installed on the screen
If you want to check out how we made the scrog net we documented each step over here, total cost ~5 bucks 🙂
With the screen ready we started weaving the blue thai. Once she’s covered about 60% of the screen we will change the photo-period so start the flowering stage hehe
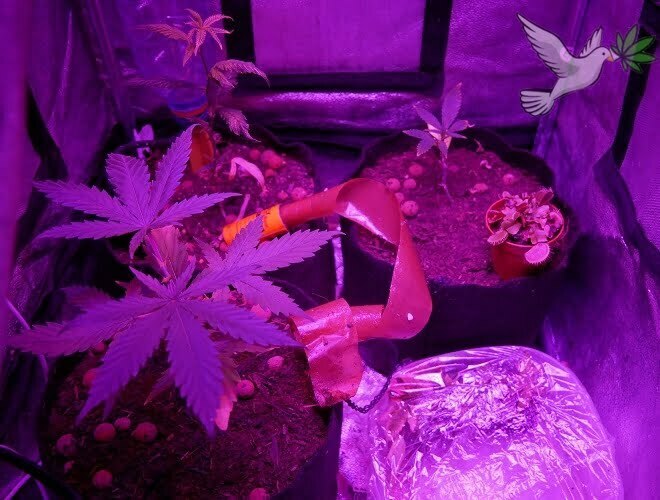
Transplanting 3 little ones
On this 4/20 this little ones were ready to be transplanted 🙂 The laughing buddha and critical + will be flowered pretty soon. Since we just topped the sexbud we’re going to leave her a bit longer in the vegetation tent.
Once her auxiliary branches have grown a bit more we’ll place her into the flowering tent so that she can stretch and start growing some nice buds hehe
Freshly topped, first auxiliary branches growing in
4 branches growing in
4 auxiliary branches grown in, flowing time approaching
Alright folks that all for this one! Hope you enjoyed it, I know we love sharing the growth of our babies as well as what we’re learning along the way 🙂
Remember, if you want to share your experiences, knowledge, or anything, you’re more than welcome to! Just contact us through the form or via instagram
Until next time,
be safe and grow easy
Hey there and welcome (back) ! 🙂
Here we are, back at the beginning of a cycle! Can’t wait to share these upcoming weeks with all of you
Couple changes since last grow, so to start off clean here’s a recap of the strains and equipment we’re using
Grow Report 1 – Equipment & strains
- Strains: Critical+ (cuttings) & Laughing Buddha
- Seed Type: Feminized
- Seed Bank: Barney’s Farm
- Nutrients or Additive Used:
– Bio Grow NP and PK mixes
- Grow Lights:
– Vegetation Stage : 75W LED table
– Flowering Stage : 400W LED table - Grower experience: 6th grow
Alright, now that that’s out of the way, let’s get into the first steps of these little one’s lives 🙂
We’ve divided this article in 2 sections starting with the cuttings and end with the seed germinating
Critical+ Cuttings – Rooting process
As some of you are aware we’ve had a critical+ mother plant for a little while, this is our 3rd round of cuttings with her.
Here’s a couple pics of the process but, in full honesty, we slacked off a little and left them in the cups for too long, which made us lose 2 little ones and a bunch of time. If you want to know more on how to make a cutting, check out our how-to article over here 😉
Picking and cutting the branches
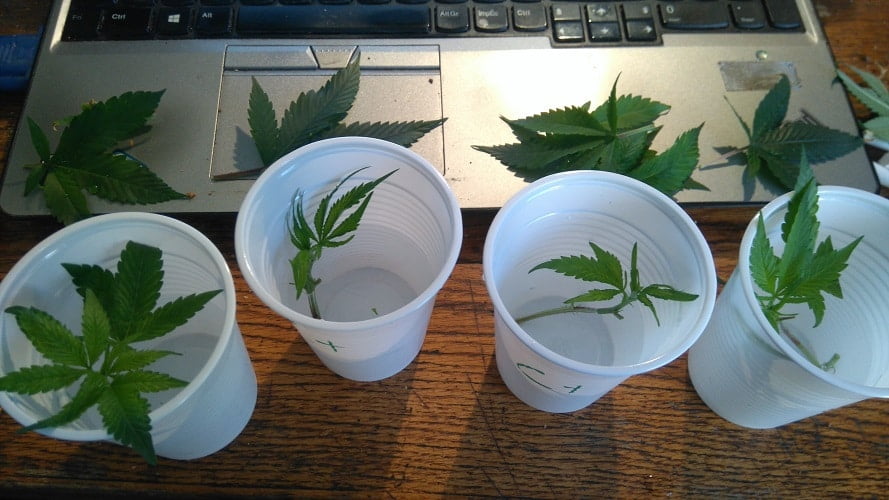
The first step to making the cuttings is obviously picking and cutting the right branches from the mother plant ^^
This round we started with 7 branches, planning that we would lose one or 2.
As we detail in our how-to article on making cuttings, the branches don’t need much light in order to root, what they do need it NOT to sweat, so don’t hesitate to chop off most their leaves (the left one still has way too many leaves) and place them in a very humid environment (aim for at least 90% humidity).
Cuttings rooting in the vegetation tent
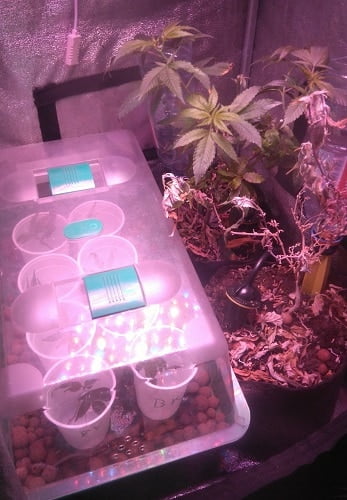
We left the little one in the cups of water for about a week, the time for some roots to grow.
At this point we lost one of the little ones, we had left the top latch open, it wasn’t humid enough and she didn’t make it… (told you we were slacking off :/)
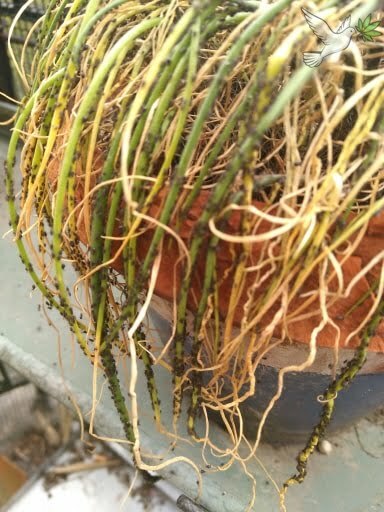
As you can see on the pic one of our mothers isn’t looking well at all, all dried up and dying… We were so focused on the citizen lobbying tool that we didn’t water her enough and lost her :'(.
Passing the cuttings from water to soil
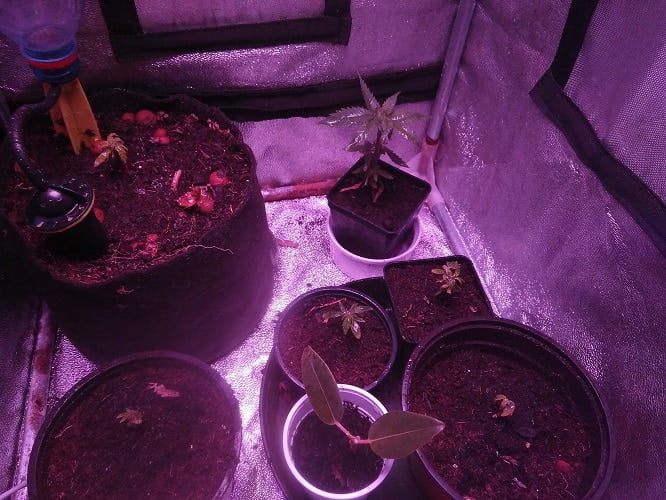
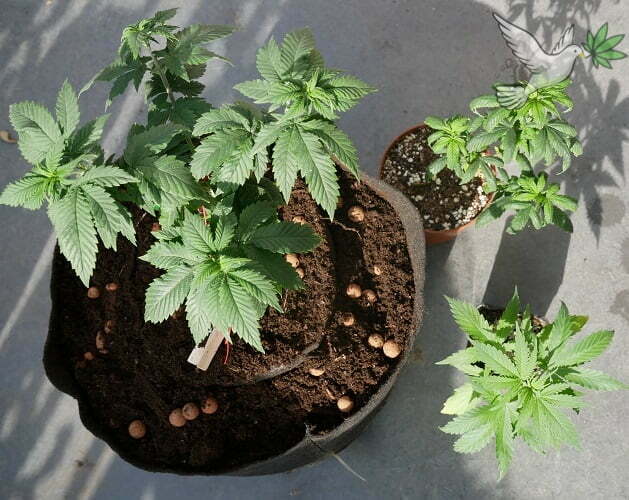
Once we had some nice roots we went ahead and transferred the cutting into our pots.
As you can see we have them in different size pots. The idea here is to keep one as a mother plant (top left). The 4 others we will re-pot and transfert into the flowering tent once they’re ready to stretch.
(Yep, we lost another little one between the 2 steps… we took wayyyy too long to transfert them into the soil)
That’s it for these little ones! As we speak they’re getting growing nicely, but we’ll tell you all about that in the next post 😉
Laughing Buddha Seed Germination
Here’s a little one we’re really excited about! First time growing it and really curious to see what it’s all about.
For a long time it was a best seller at Barney’s Farm, a coffee shop & seed bank in the Netherlands although now, unfortunately, a bit it’s harder to find these days.
Luckily, during our last trip in Amsterdam we were able to get a little seed! 🙂
(check out the trip on our insta account)
Alright, enough said, here’s some pics of the germination process of this little one
Seed Germinating – A humid and dark environment
Just like for the cuttings, we’ve made a full how-to article detailing the best ways to germinate your seeds, if you want to know more on that check it out over here
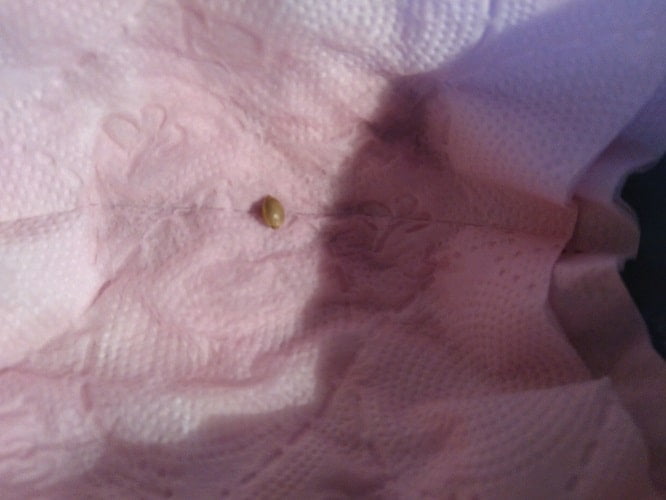
We set the little one in a humid paper towel between two bowls. At first it was wayyyy too humid in there, so we left a little crack between the bowls in order to let some humidity out.
5 days later, the tap root has broken the shell
The morning after leaving the crack between the bowls we saw the tap root starting to break the shell; The picture above was taken that night and, as you can see, it’s big enough to plant 🙂
Seed you soon cotyledons 😉
With the tap root about a centimeter long we planted the soil, about 1.5 cm deep. This depth gives it enough room to break soil and deploy the cotyledons with little effort, while the tap root can get comfortable in her new home.
As soon as we covered the seed, we set the pot in a bowl of water in order to humidify the soil without disturbing the seed.
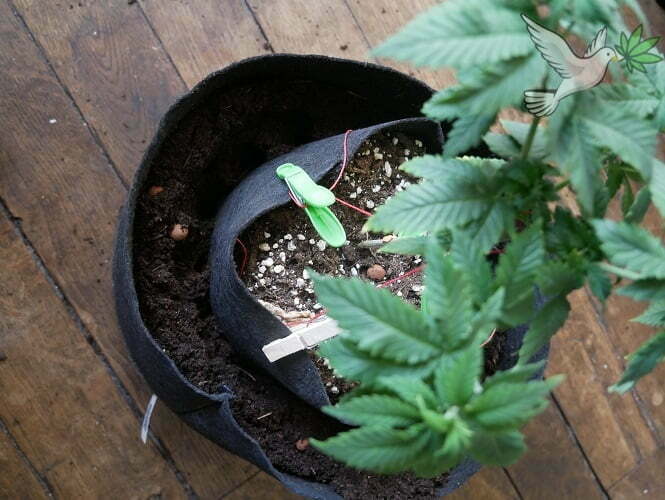
48 hours later – Soil has been broken and the cotyledons deployed
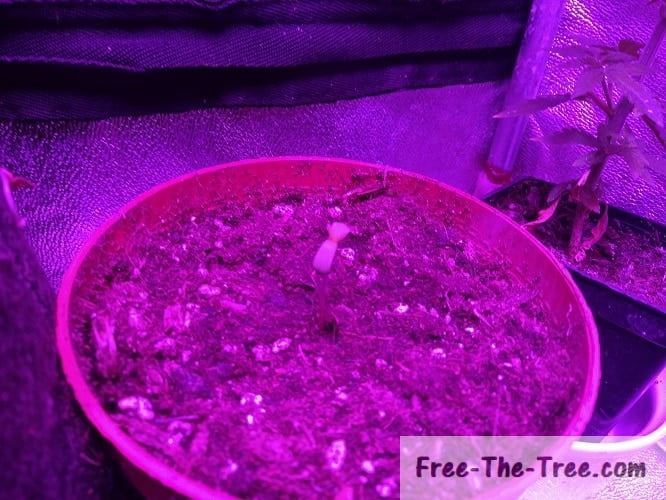
A little under 48 hours later she had broken the soil and deployed her cotyledons and, you can’t really see it but, the first leaves are starting to grow.
We actually missed the ground breaking process which sucks… so awesome to see ’em say hello to the world for the first time.
As we speak the first leaves are starting grow more and the cotyledons are starting to die out; We set the pot on a box in order to get the Apex closer to the light in order to avoid any early stage stretching, we don’t want her to get top-heavy ^^
Alright folks, that’s it for this one!
Until next week, be safe and grow easy 😉