 Search for specific products and use our comparator
 Search for a ressource in our library
Hey there and welcome (back) to Free The Tree!
This past week we started harvesting the first plants. If you’ve been following you’re aware that the flowering stage started way too early, meaning that we were expecting a small harvest. Although its small the buds are beautiful and smell great! Some of them even started turning purple during the last days.
We base ourselves on the trichomes in order to choose harvest time so there are a couple day delays between each cut. Furthermore, the first plant was cut a little early.
This was done in order to see the difference in the high of the Critical+ 2.0 when the trichomes are all milky and when some started turning brown.
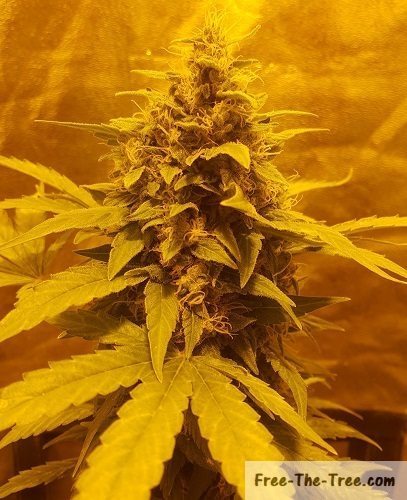
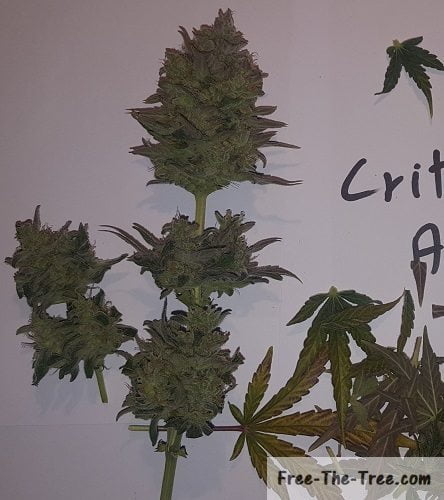
Day 54 – Harvesting the first Critical + 2.0 Plant
While observing the trichomes we saw that they were all nice an milky and some pistils had started to turn brown for the 3rd time. These combined signs show that harvest time is soon, although we could have waited 2/3 more days.
Here’s what she looked like before harvesting (as always click to see the full pic)
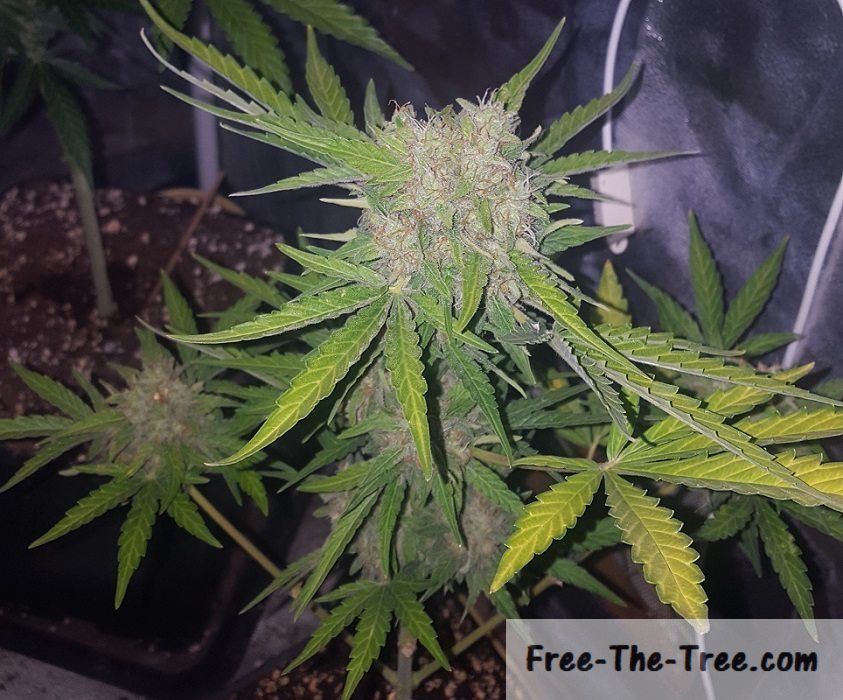
Good looking no? Not huge but still good looking. It would of been better to have some more nitrogen deficiency going before cutting her, improving the taste down the line, but we have to shoot in the middle between taste and wanted high here.
Harvesting and Curing
Once we cut our plant it’s time to cure the buds, what do I mean by that? I mean cutting off the sections that we don’t want to keep for smoking purposes, aka the leaves.
As you can see on some of the picture although we chop them off they still contain large amounts of trichomes, and thus THC, so it’s important to keep those leaves! Personally I store them in the freezer until I have enough to make some hash with it :p (how-to article over here 😉 )
Let’s get into the curing of these babies
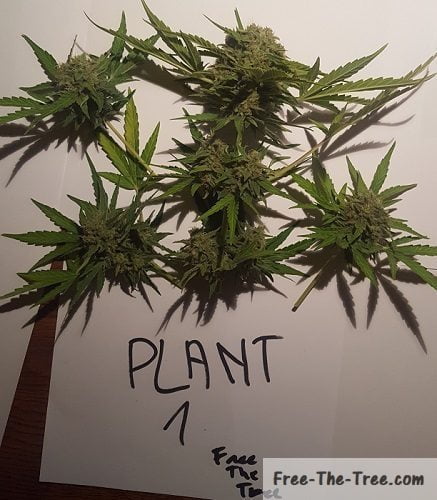
Just harvested the first Critical + 2.0
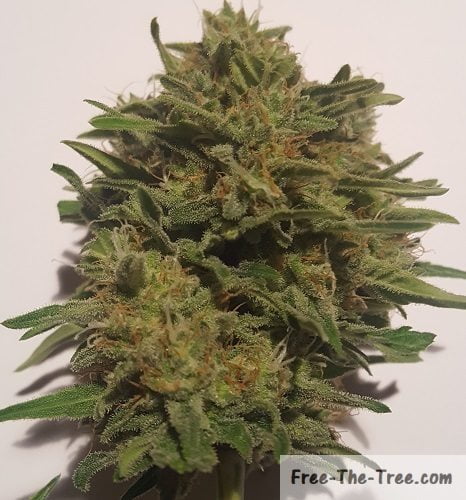
Close up on Cured Bud
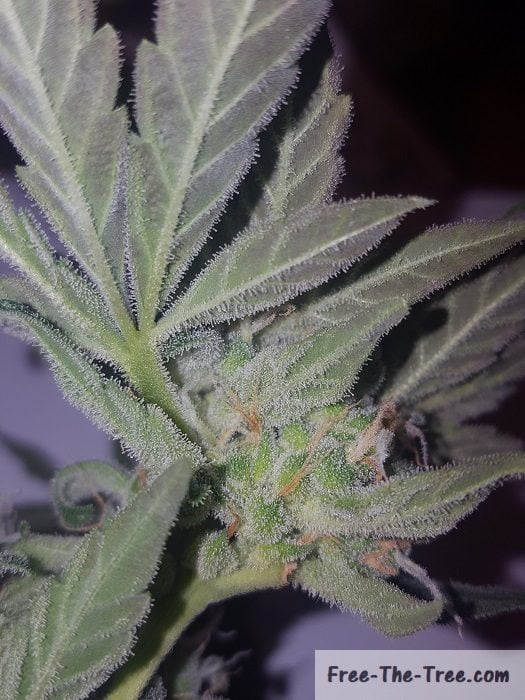
Marijuana leaves full of Trichomes
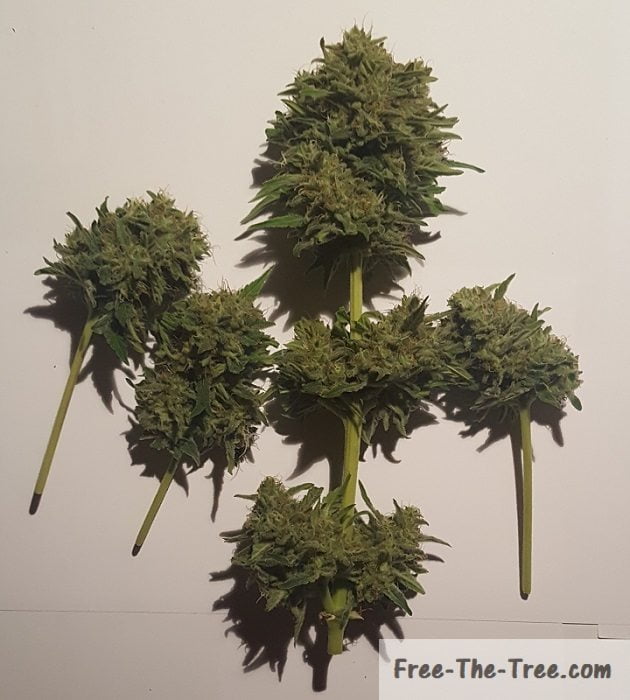
Critical+ 2.0 Autoflower cured and ready to dry
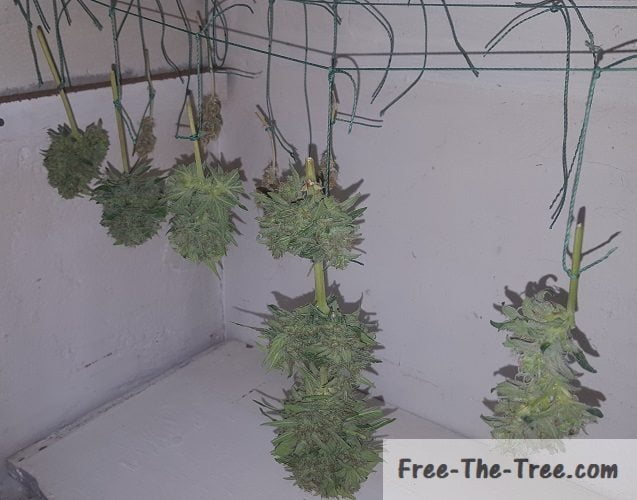
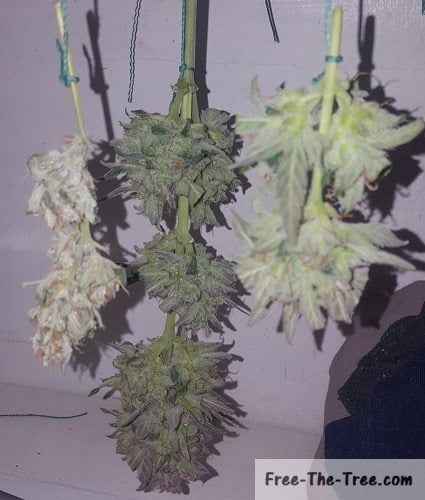
First Plant Drying
So to recap on the different steps in order to get your marijuana buds to a smokable state
How to harvest and cure your Marijuana Harvest
- Cut the plant
- Remove the main leaves
- Remove and/or trim the secondary leaves off (store them)
- Tie your buds upside down in a dark environment for about 10 days.
Here’s how I personally tell when they’re ready to be jarred: Every couple days bend the stem. Once you feel it crack, but not break, they’re ready to be placed in the jar. - Place you Marijuana buds in air proof jars. Fill the jars up to about 80% leaving room for your buds to breath.
- For the 2 first weeks open the jar. The first couple days keep it open for about an hour, then progressively reduce that time as the buds dry.
During those 2 last weeks you’ll be tempted to smoke your buds the smell will be so good but wait! The taste hasn’t developed yet, your future self with thank you later 😉
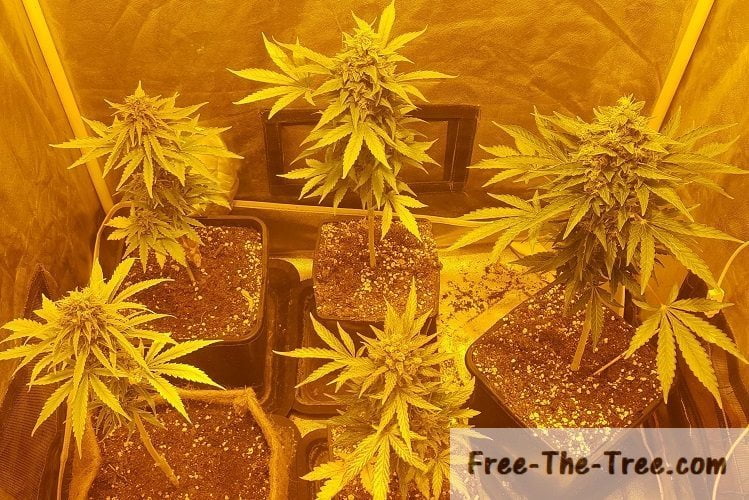
Here’s a couple pictures of the plants still in their flowering stage
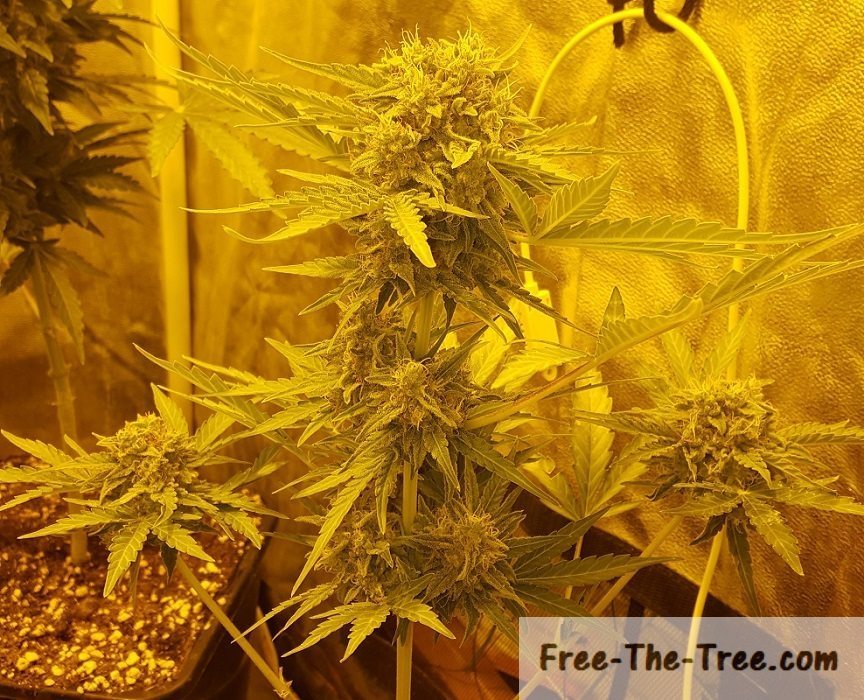
Day 58 – Harvesting the second Critical + 2.0 plant
As we said in earlier we wanted to see the difference between a earlier and later stage harvest of this critical plant. By this time we started seeing some brown trichomes all over the place which is a sign of the levels of THC reducing and the CBD levels rising, time to cut!
The temperatures differences between day and night were more important these last couple days and she surprised us by turning purple on the top leaves, giving a beautiful Apex Bud; Check it out
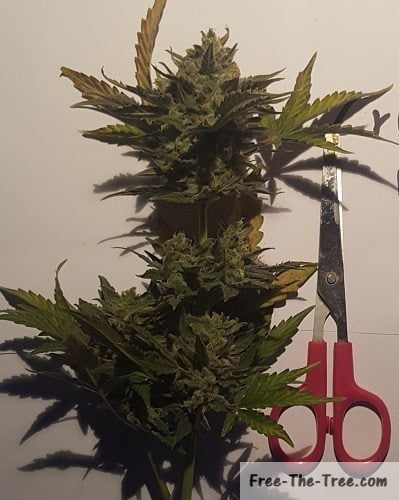
(small) Marijuana bud vs scissors
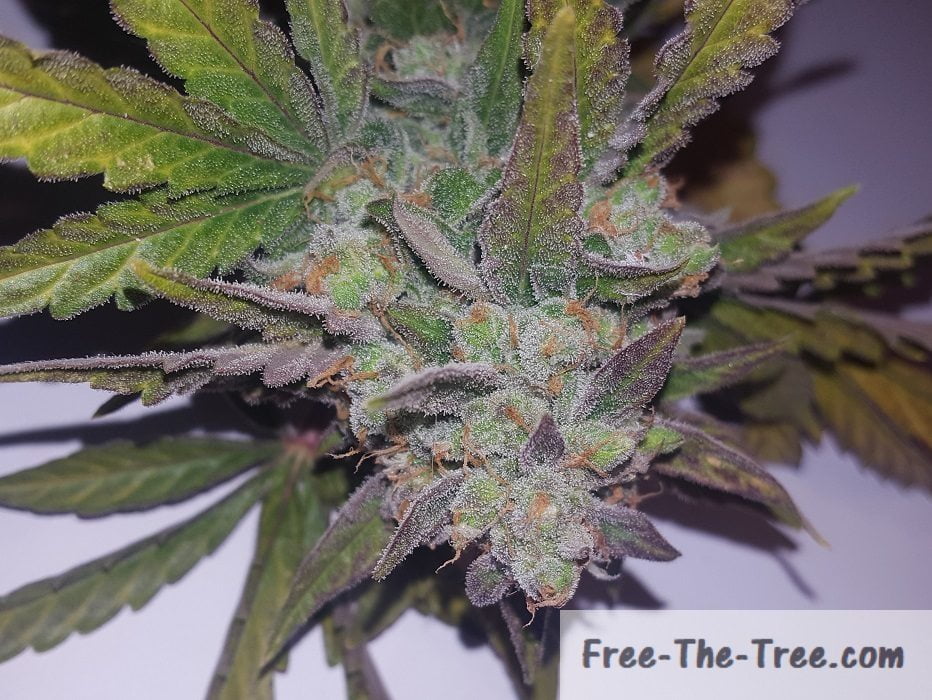
Purple Marijuana bud
Cured Purple Bud (full of trichomes)
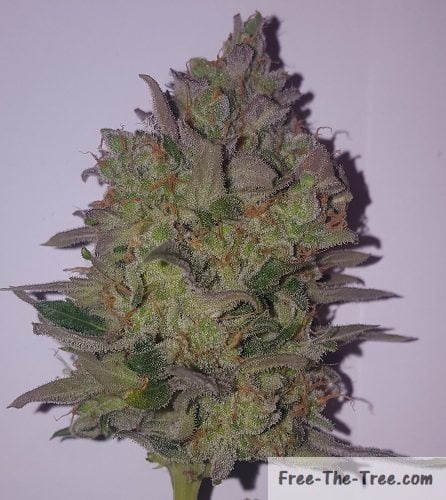
Second plant cured and ready to dry
Second Plant Drying
And there you have it guys! In about 3 weeks we will be able to smoke our first joints of this one, we’ll keep you posted on that 😉
If you want to know more about the Critical + 2.0 Autoflower strain check out our guide and review
Until next time, be safe and grow easy!
Missed a couple episodes? Check our all our Grow Posts
Got a problem with your Indoor Culture? Here’s all our tips