How to make Hash at Home

Free the tree content
How to make Home Made Hash thumbnail

Making hash with Pollen, Harvest Trims and more

Hi there and welcome (back) to Free the Tree!
In today’s article we’re going to cover the different ways to make hash at home 🙂
We’ll try and make it as exhaustive as possible so you can make some regardless. The piece will keep also keep growing as the communities knowledge grows (hint hint, come&share your experiences!)

Hash Making with a Pollen Press

Let’s get to it easy, in this section we’re going to look at making hash using pollen from a grinder and a press. Here the idea is to compress the pollen with for enough time and pressure to allow the pollen to become hash.

We’re currently doing it also so we’ll be updating as it goes, but the first trials have been preeeetty nice. Let’s gt into it to, here’s the links to each section:

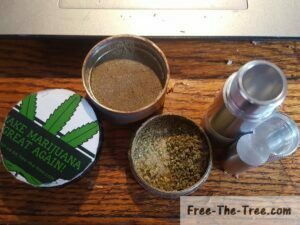
Grinder pollen and press ready to make hash
Pollen, Press and Free the Tree sticker

Step 1 – Place you pollen into the Press

This step is pretty self explanatory but here we go anyway ^^

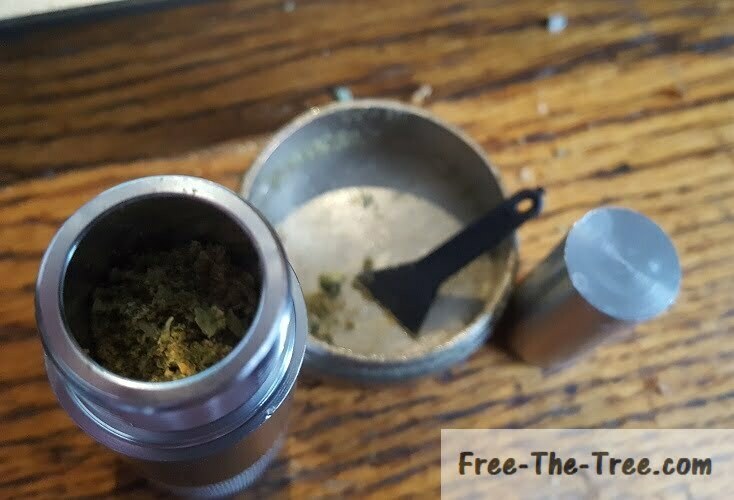
  1. Unscrew one side of the press
  2. Remove to metal cylinder
  3. Place the pollen within the press

Don’t hesitate to put a bunch in there 🙂 

Step 2 – Compacting the Pollen

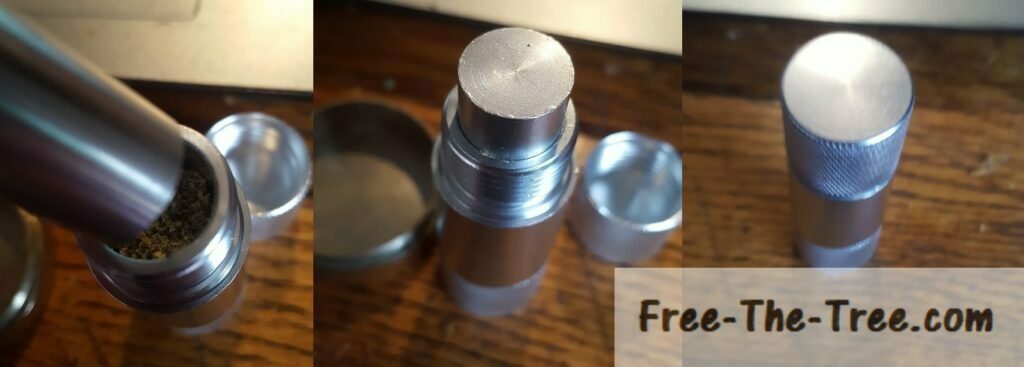
Now that you’ve put place the pollen in the cylinder your going to want to close it up. 
To do so, simply place the 2nd tube over the pollen, then close as tightly as possible the cylinder.

Step 3 – Extracting the Hash

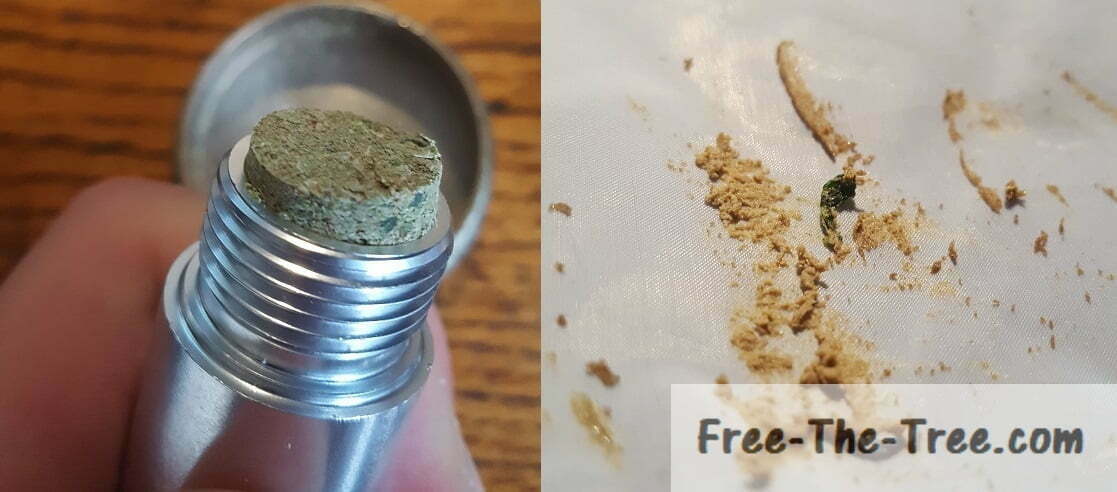
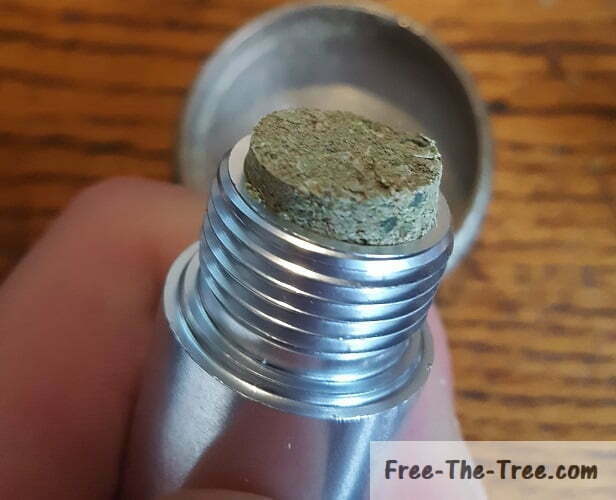
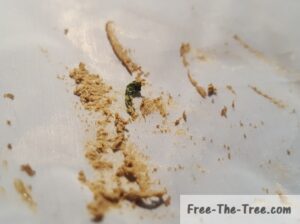
Once the pollen has compressed it starts too look like a very green looking hash like the picture here.
At this point it’s more of a very compact pollen mix than actual hash, time is needed for the transformation to occur. Every day try to tighten the screws a little more.

Currently we’re still here ourselves, once we have pictures of the next steps we’ll upload them here 😉

Compare cannabis products & prices

Find the strain that suits you

Check it out
Compare cannabis products & prices

Can't find what you are looking for?

Tell us how we can help

Make a request
Can't find what you are looking for?

Using Bubble Bags to Make Hash

Using the press is cool, but not really useful if all those trichomes are on the buds or the leaves. In this case you’re going to need to separate the trichomes from the leaves and using bubble bags are pretty ideal, you can choose the different sizes for quality difference, their small micron sized filter, adaptable sizes for adapted use and ease to put away kind of convinced us.


Let’s get into the different steps that will allow you to extract the trichomes from your buds or trims, if you want to skip straight to a step here’s the overview:

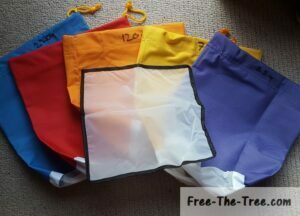
5 micron filter bags and pressing screen
Bubble bag Kit – 5 Bags and 1 pressing screen

Get all the Equipment together

First things first, you’re going to want to get everything you need around you. Once you get started you don’t want to be looking around for whatever tool you’re missing, just to realize that you don’t even have it!

Equipment needed to make Bubble Hash

  • At least 3 bubble bags:
    • 220 Microns: Aka the working bag
    • ~180 Microns: The lower quality extracts
    • Between 25 & 70 Microns: If you’re only choosing one i’d go for the smallest possible.
  • Weed Trims or buds: The more you use the more trichomes you’ll get ;).
    Just make sure you have enough room to allow all the leaves to be under the water level.
  • Ice
  • A batter or a mixer. If you’re going manual, prepare to do it for little while
  • A container with enough cold water to for your bags to be submerged.
    You’ll want the water to be around 4°C (~39°F)
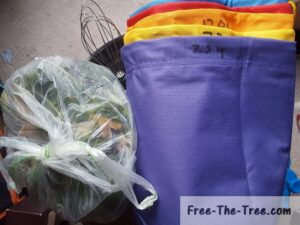
bubble bags, bud trims, ice mixer and water container for bubblehast
Tools needed to make Hash at home

Step 1 – Place the bags in order

Now that you have everything together you’re going to want to get your bags into each other.

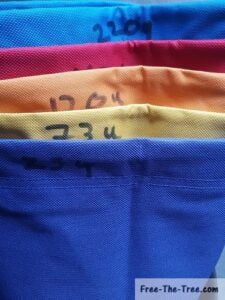
You will always have the largest micron bag closest to the interior. Starting from the interior, in our case we had:

  1. 220 Micron (Turquoise)
  2. 180 Micron (Red)
  3. 120 Micron (Orange)
  4. 73 Micron (Yellow)
  5. 25 Micron (dark blue)

Next round we’ll remove at leave the 120 micron bag, 5 bags really seems like too much.

placing the bags into each other
Bags placed inside each other

Step 2 – Placing the Weed, Water & Ice in the 220 Micron Bag

You’re now set to get the process started! 🙂 

  1. Place your bags around the container (if possible).
  2. Get the Marijuana Trims or Buds into the working bag (220 micron).
  3. Once you have the amount of leaves wanted, start poring the cold water into the bag.  Stop once the leaves are submerged.
    You need cold water (4°C) for the trichomes to separate.
  4. Place the ice cubes in the bag and over the Cannabis trims

You’re now ready to start separating the trichomes from the chronic!

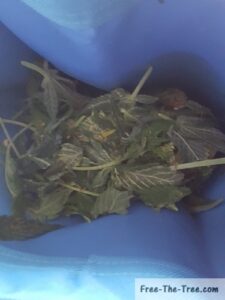
Thims in the working bag to start extracting the trichomes
Weed trims and water in the working bag

Step 3 – Stir the Mix to extract the trichomes

Here we are at one of the most important steps, separating the cannabinoids contained within the trichomes from the trims and/or buds that are within the working bag.

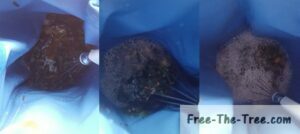
For this you’re going to need to still the water as if you were making an omelette. Just keep on stirring, stirring and stirring. As you do so you’ll notice the water start to foam up (see image) and this is what you want! A nice thick foam over the water, at this point… keep stirring 🙂 

On this step just think the following way, the more you stir, the more chances you get all the trichomes out of the leaves.

We did this with a manual batter, but you can definitely go ahead with electronic one or a power drill in a bucket, well like to a video that covers that further down the page.

Once you’re done mixing you’ll want to let it settle for about 30 minutes. Personally we put it it the fridge to keep it all cool but you can just keep it out.
During this half hour the trichomes that have separated from the leaves will fall to the bottom of the bags.

stirring the leaves in cold water to separate the trichomes
Stirring the leaves in cold water

Step 4 – Straining the Water & Leaves

Now that everything has settled nicely it’s time to take a look at what you’ve extracted 🙂

The first thing to do is to get the bags out of the water. This is pretty straight forward, take all the bags out of the water, let the water drip out.
What we did here is hang the bags above another, empty, container so that it wouldn’t drip all over the place.

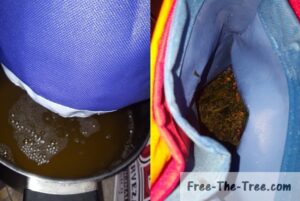
You’ll see that the water is a greenish color which is normal but can definitely stain. It’s due to the chlorophyll that has leaked out of the leaves when mixing it all up.

Once most of the water has stopped dripping, take the working bag (220micron) out of the other bags.
You can toss out the leaves or keep them from another round if you think that there’s some leftovers.

Taking the bags out of the water and removing the working bag
Straining water and Removing Working Bag

Step 5 – Extract Cannabinoids from the Micron Filter

Alright now here we are at one of the crucial steps, extracting all the cannabinoid residue from the micron filters; once dried that will be some high quality hash! 
We’ll explain how we did it, but since this is a first for us we’re not positive it’s the best way. If you have some techniques you’ve tested send us a message! We’ll update the section.

Tools needed to remove the Cannabinoid extract from the micron filters.

  • A clean, dry and flat surface on which you’ll be able to scrape the extract on.
  • A knife, or other tool that will enable you to scrape the surface, without tearing it.

And that’s it! You can also use a pressing screen in order to dry the hash faster, but that’s really optional.

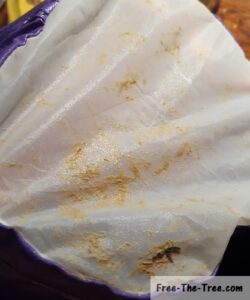
Trichomes filling up the micron filter
Cannabis Extract residue on the micron filter

Extracting the Cannabinoids

Place the clean and flat surface somewhere where you’ll be able to safely scrape the extracts.
Once this is done, gently pass the blade across the filter, you’ll notice that the products will accumulate on it.

Every couple scrapes, remove the residue from the blade onto the flat surface you’ve prepared.

Once you’ve fully covered a micron filter, remove it and start again with the one under it until you’ve reached the smallest one have. 

Personal Tip: Even if you don’t clearly see brown residue trichomes may still be remaining on the screens.
Our advice is to scrape by section by section and to cover multiple times the same spot in order to be sure you’ve gathered all the cannabinoids. 

2nd Personal Tip: A second tip is to separate the residues extracts on your flat surface. This will enable you to see&taste the different qualities of hash you’ve produced 🙂

Step 6 – Drying the Hashish

Now that you’ve scraped all the residue off the filters you’ve done most of the work!
Since all this hash is humid as h**l you’re not going to be able to smoke it right away. You have 2 options here:

How to dry home made hash

  1. Place the hash on a pressing screen, compress it as much as possible. You’ll see water go onto the pressing screen which dries out the hash. Don’t worry all the cannabinoids are in the residue, not in the water so you can throw it out without a problem.
    If you do this your hash might need an extra 24 hours to dry but you’re basically good to go.
  2. You don’t have a pressing screen, in this case you’ll have to set your hash out to dry for at least a week, and up to a month. 
    We really don’t advise you to try and smoke it before it’s dry, you’ll just be wasting it since it won’t burn very well. Your patience will definitely pay, so be patient 😉

Once your hash is dry you’re good to get smoking! Roll it up in a spliff or place it in a bowl and have a nice high! 😉

trichomes scraped off the micron filter and forming hash
Residue extracted from the filters
Want updates on new articles, strains and deals ?

Alright folks that’s it for this one! As we try out new techniques we’ll keep updating this page so don’t hesitate to come by once in awhile.
Same goes if you have a question we didn’t cover, sent us a message and we’ll answer over here if we can 😉

Until next time,
Be Safe and Grow Easy!

About the author