Search for specific products and use our comparator
 Search for a ressource in our library
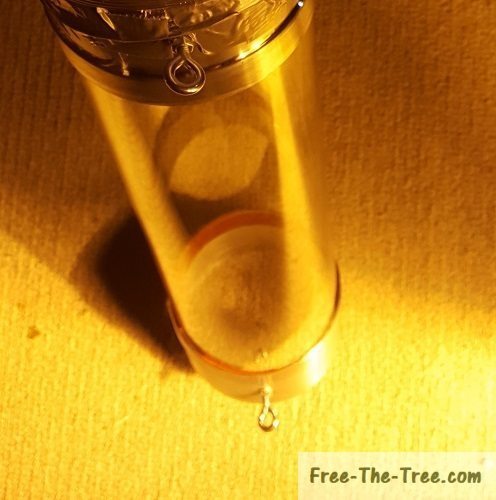


Contribute to our knowledge base
Submit articles, videos or tips to enrich our library
Make a contribution
-

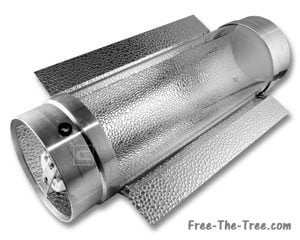
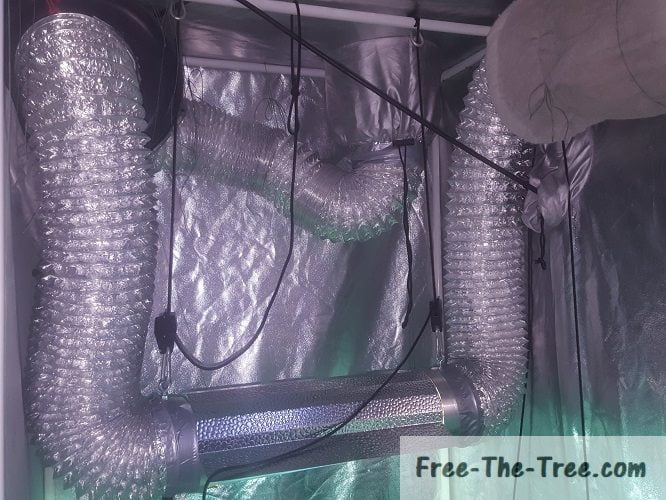
- Air Cooled Tube with reflector wings
-

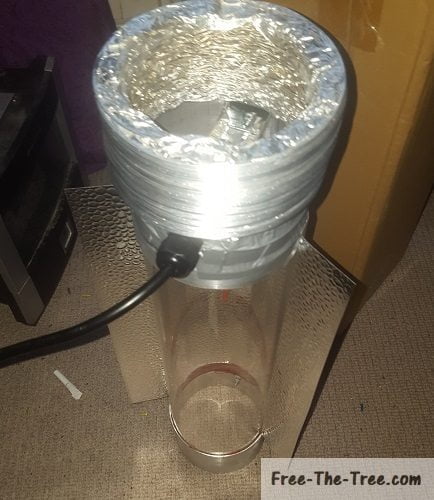
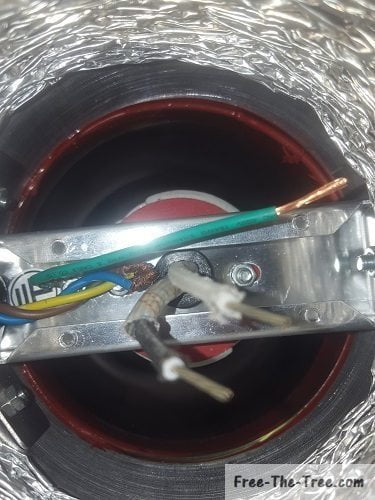
- Extraction Tube and Electric Wire installed
-
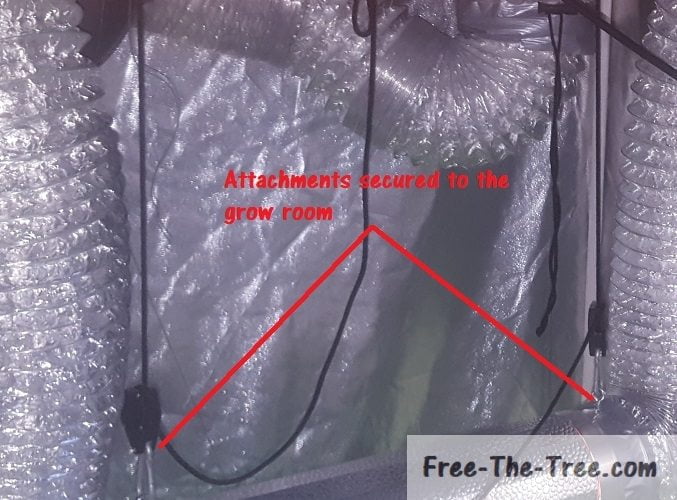
- Grow Room with a Basic Cool Tube installed
-
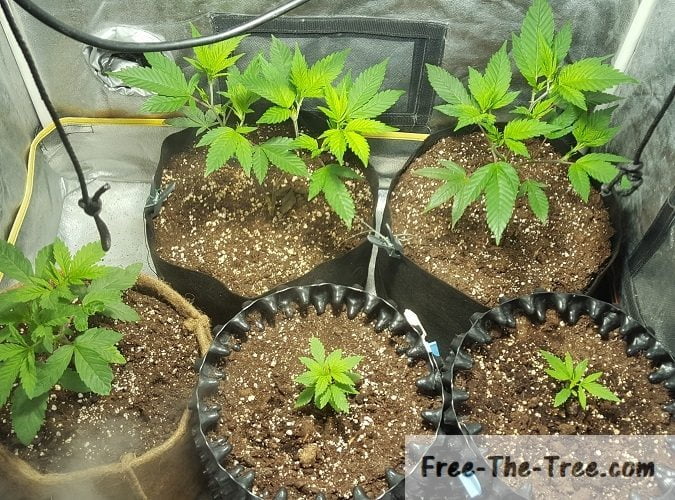
- Small Plants – O.C light dispersion is sufficient
-
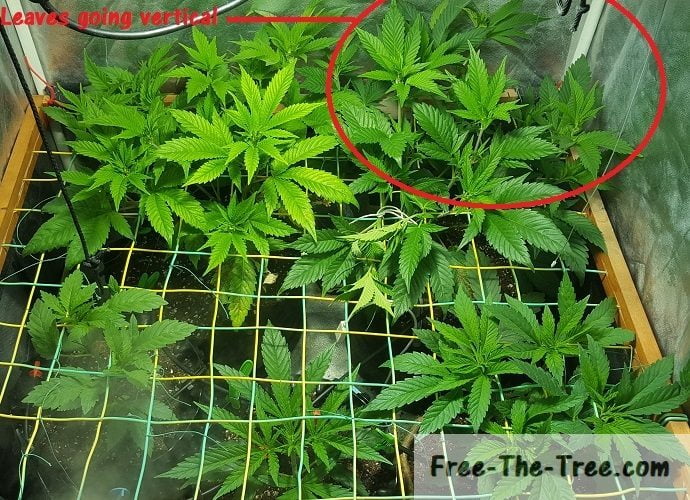
- Leaves starting to go vertical, reaching for the light source
-
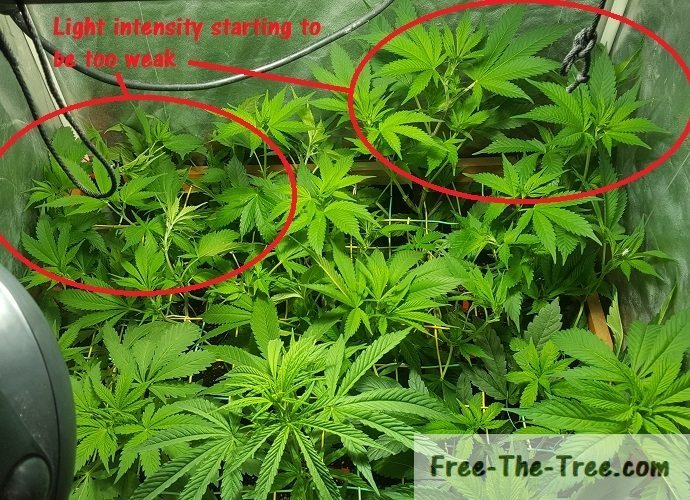
- Intensity is not strong enough in those sections of the room


Contribute to the shared knowledge base
Share your personal tips, experiences, videos to help the community
MAKE A CONTRIBUTION