How to make a Cannabis clone
As we started to say in the first paragraph, Marijuana is a very resilient plant so making cuttings off of her isn’t a very hard to make cuttings off of them.
In this section we will share how we’ve come to clone our strains. It’s pretty simple and straight forward, without using much more than water and the power of nature 🙂
5 steps to make your cannabis clones
Video : How to clone cannabis
Before getting into each step, we make a 30 second video to show you how we make our own cuttings, home it helps out 😉
Step 1 – Prepare everything you will need
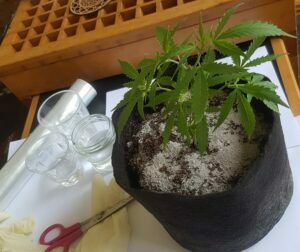
When you’ve cut the branch from your plant you’re going to have to act quickly, so it’s definitely a good thing to have everything prepared before you get started. Lets go over what you need to clone your strain
Equipment used to clone here
- A pair of sterilized scissors
- Water
- Plastic wrap, better cut couple squares before hand so every is ready when needed
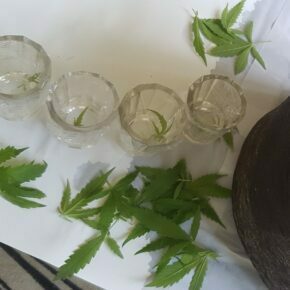
- Cup, preferably small and made of glass
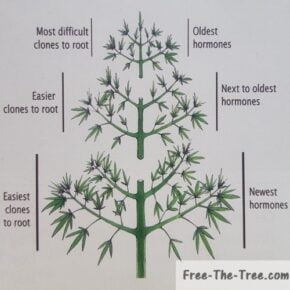
- And of course, branches than you can cut (see how to choose your branch)
Step 2 – Cut the branch you want to clone
This is pretty self-explanatory, you’re going to want to cut the branch and than place it quickly into water.
Here are a couple things you should be careful for:
- Sanitize your scissors or other cutting tool. You want to limit as much as possible the possible contact with germs.
- Cut the branch at about a 45° angle and close to the main stem.
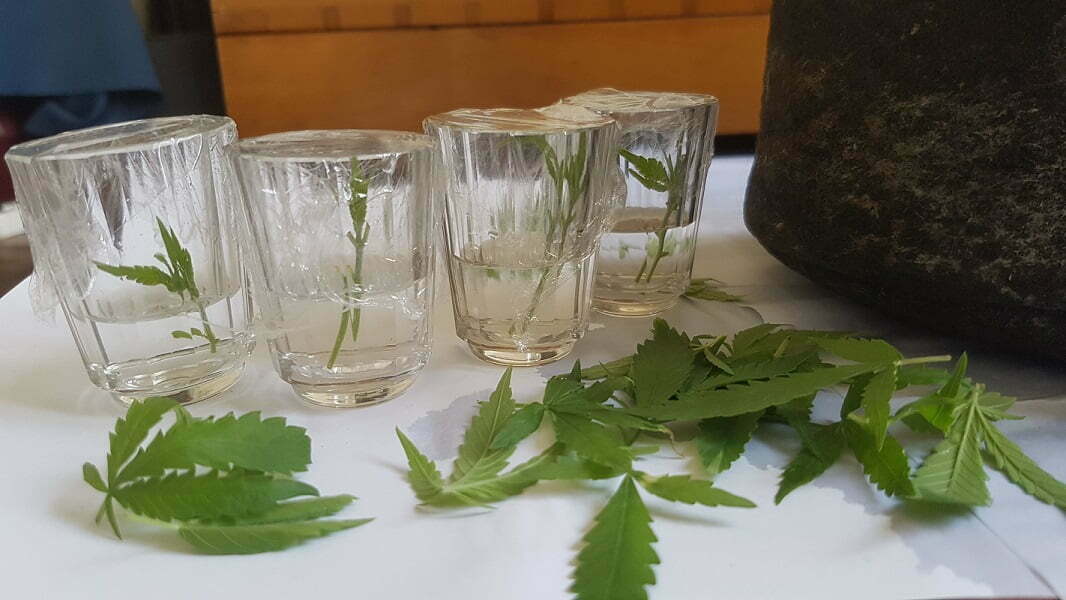
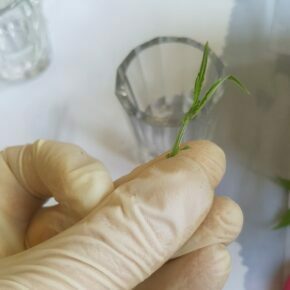
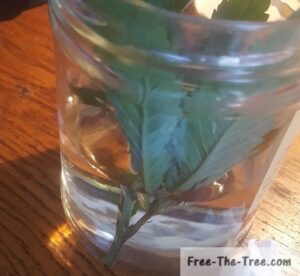
- Remove most of the foliage : As you can see in the picture here, we’ve removed almost all the foliage. She really doesn’t need much here to root, the most important is for her not to sweat.
If you’re asking yourself, “that’s nice, but how do I choose which branches to cut”, we got you 🙂 either read on or go right to our section on choosing which branches to clone
Step 3 – Place the Stem in water
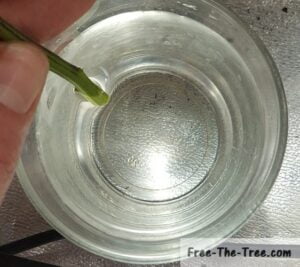
Once you cut the branch you need to place them quickly the glass of water you’ve prepared!
The reason for this is to avoid an air bubble to enter into the stem. If one was to introduce itself into the stem, the cutting will die for sure! (just like if an air bubble gets into our veins)
This step is crucial for your cutting to survive.
Step 4 – Place the cutting in your final glass & cover it
Until the cutting start developing some roots you need to keep her in an environment with 90-100% of humidity so that they don’t sweat, if your plant sweats without a root system, she will dry out and most likely die.
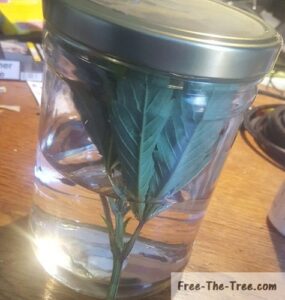
With time the way we have come to do this is by placing plastic wrap on the top of a small glass. While letting the light through for photosynthesis it seals and preserves the humidity, just perfect.
And voilà! you have you’re branches ready to root 🙂
Now one thing to know here, since we’re using water to root, the cuttings will make ‘water adapted roots’. Once you will transplant them to soil, the plant is going to have to make some efforts in order to adapt from a full water medium to a soil medium.
Step 5 – Place the cutting in the grow room & wait
Now that you have defoliated then branches and sealed them in their cup with some water they’re ready to go into the grow room!
Within a weed, 10 days, you should see some root activity 🙂
Remember, the key here is keeping the humidity levels of her environment between 90 and 100% so that she doesn’t sweat.
What light intensity do your clones need?
Clones don’t actually need much light in terms of intensity, you can place them at your windowsill and it’s fine; What they do need, like all other cannabis plants, is a stable, and vegetation cycle light schedule, meaning at least over 14hours a day of light.


