Search for specific products and use our comparator
 Search for a ressource in our library
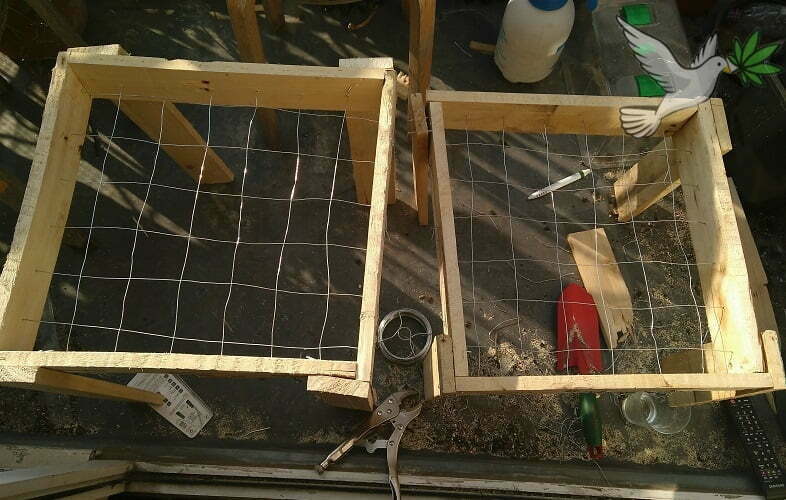


Equipment needed to build a scrog screen
This part is pretty straight forward, in order to make your scrog net you’ll need:
- Raw materials for the frame : In our case we used wood from a pallet found in the street which is perfect, just make sure the wood isn’t rotting or cracked all over, you don’t want it to break on you.
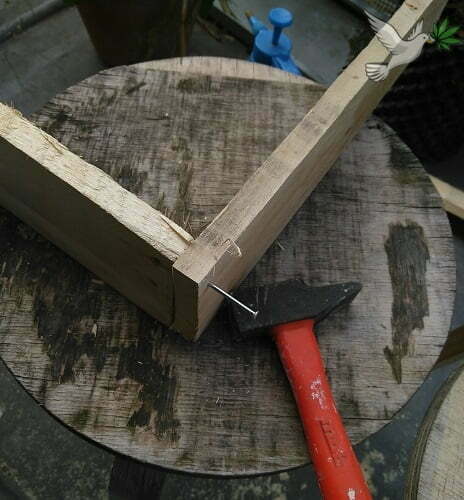
You could also you PVC pipes, wiring, or anything else that can make the side structure - Nails : Count at least 2 per corner + 2 per legs, which make 16 nails, not bad ey? (i’d stock up a bit more just in case though)
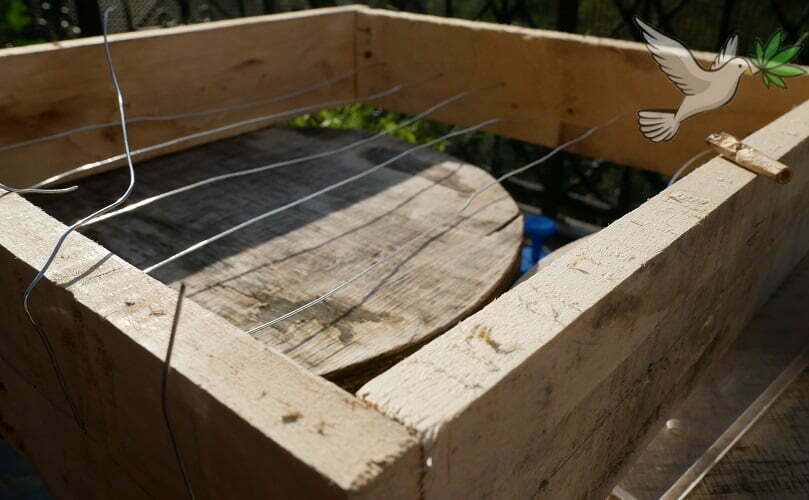
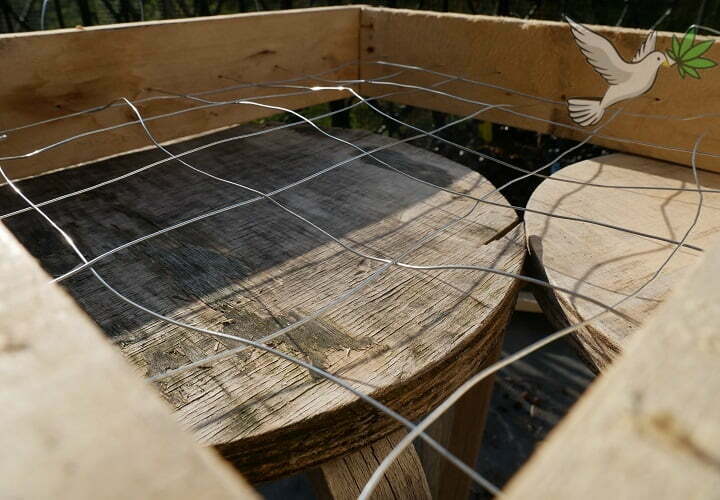
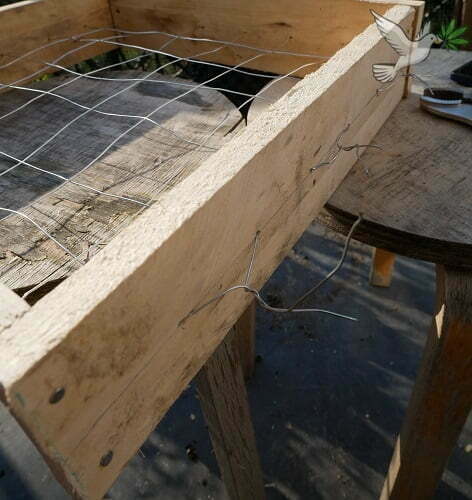
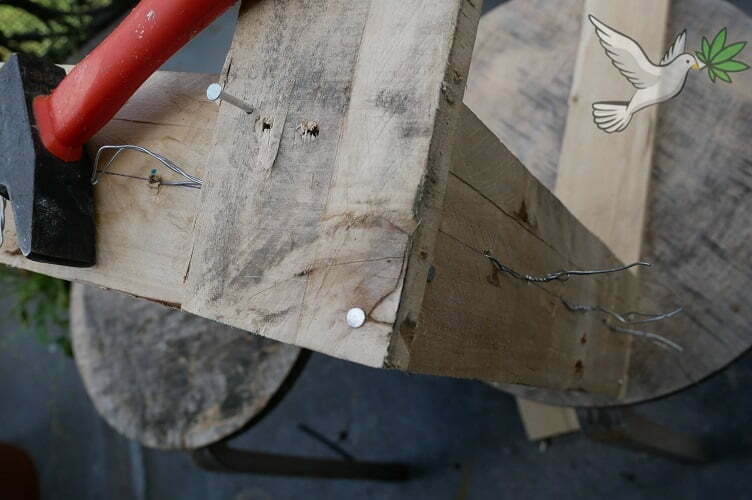
- Wire: We used plain old metal wiring, although in hindsight I think some electrical wire may have been stronger.. we’ll see how it goes during this grow
You can also you plastic wires, which can simplify the job - A hammer: If you got nails you’re gonna need a hammer
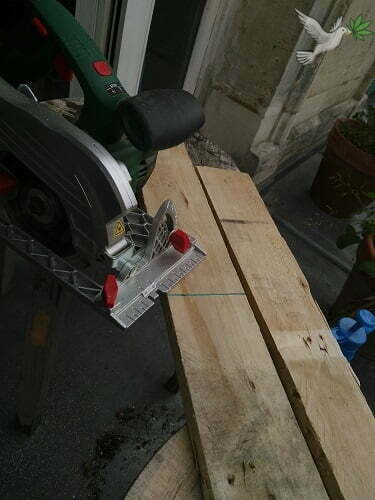
- A saw : We were lucky enough that a neighbor lent us a circular saw, making the job of cutting suuuper easy (& fun), but any saw will do the trick, might just need some more elbow grease
- A drill (and drill bits!) : So this isn’t mandatory, we didn’t have one, but it’ll definitely make the job easier.. Making all those whole manually is definitely tiring (good workout though)
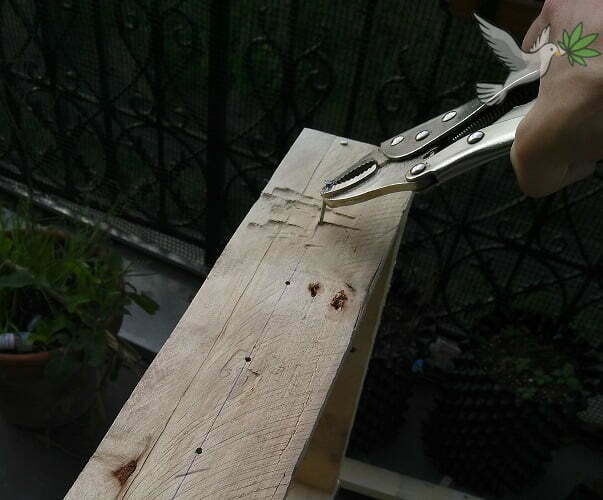
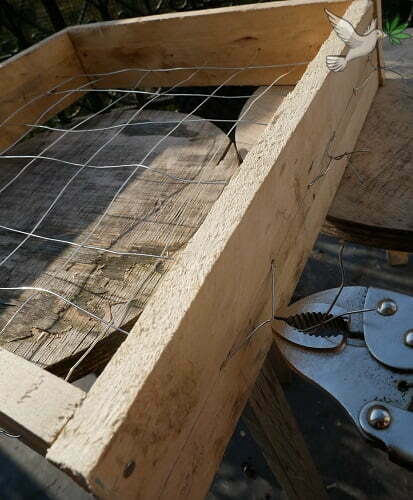
- Wire cutters: These little guys will be super useful cut the wire cutters and well as tightening the screen
- A Marker & a ruler : As any homemade project you’re going to need to measure stuff
-

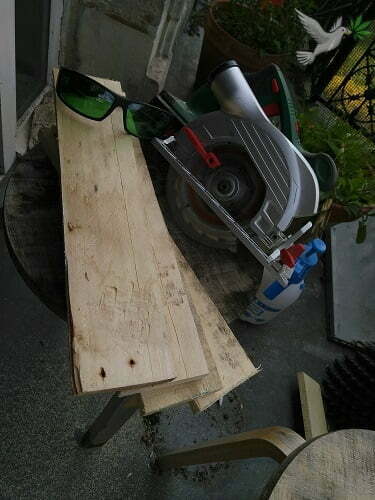
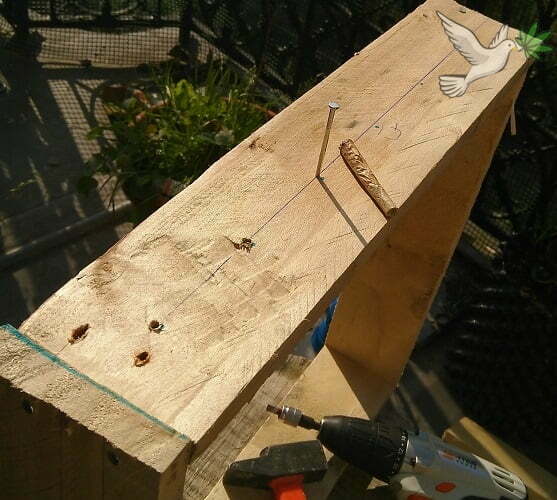
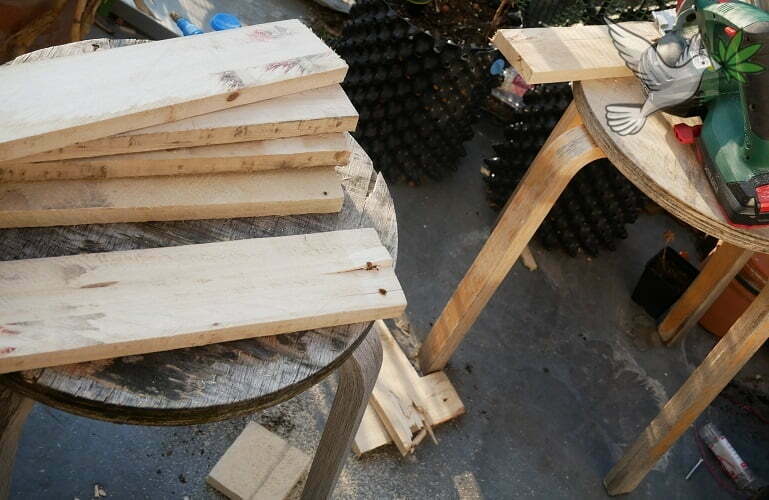
- Getting wood for the frame
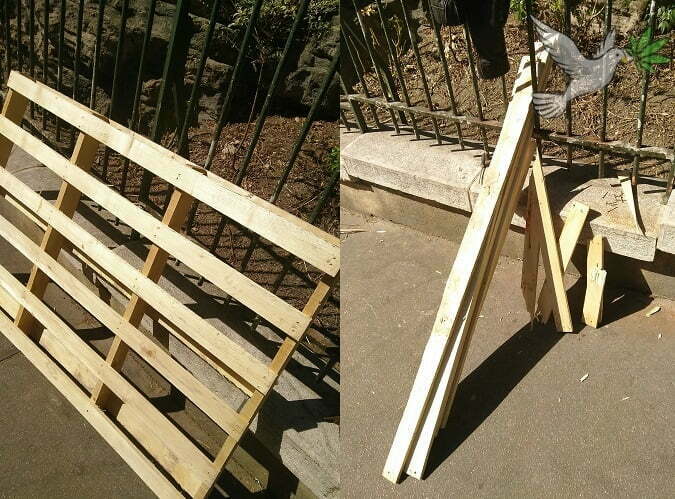
-
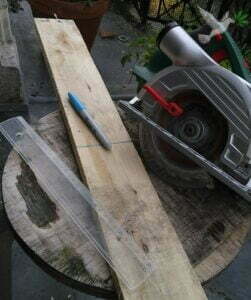
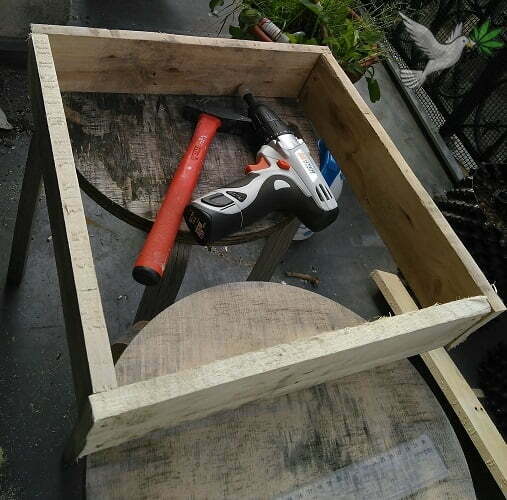
- Some of the tools used to make the screen

And there you go! If you’re able to borrow stuff you can have a dirt cheap, awesome looking, screen in no time 🙂 Full expenses on our end…. 4 bucks & couples hours.
Now let’s get into what you’re really here for
Note: If you don’t need the legs you can use wire to make the frame and attach it in your grow space. It will be take much less room.