Search for specific products and use our comparator
 Search for a ressource in our library
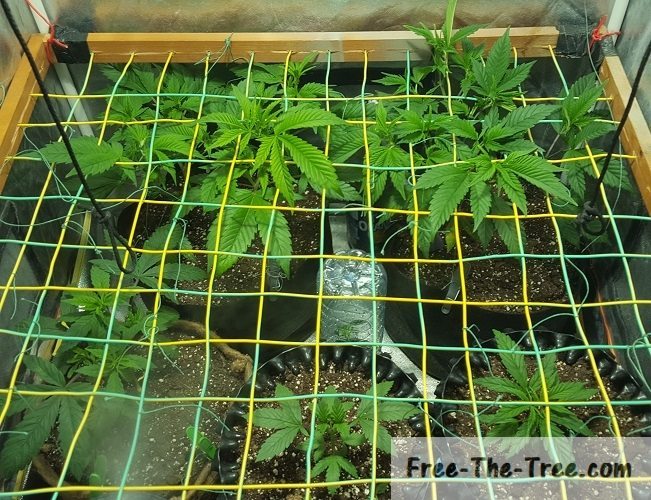


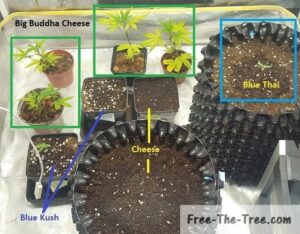
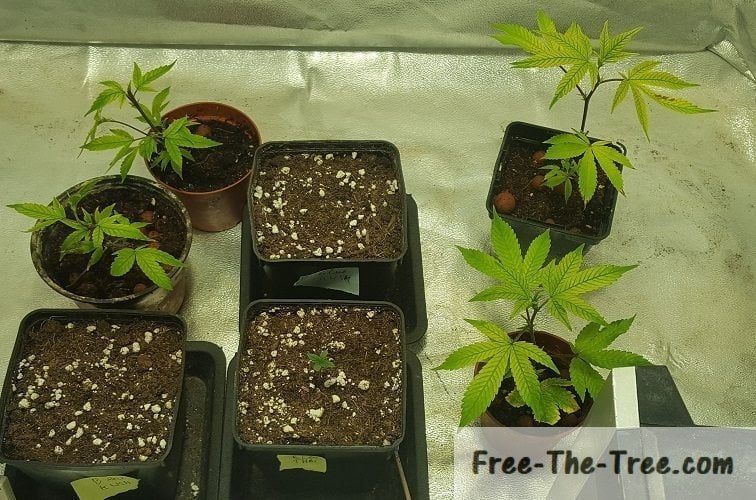
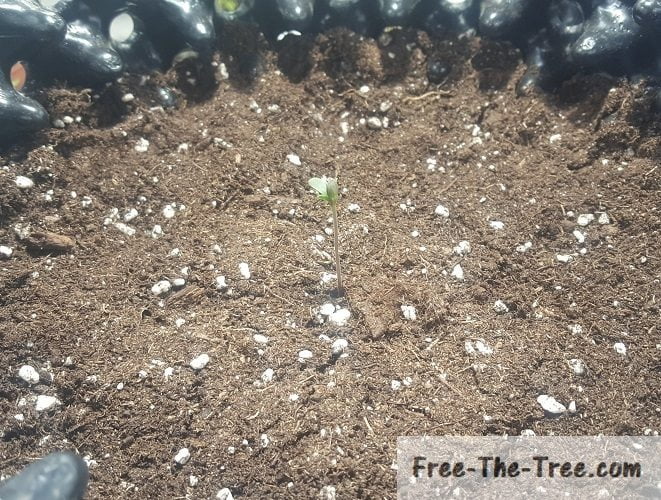
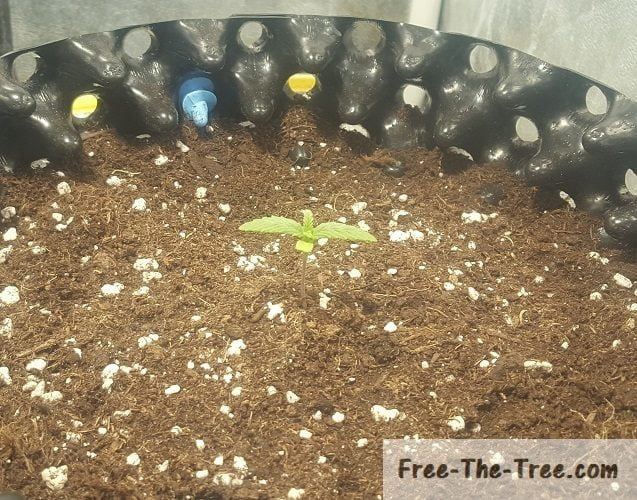
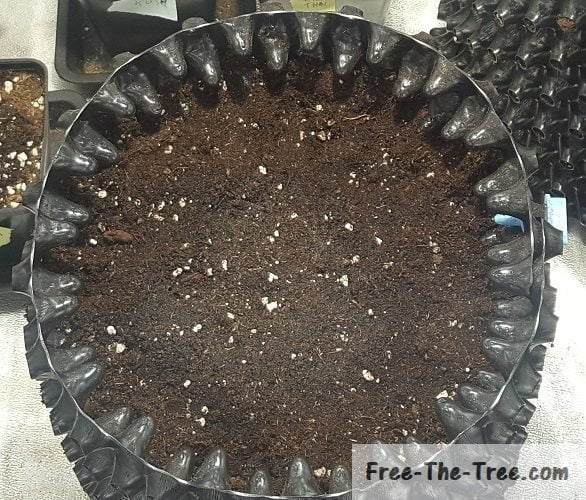
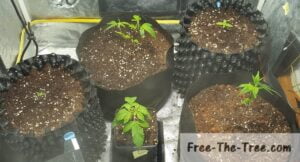
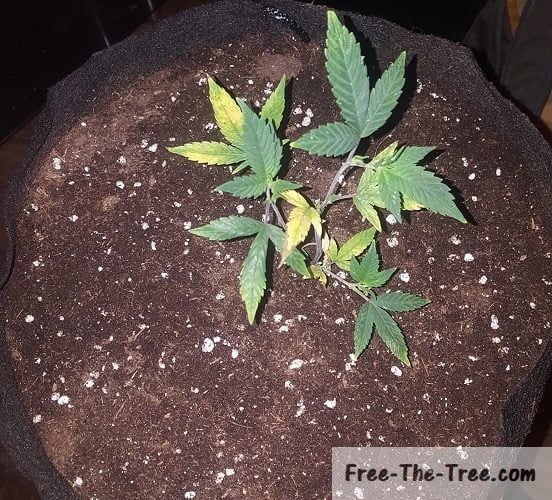
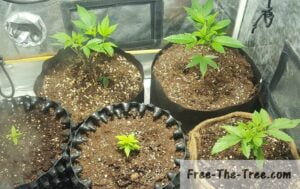
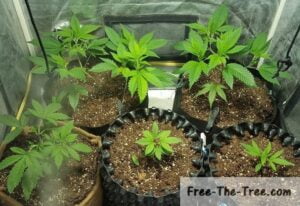
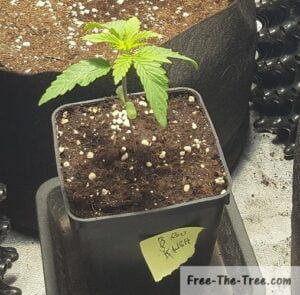
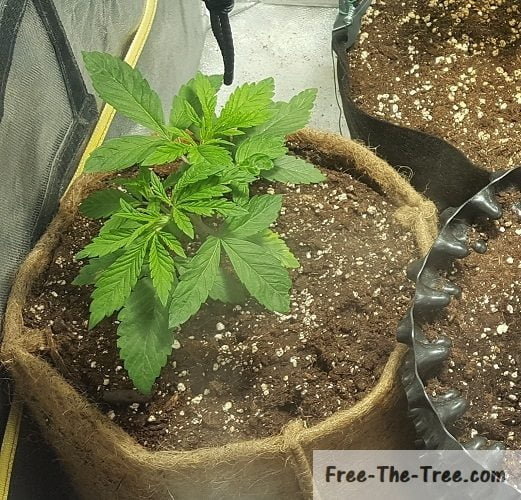
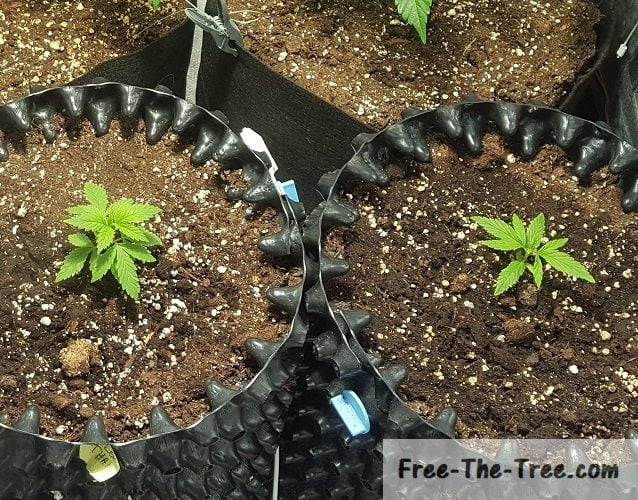
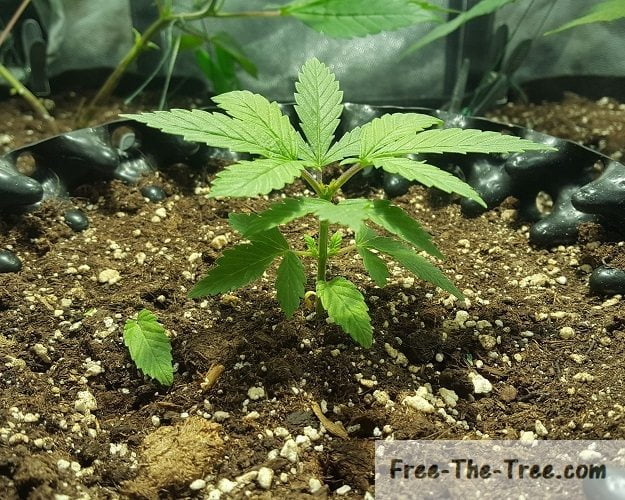
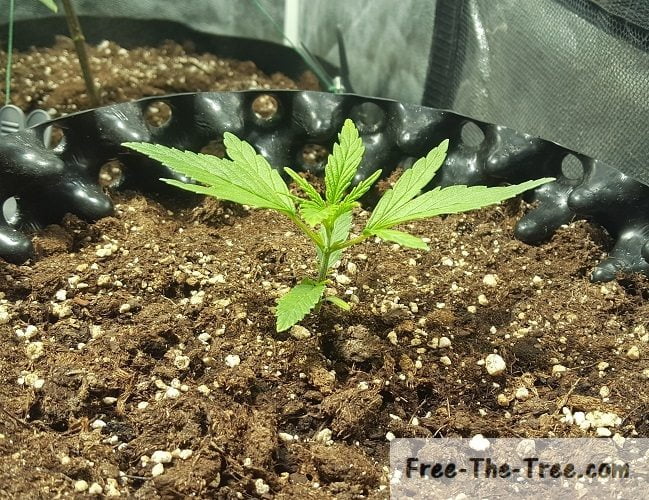
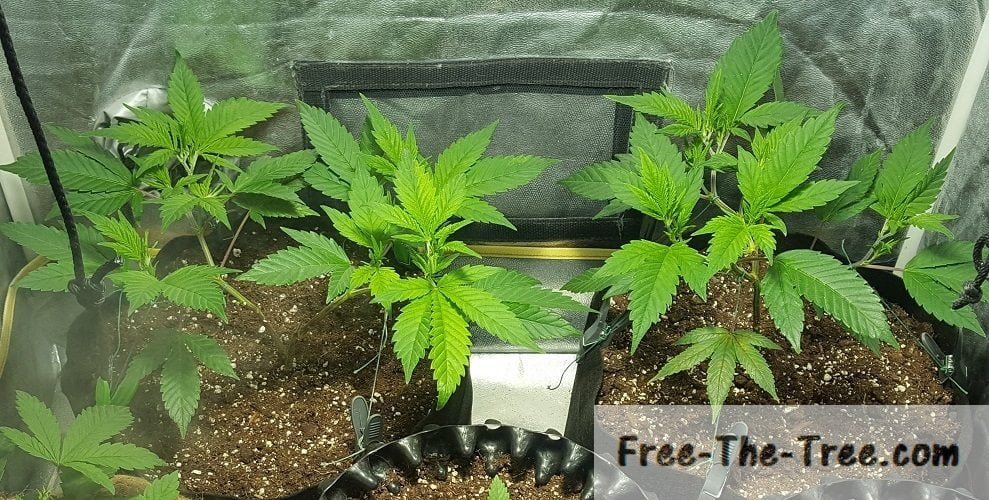
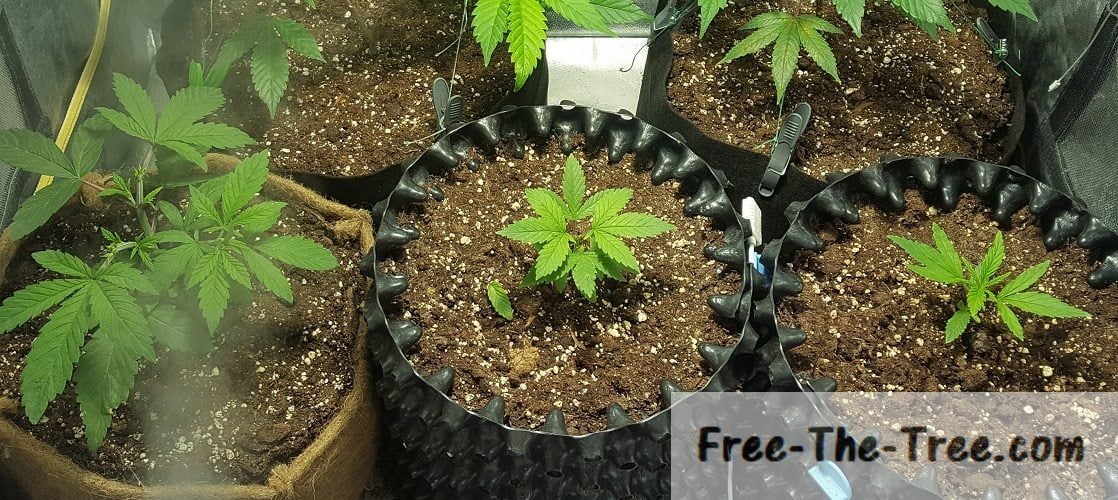
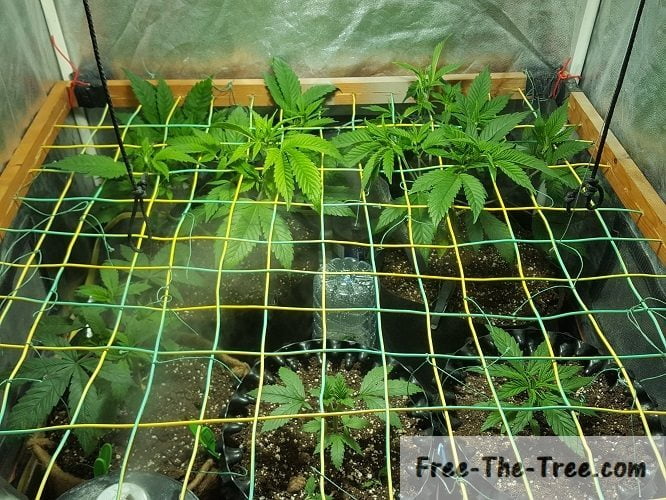
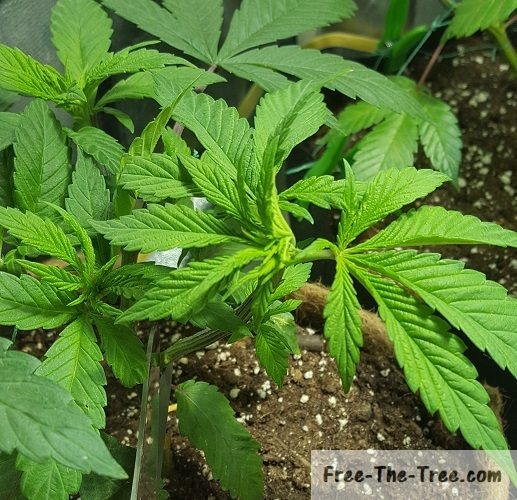
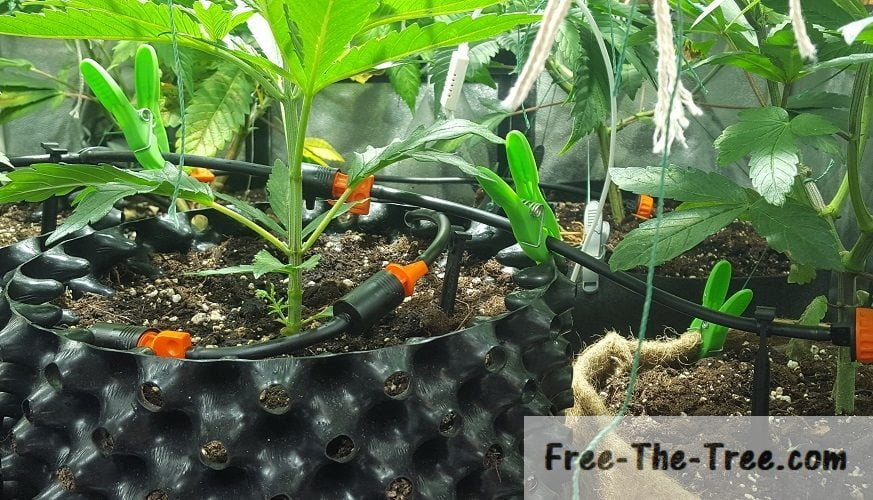
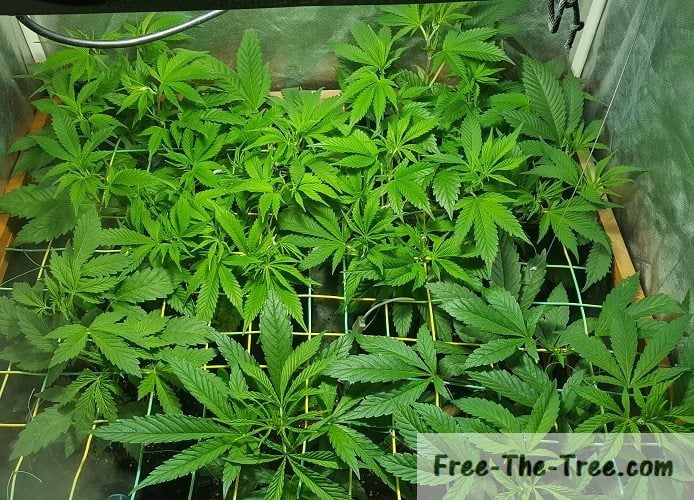
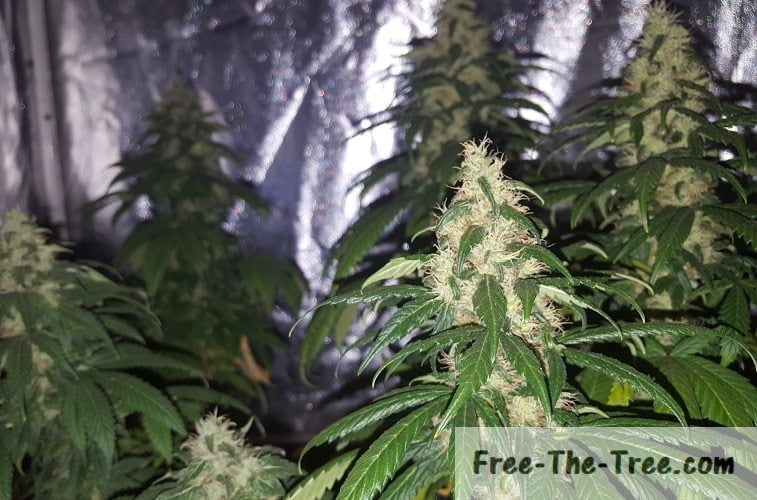
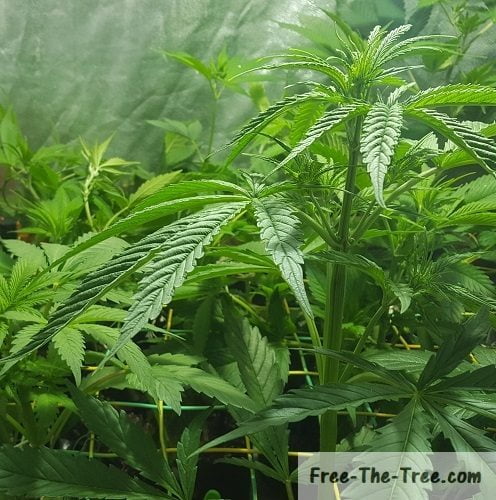
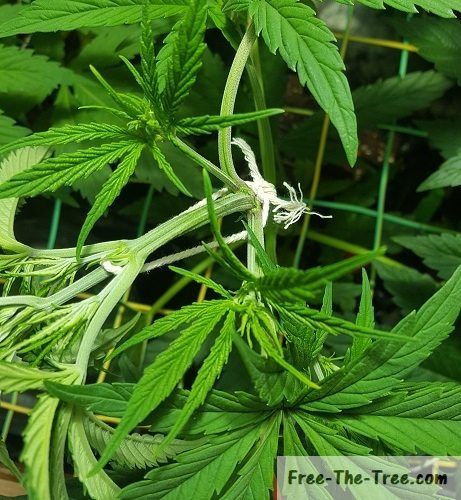
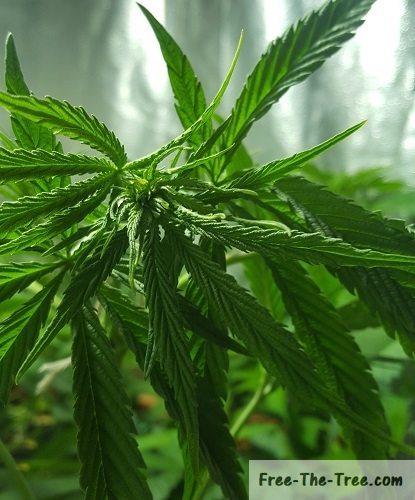
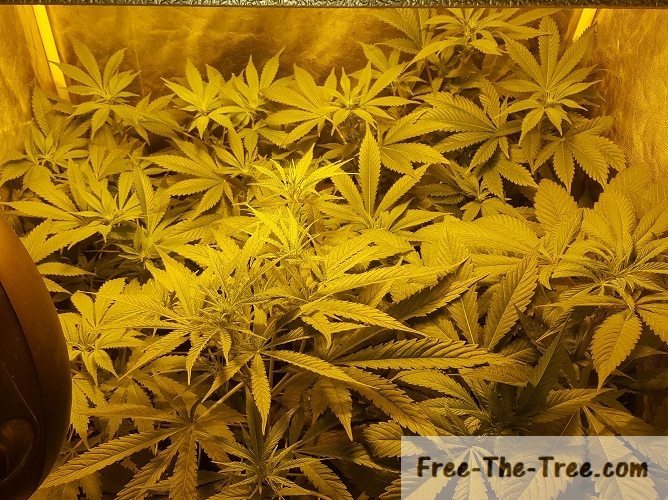
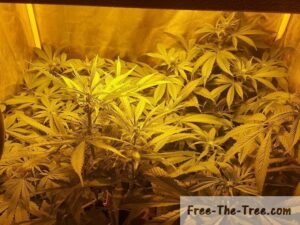
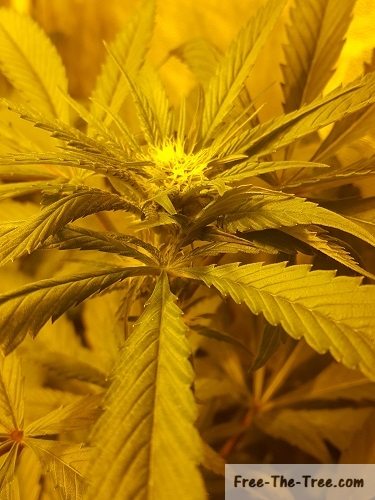
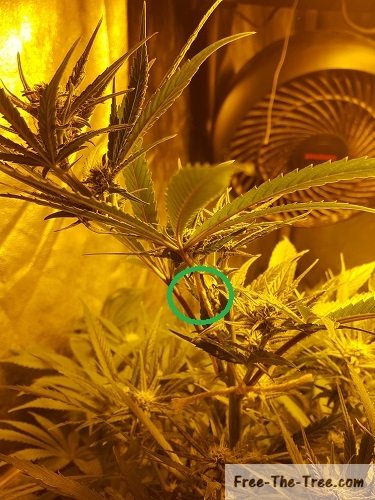
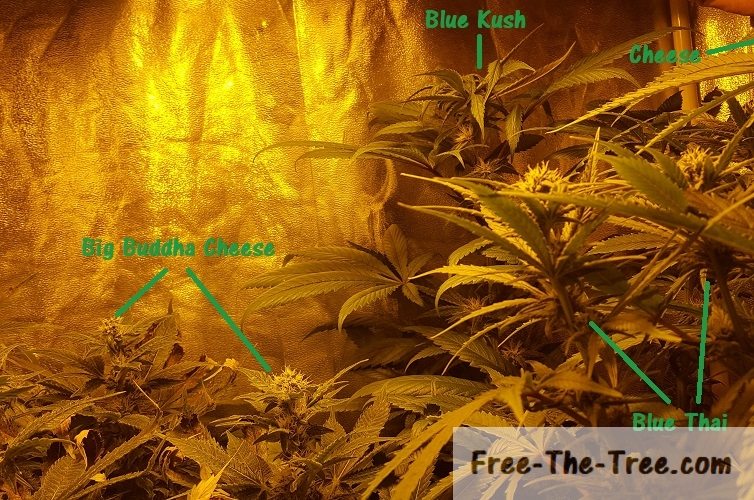
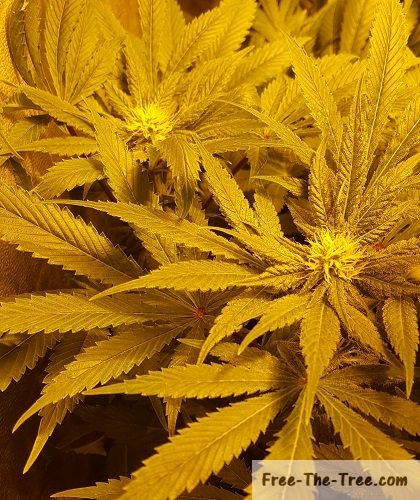
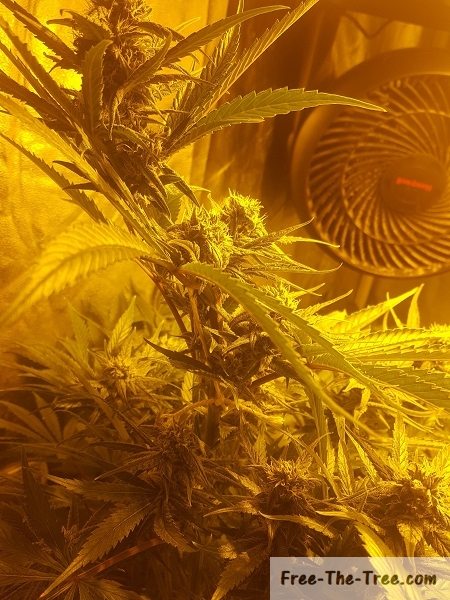
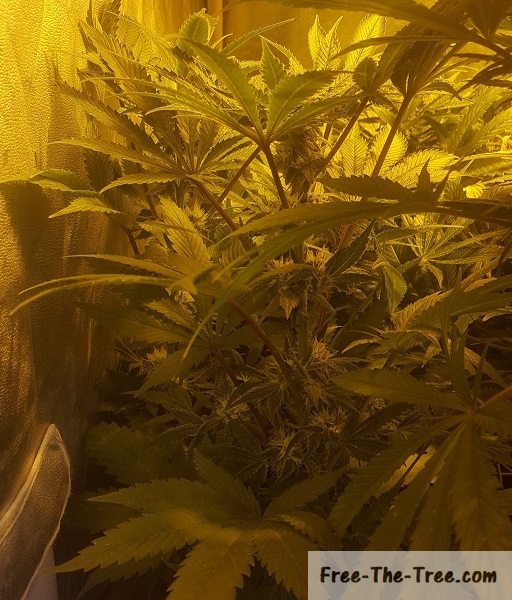
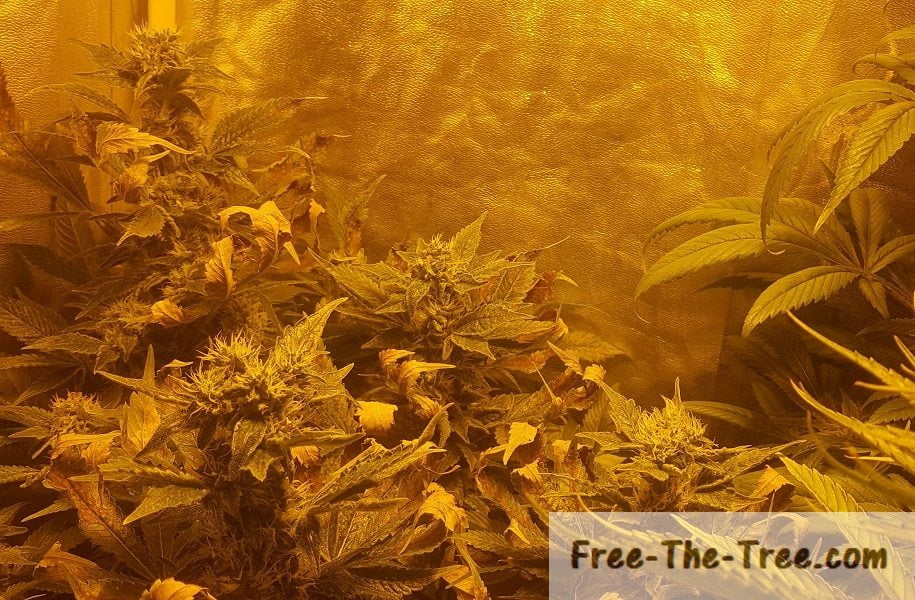
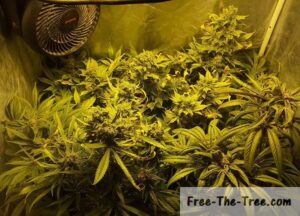
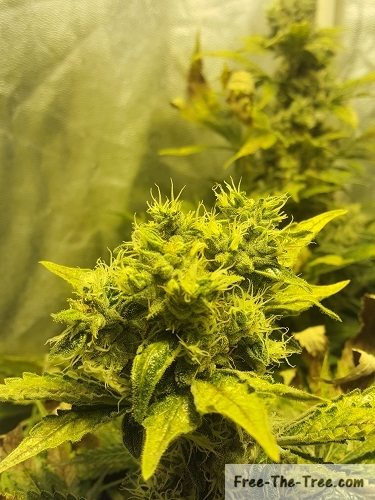
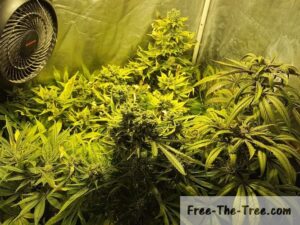
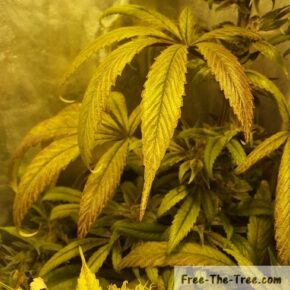
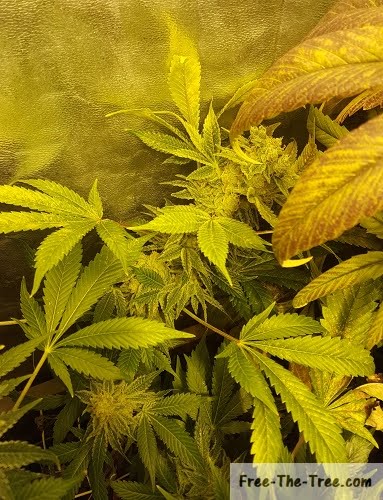
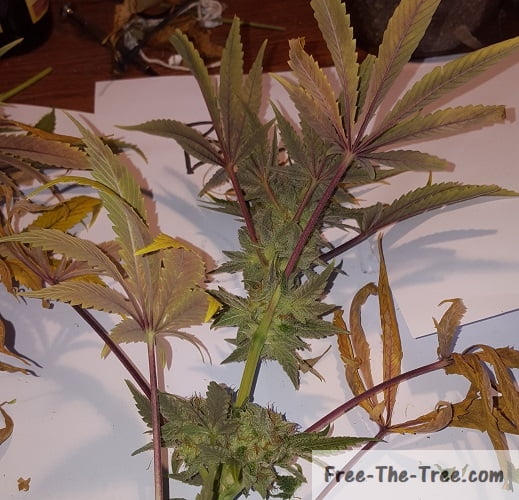
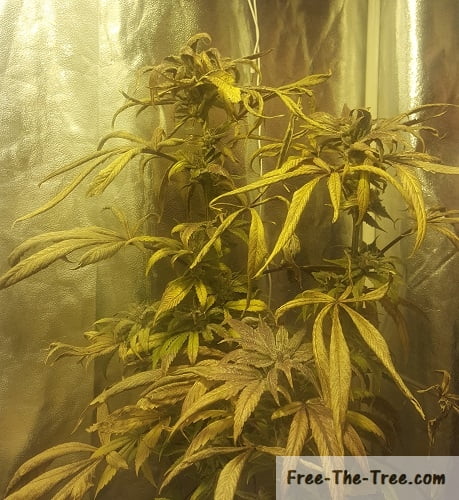
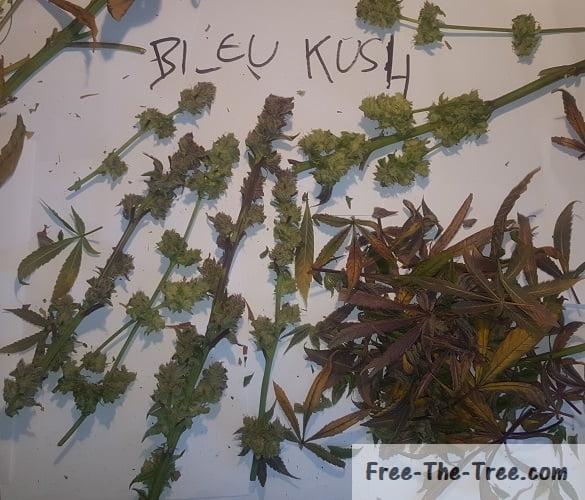
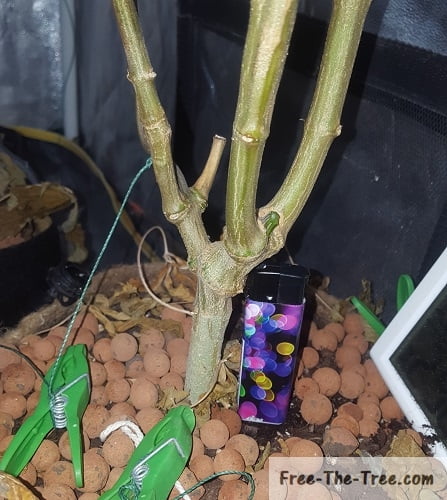
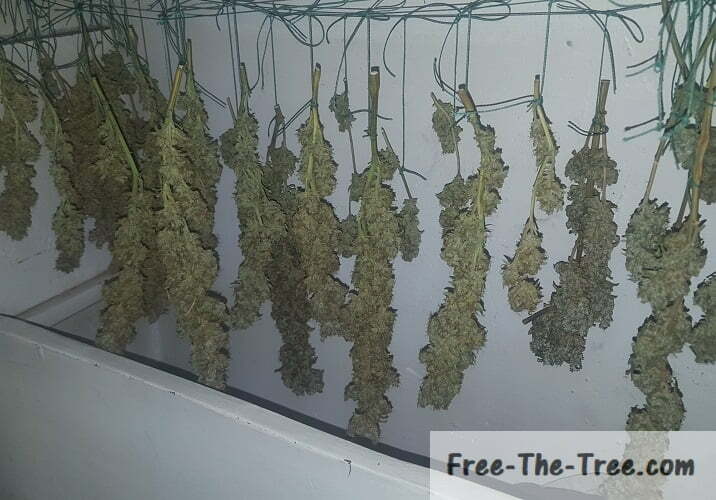
Context of the grow
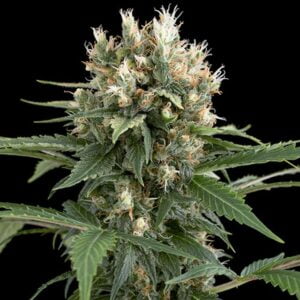
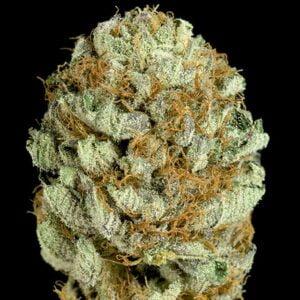
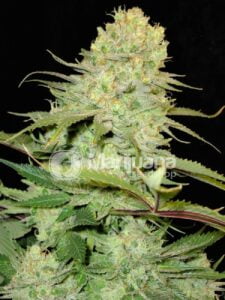
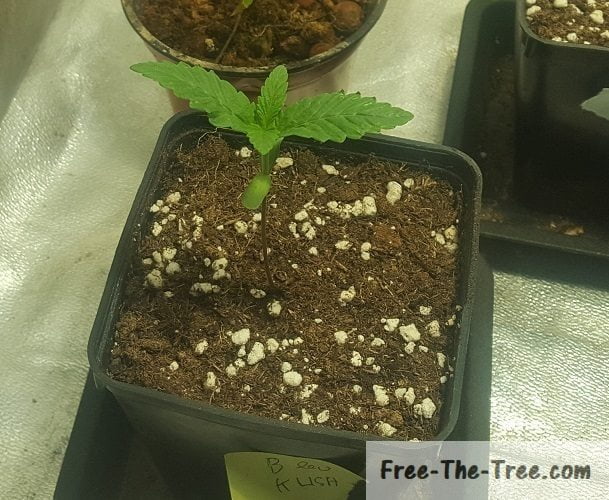
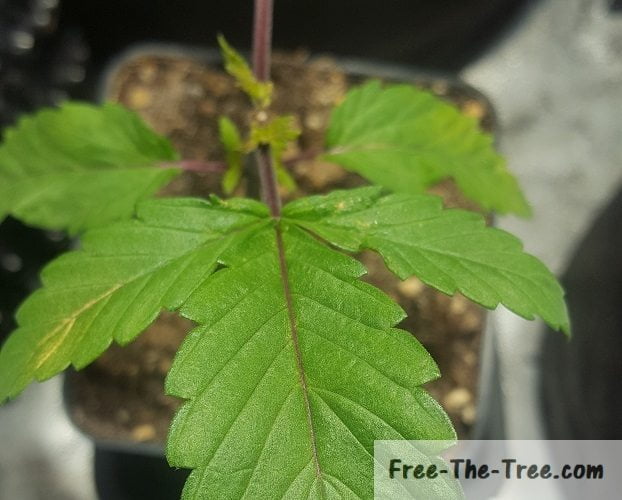
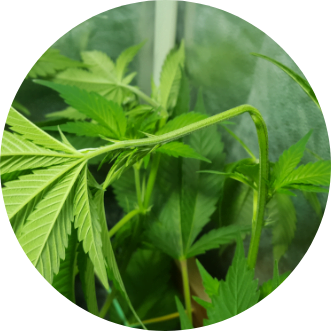
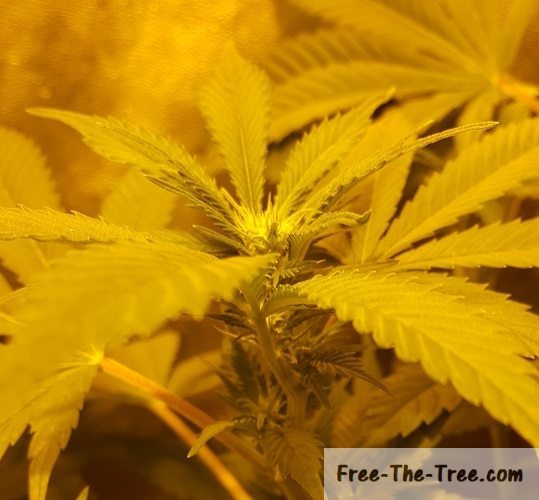
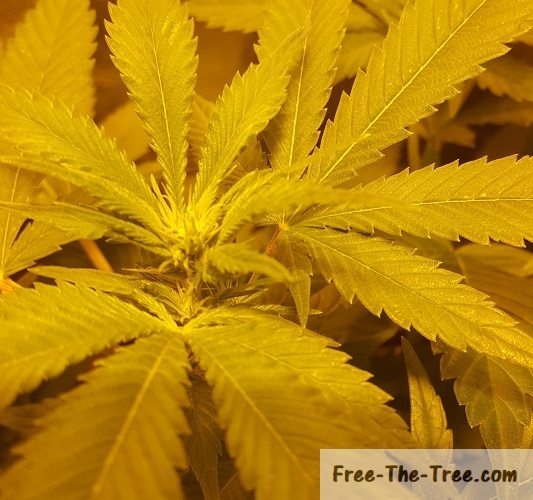
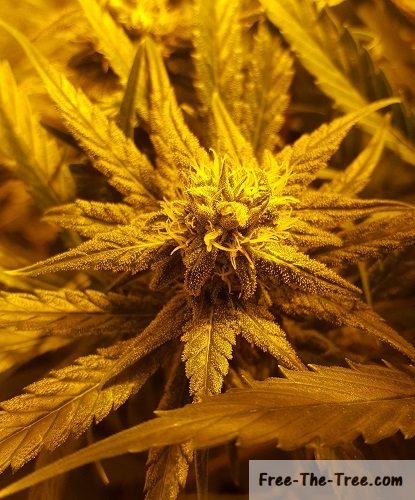
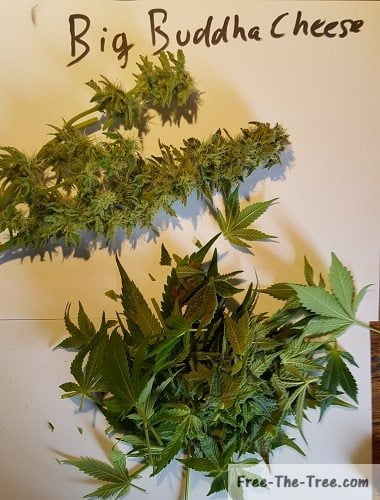
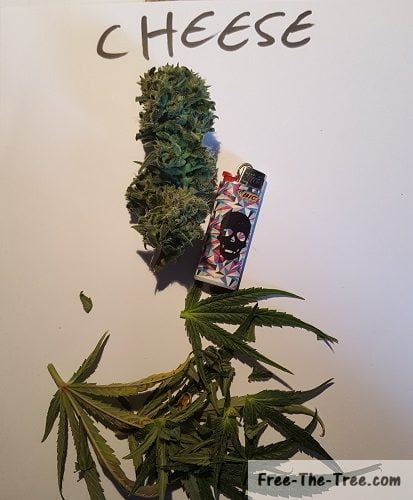
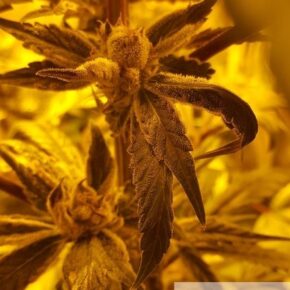
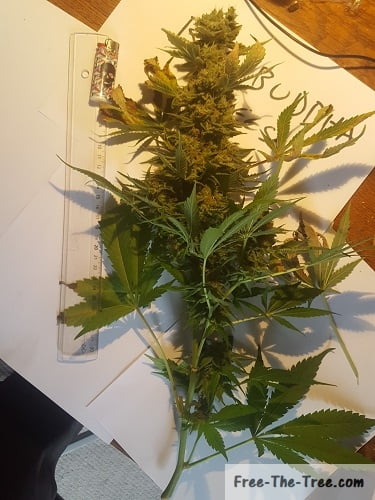
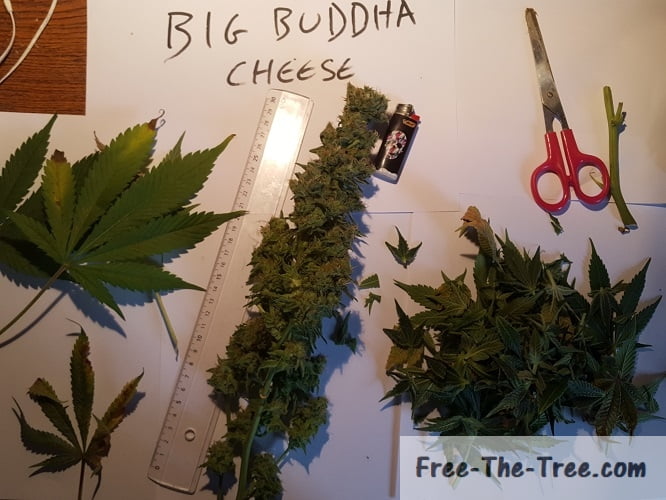
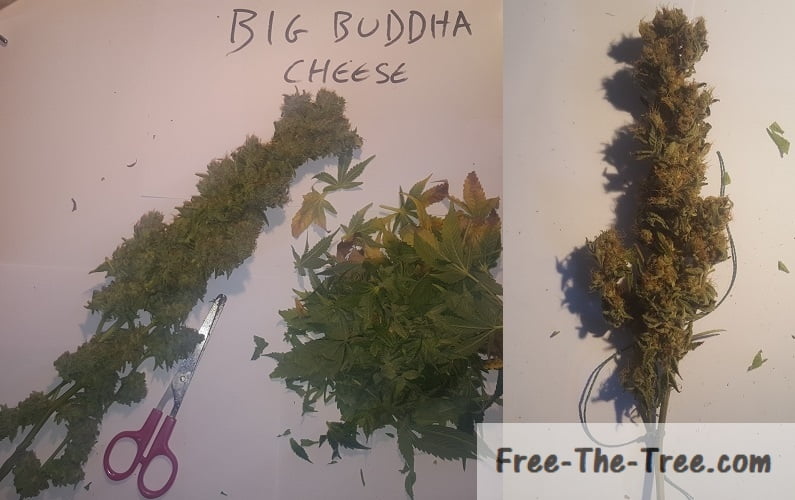
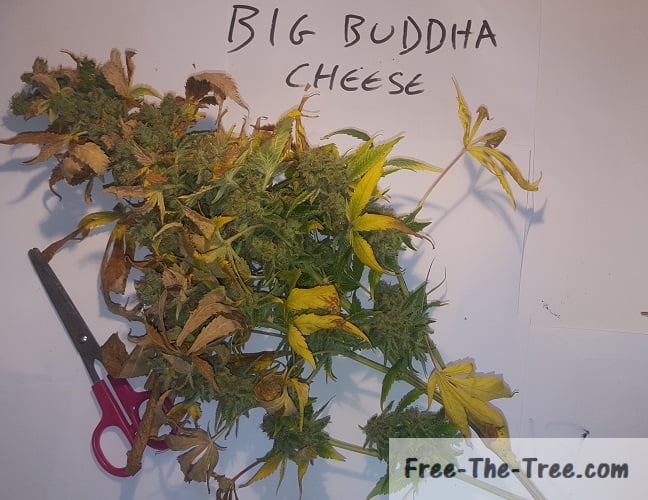
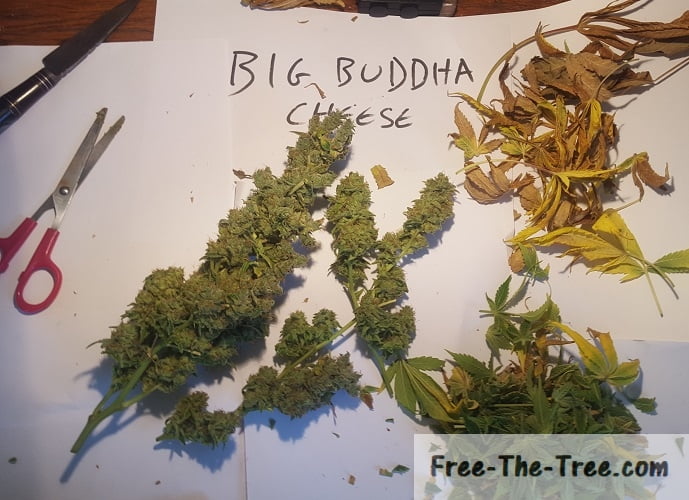
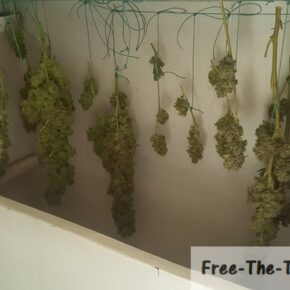
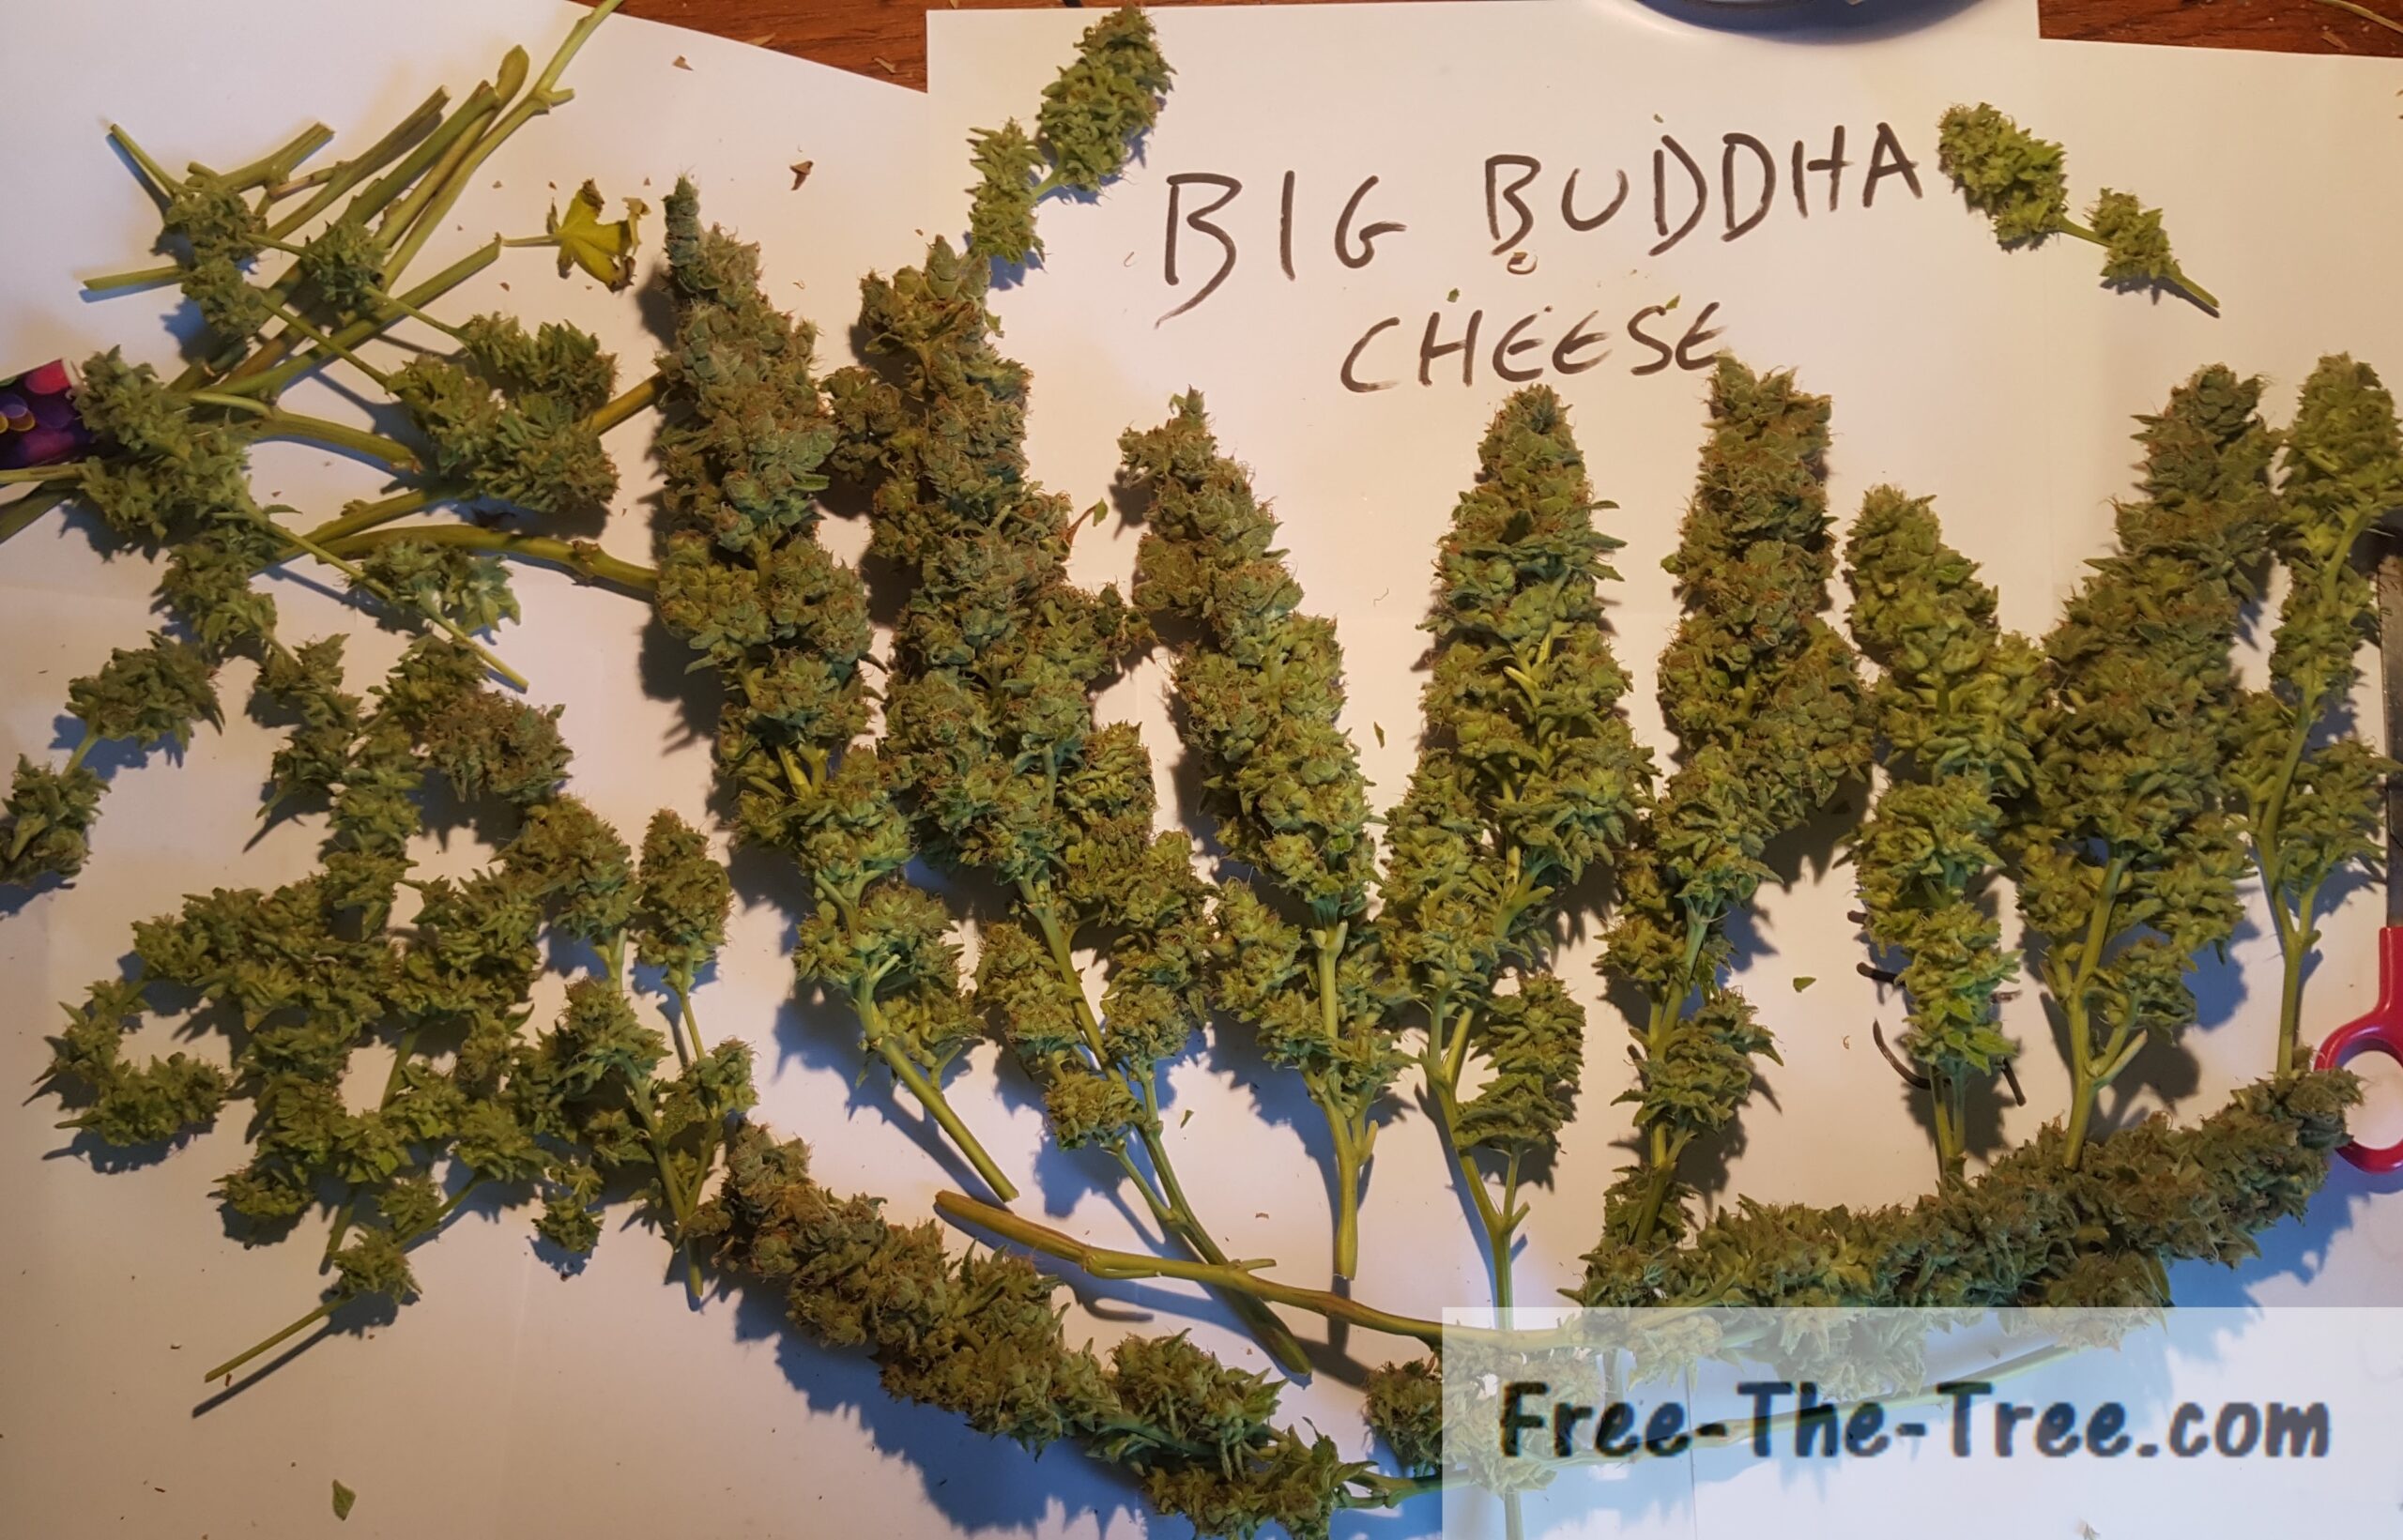
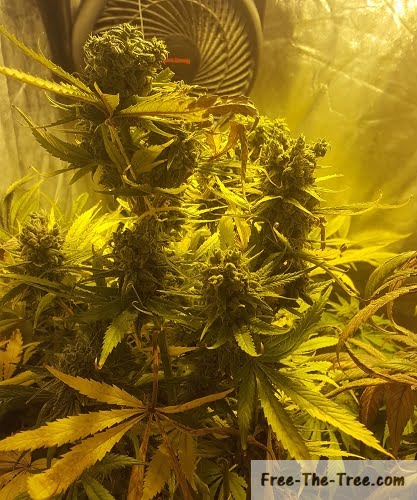
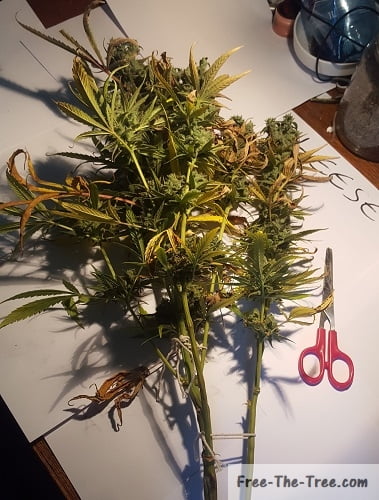
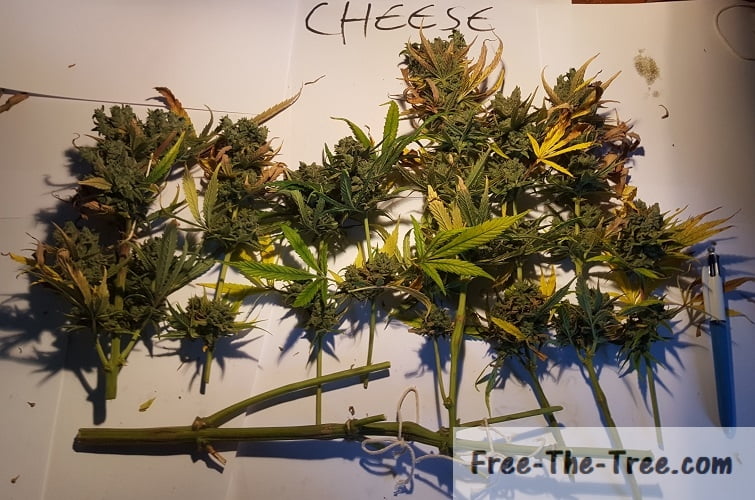
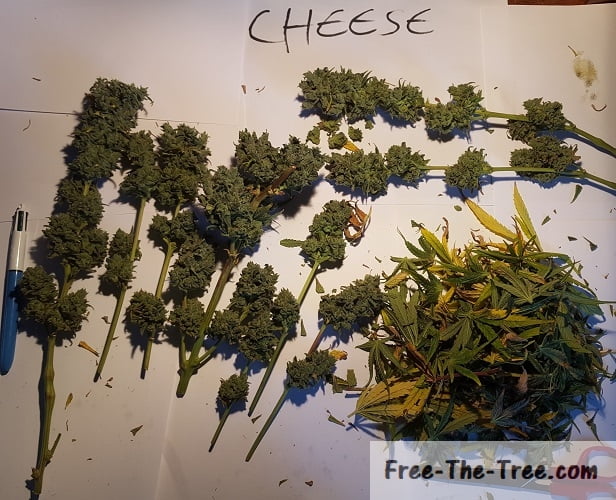
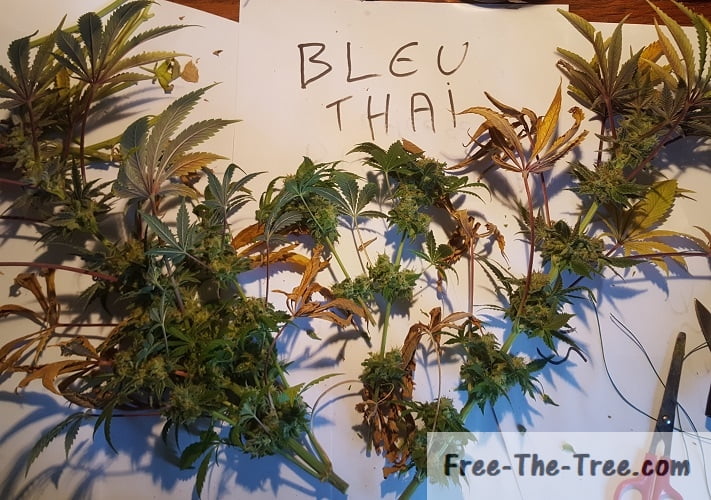
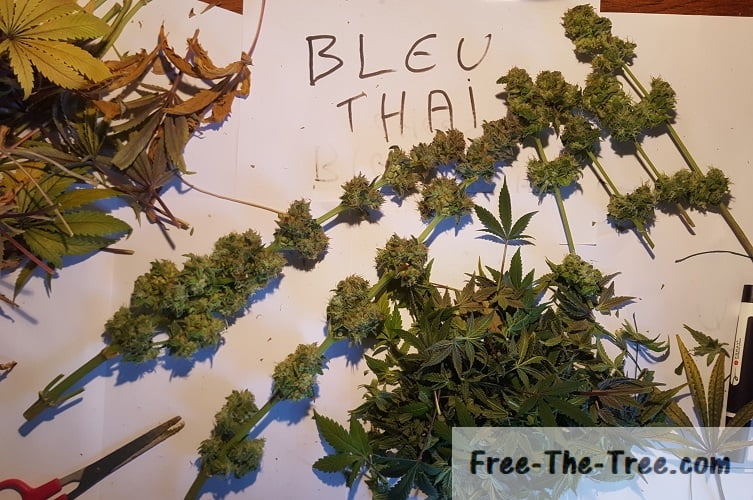
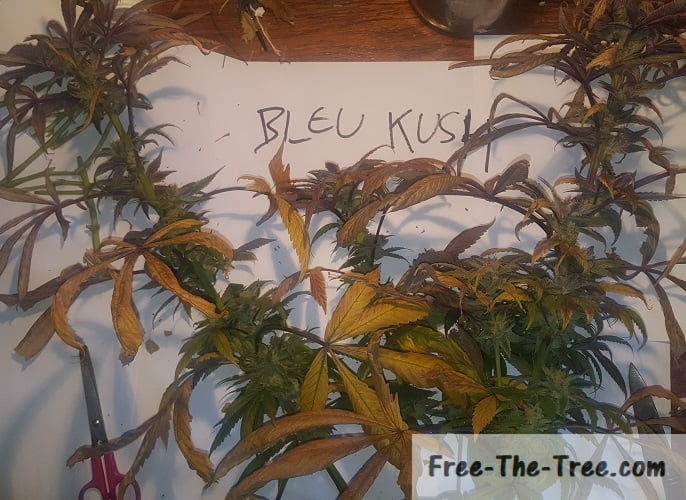
- Strains: Blue Thai, Blue Kush, Big Buddha Cheese and Cheese
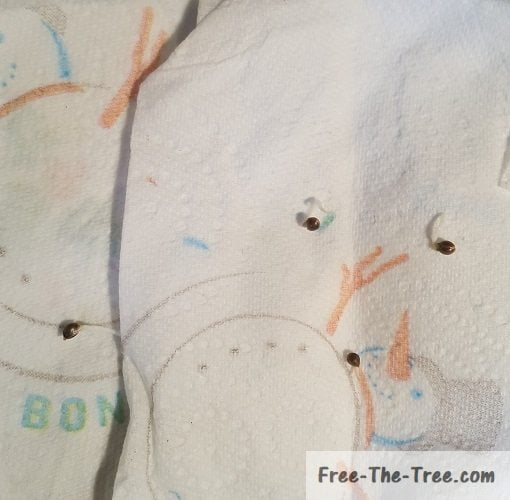
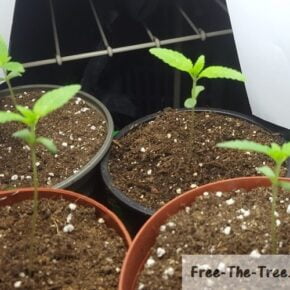
- Seed Type: Pre-Feminised and cuttings
- Seed Bank: Dinafem
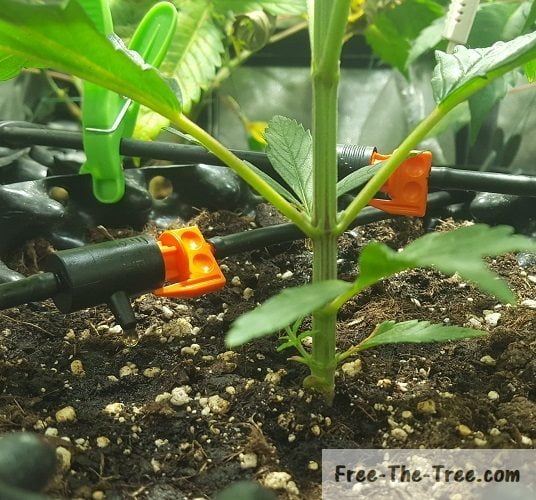
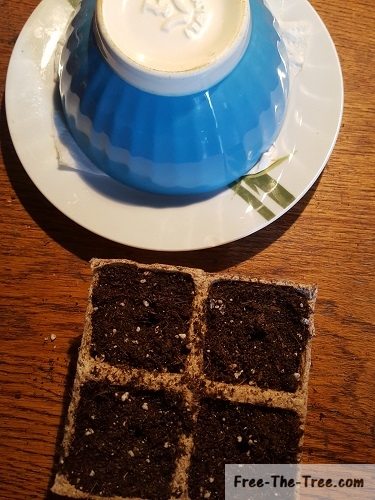
- Grow Medium: Non-enriched soil
- Nutrients or Additive Used:
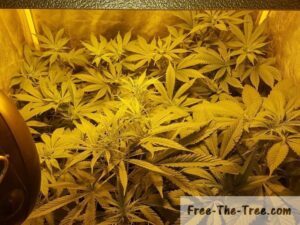
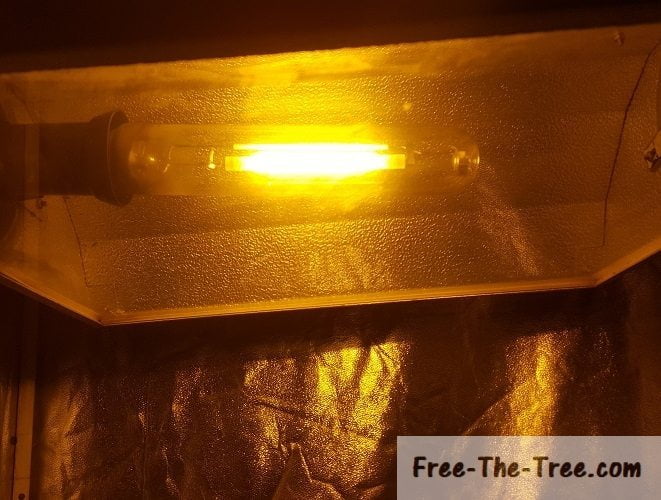
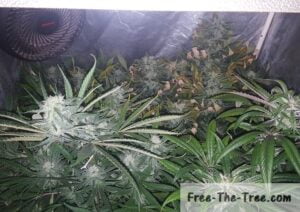
- Grow Lights:
- Vegetative Stage: 400MHz MH (Metal Halid) Blub
- Flowering Stage: 400MHz HPS (High Pressure Sodium) Bulb
- Grower Experience: 4th indoor culture