Search for specific products and use our comparator
 Search for a ressource in our library
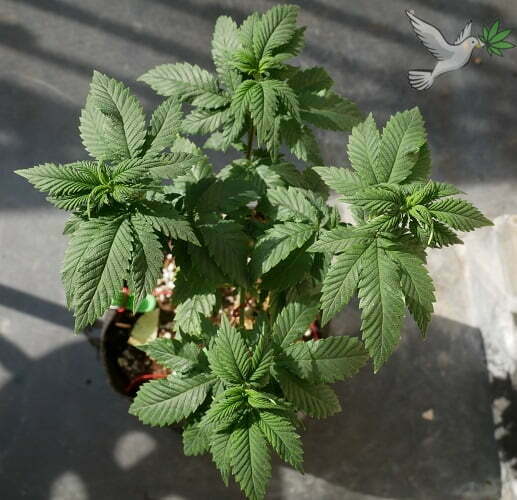


-

- Blue Thai mother plant
-
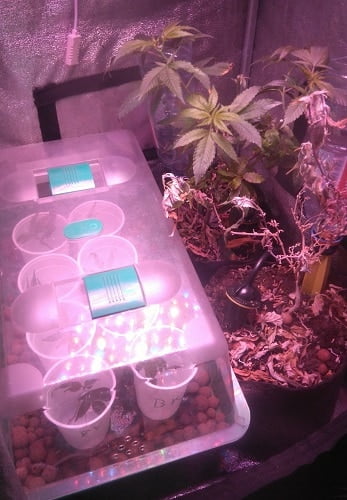
- Clone rooting
-
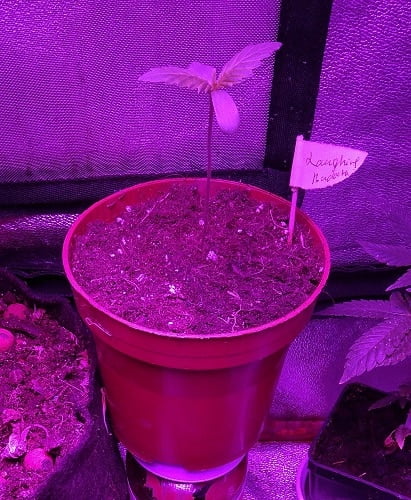
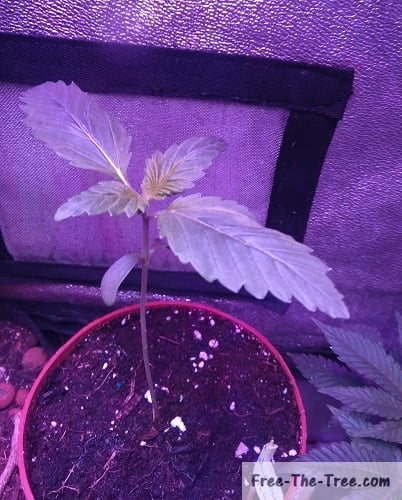
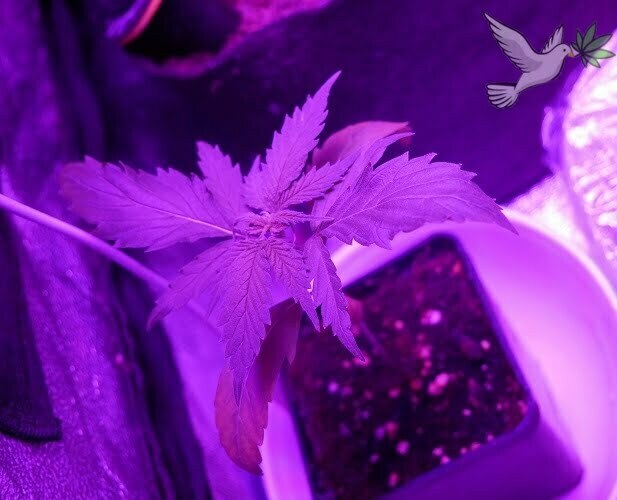
- Little one at the beginning of the week
-
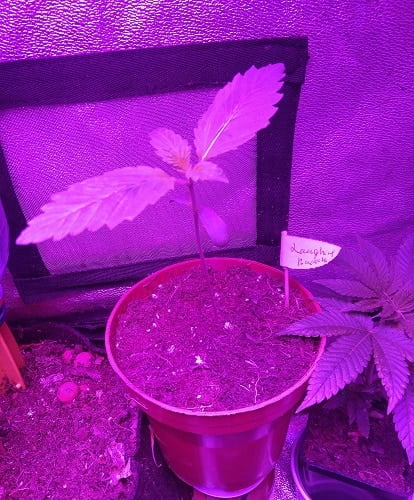
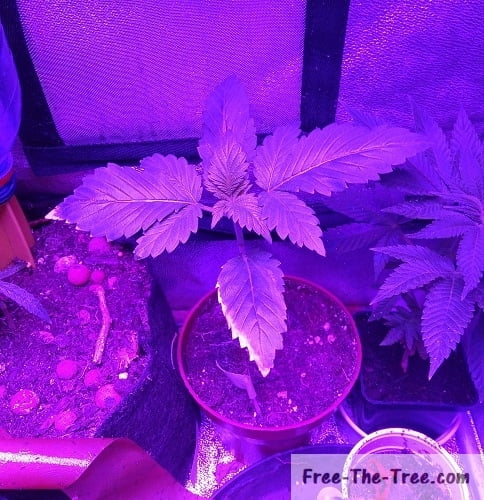
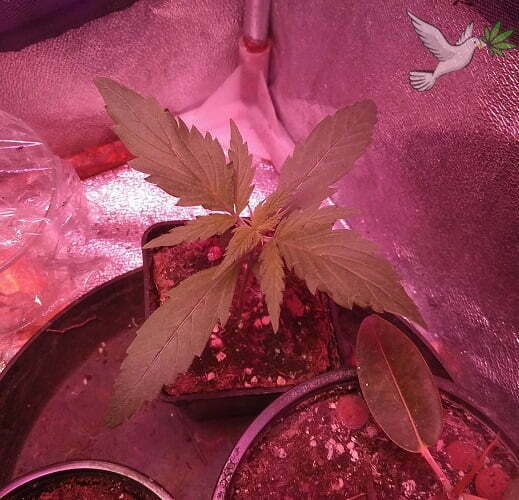
- Couple days later, fans leaves well developed
-
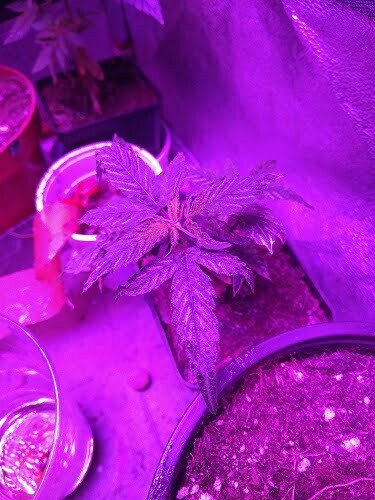
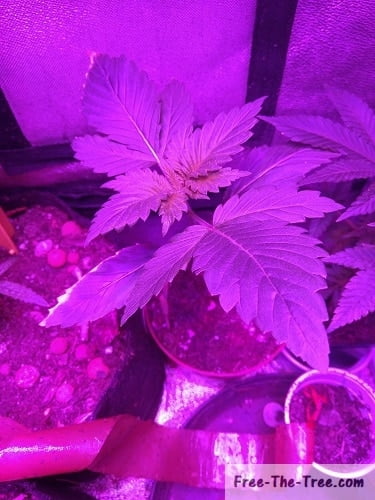
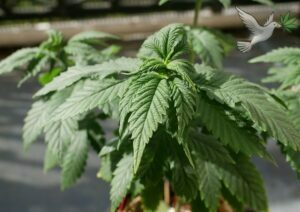
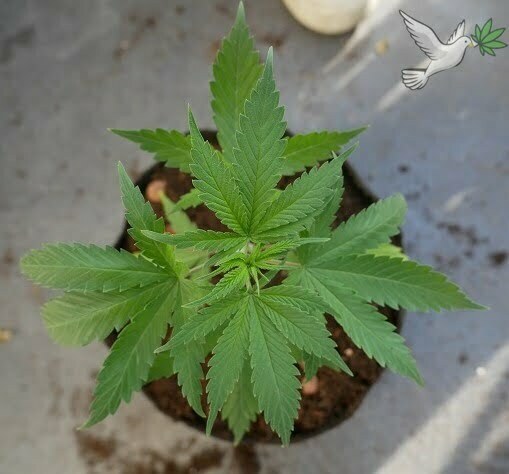
- 3rd stage growing well – plant starting to lean
-
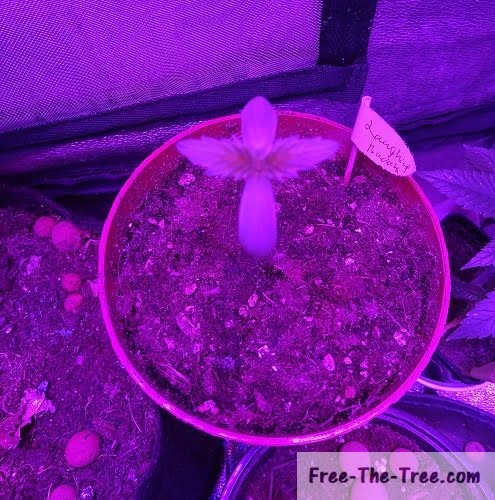
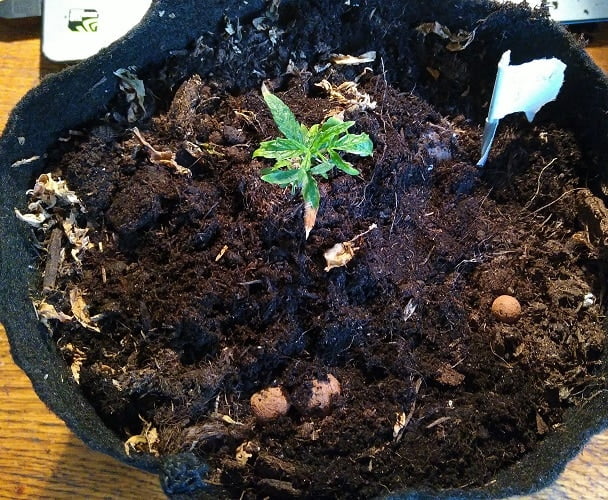
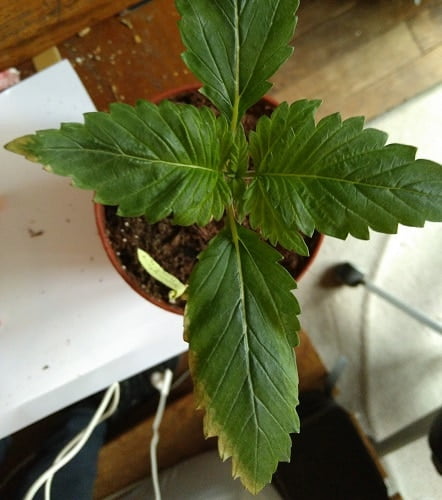
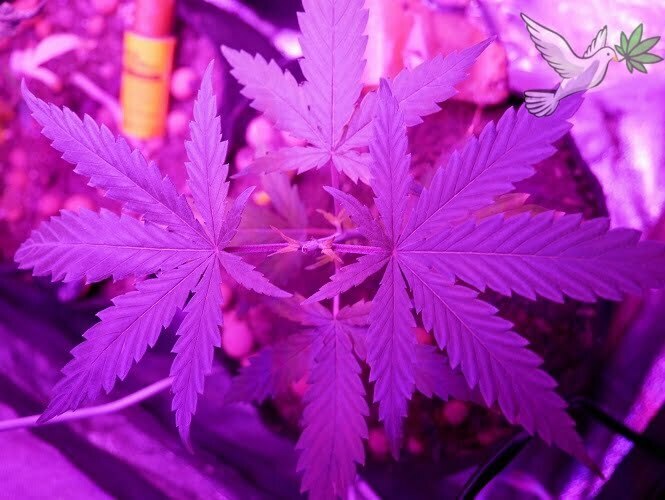
- Laughing buddha ready to be transplanted
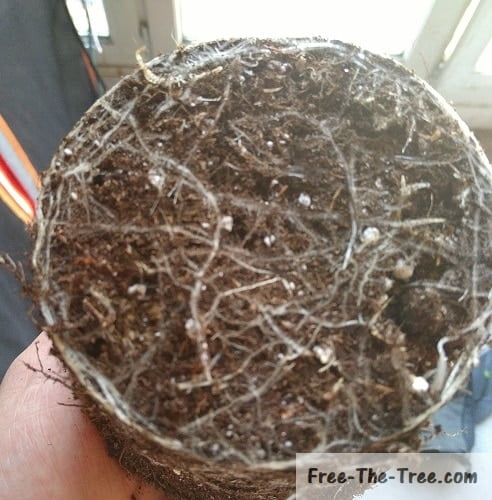
-
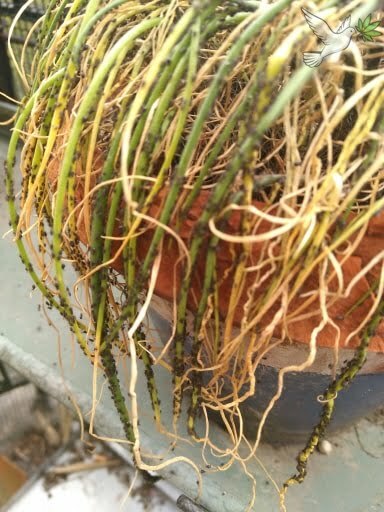
- Roots circling in the soil (not good)
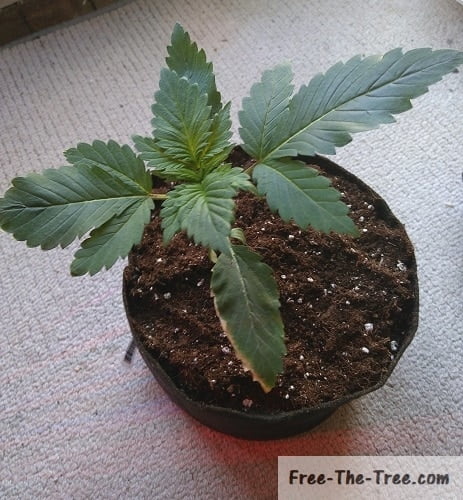
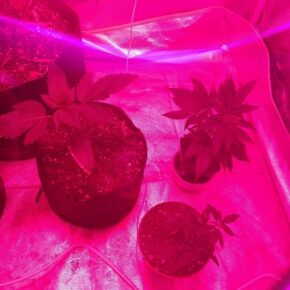
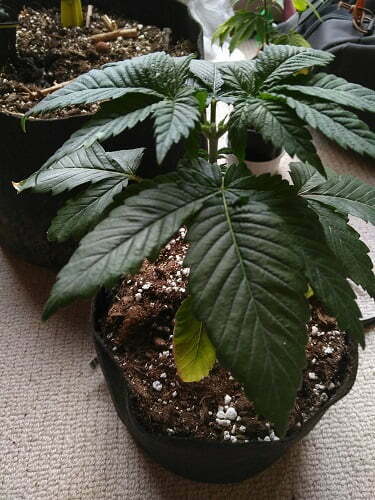
-
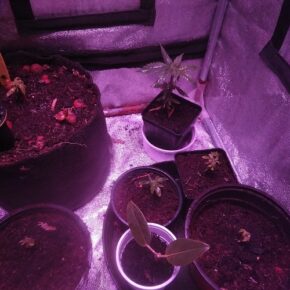
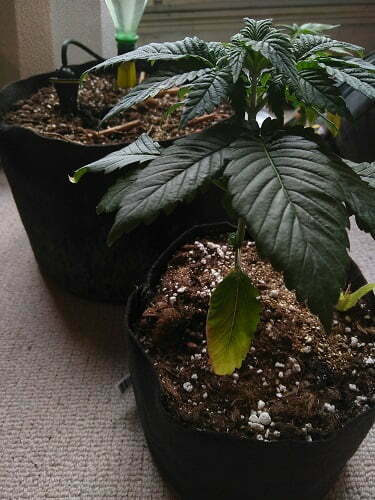
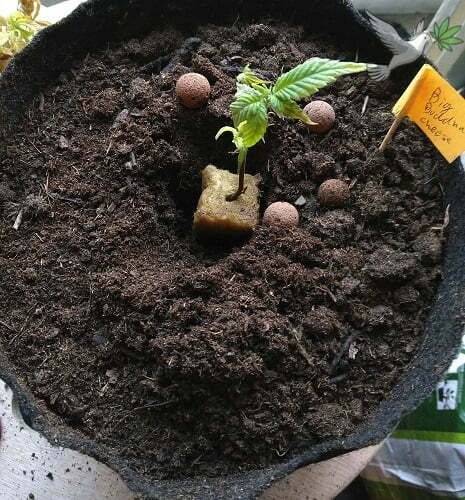
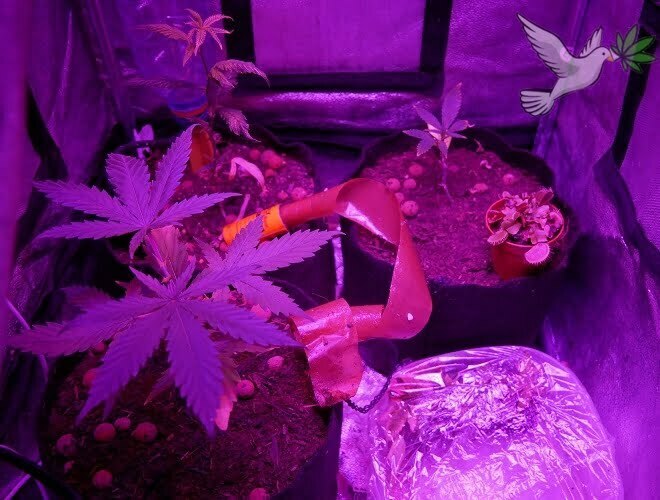
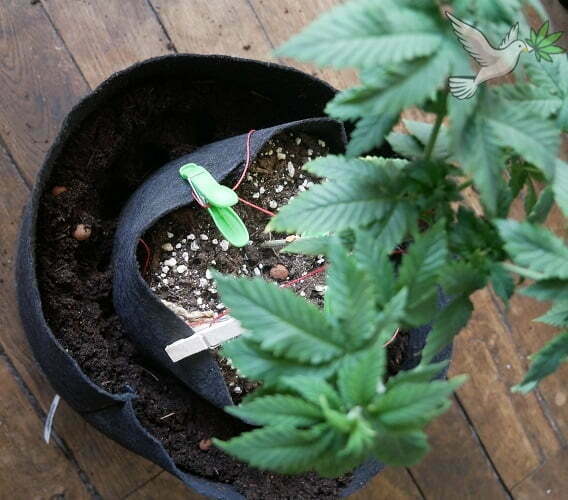
- Plant in fabric pot
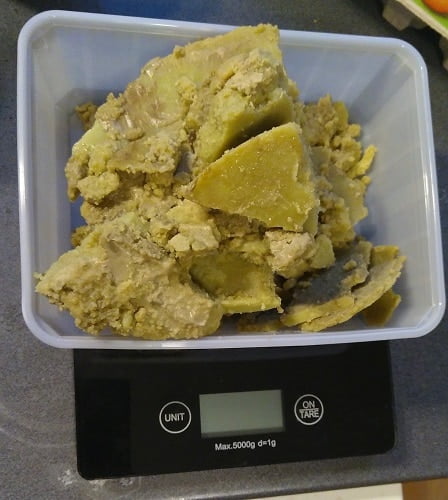
-
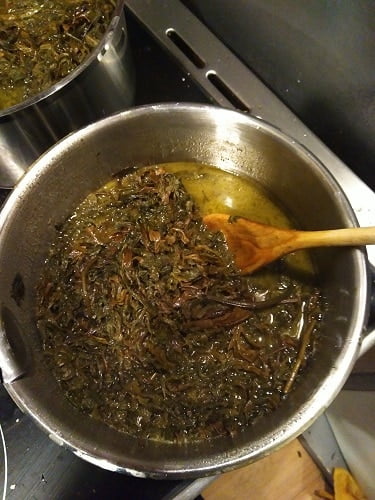
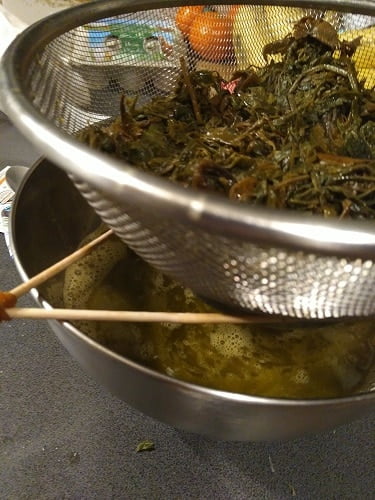
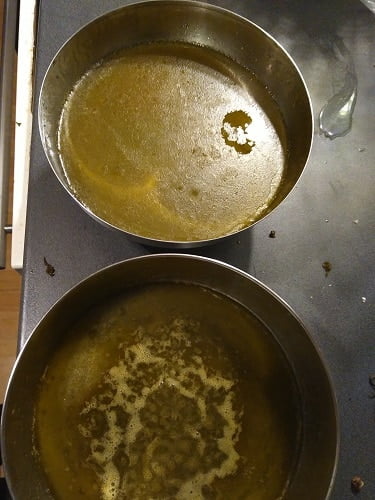
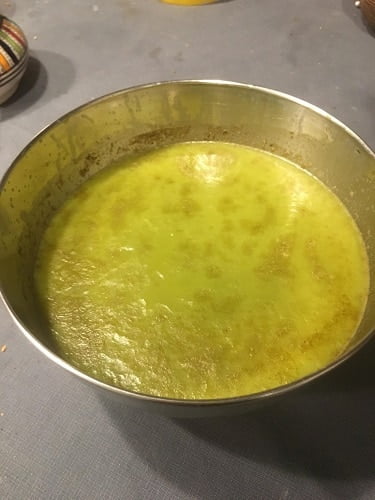
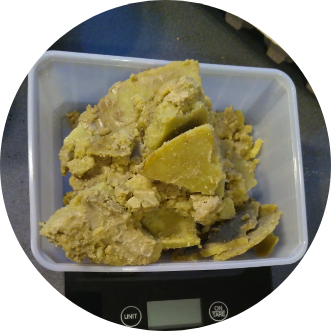
- 480g Cannabutter
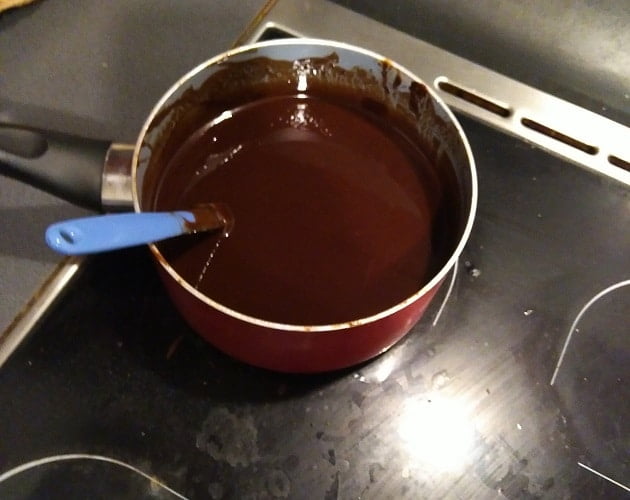
-
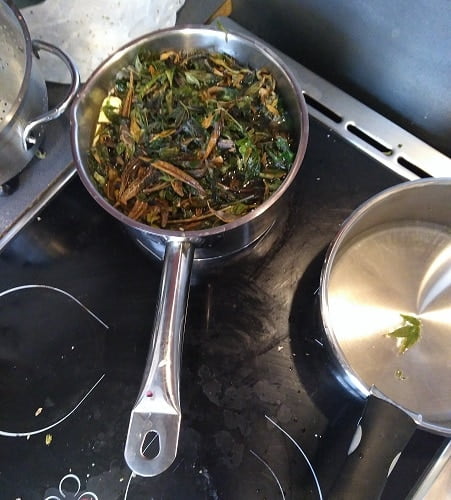
- Chocolate and Cannabutter heating up
-
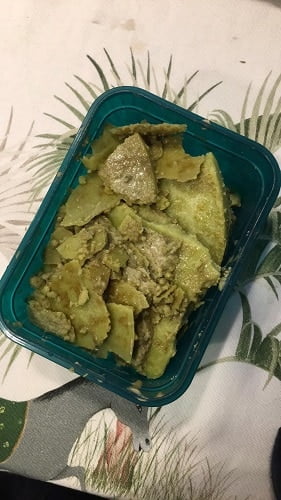
- Space Cake out of the oven (wish you could smell em)

Contribute to our knowledge base
Submit articles, videos or tips to enrich our library
Make a contribution

-
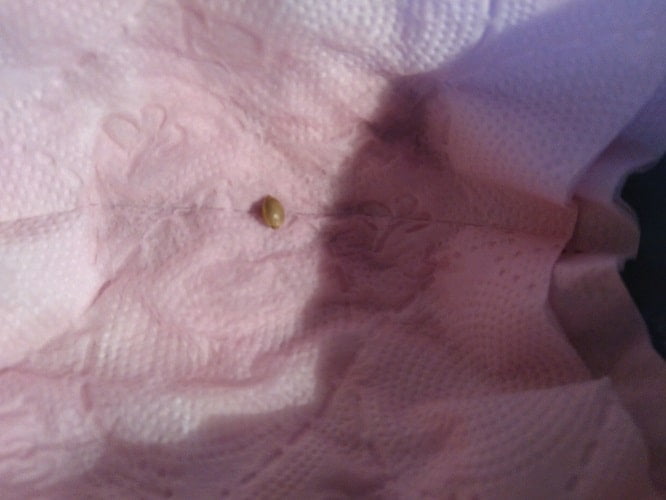
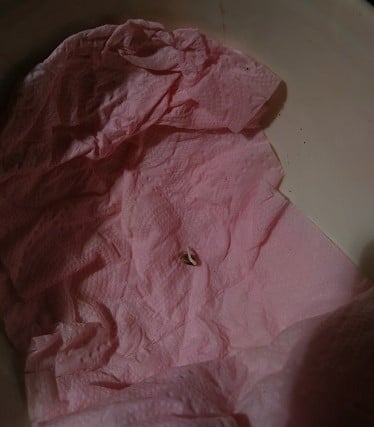
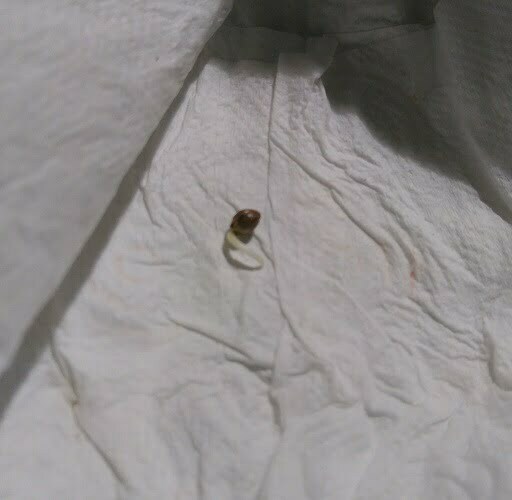
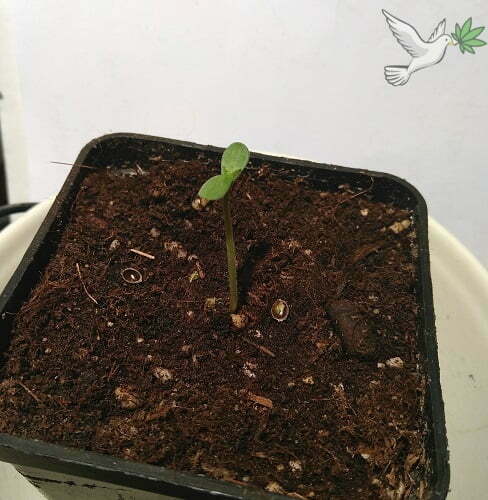
- Seed germinating in paper towel
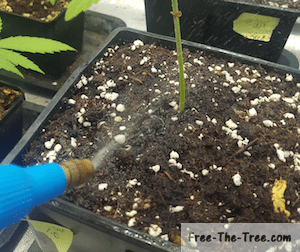
-
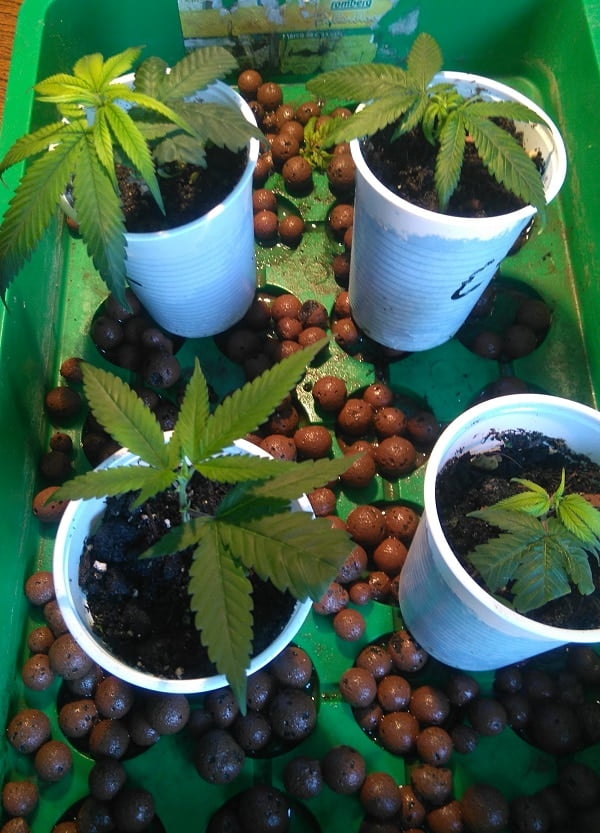
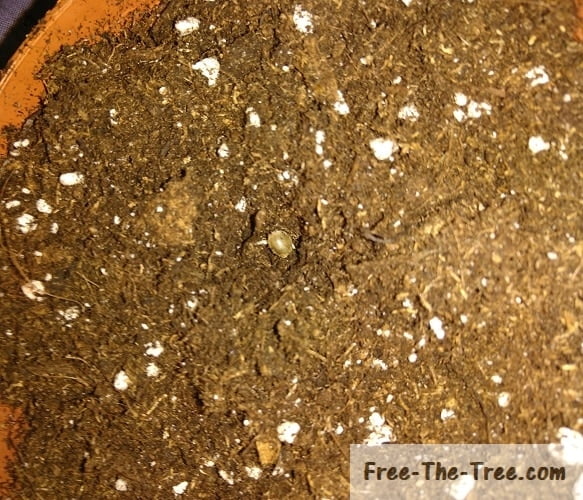
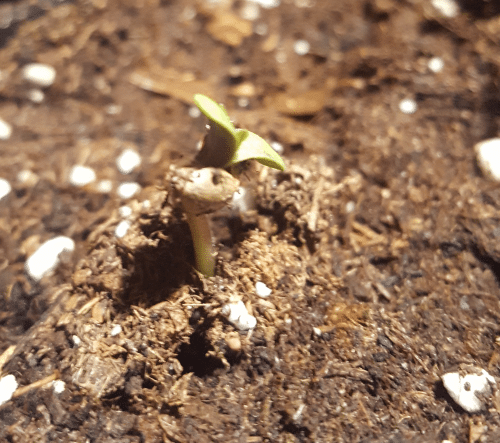
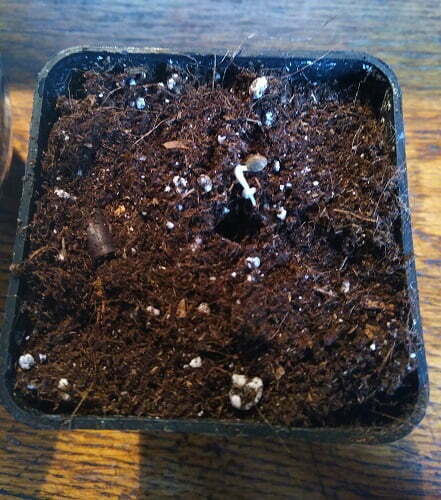
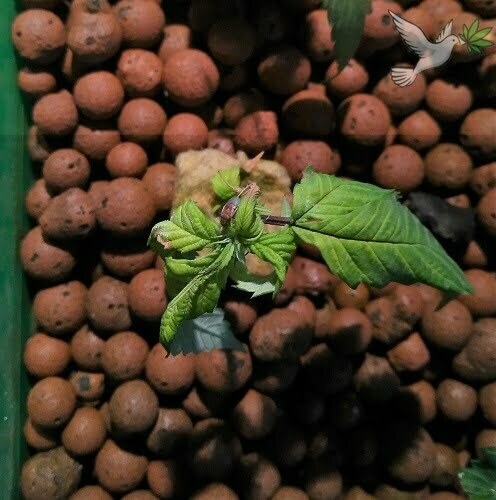
- Germinated seed going into the soil
-

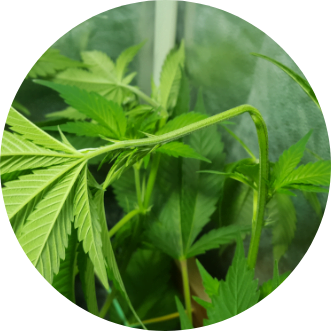
- Laughing Buddha before being toppedaf
-
- Apex freshly cut off
-
- Leaves starting to turn yellow
-
- Issue is spreading
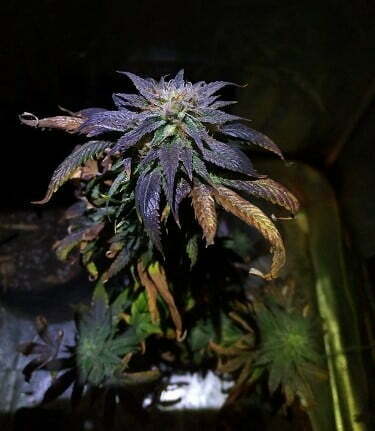
-
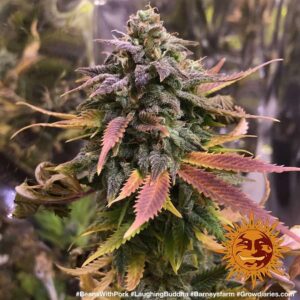
- Blue Kush – Ending her flowering stage
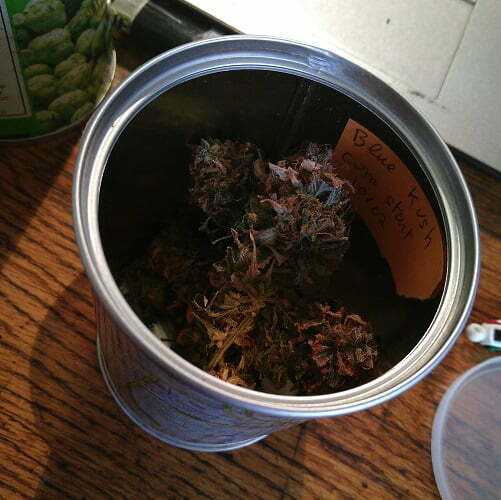
-
- Dried flowers curing it a container
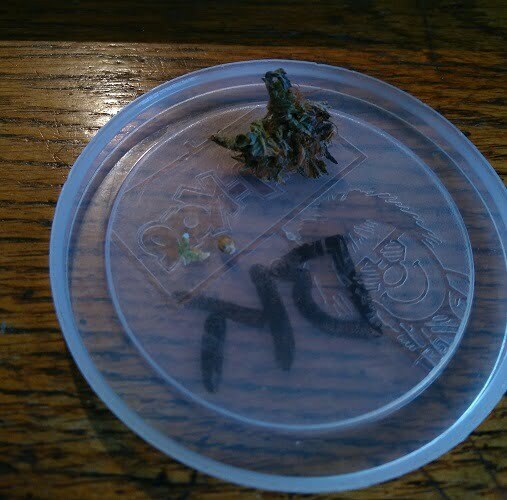
-
- She gave a seeeeeeed!
-
- Beetle type pest on BBC clone
-
- Pest larvae feeding on leaf

-
- BBC survivor planted into soil
-
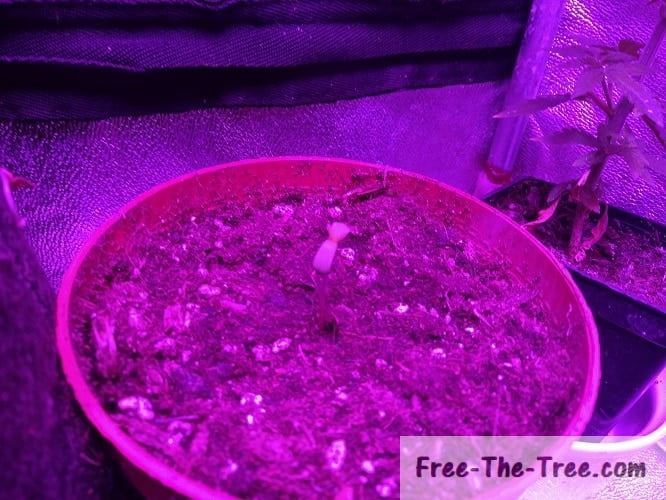
- SexBud cotyledons freshly deployed
-
- First stage leaves fully grown
-
- Second stage leaves grown, third level coming in
-
- SexBud just before being topped
-
- SexBud after topping
-
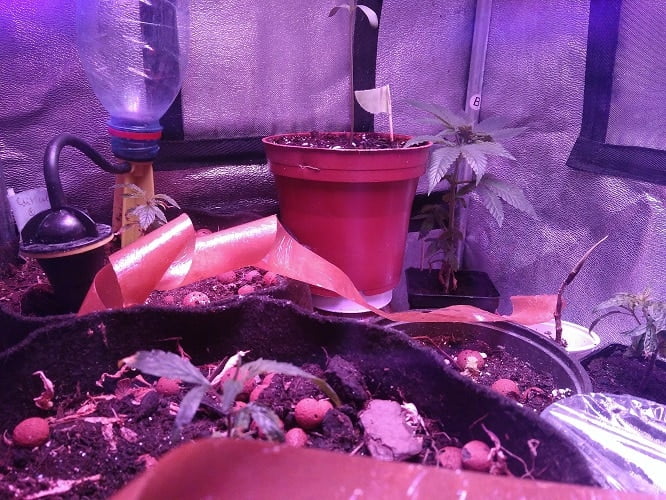
- Sticky traps deployed to catch adult fungus gnats
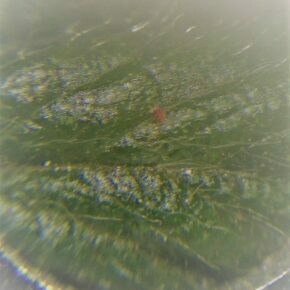
-
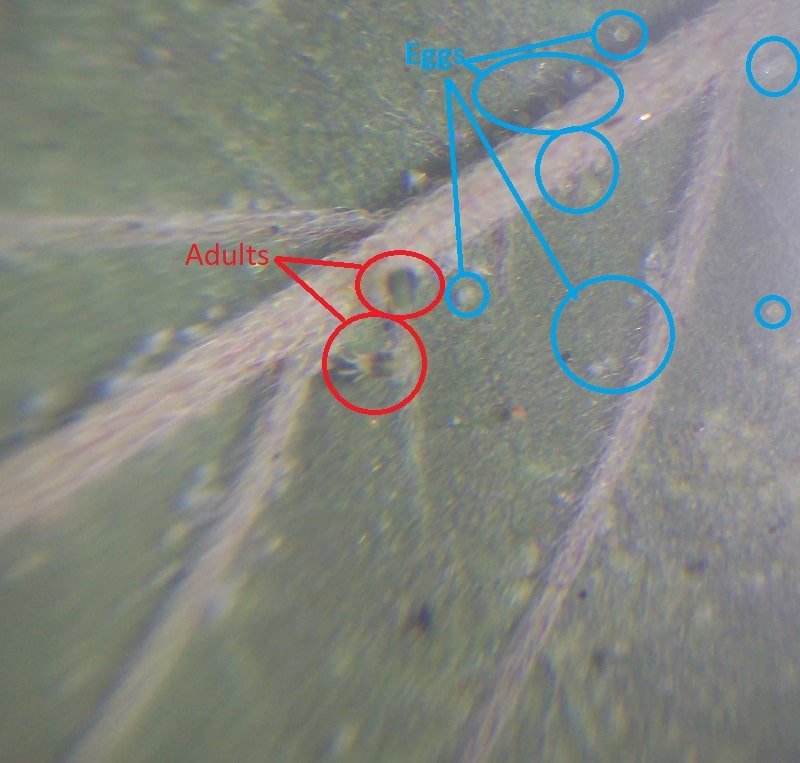
- 2 spider mites (and a couple eggs) under strawberry leaf

-
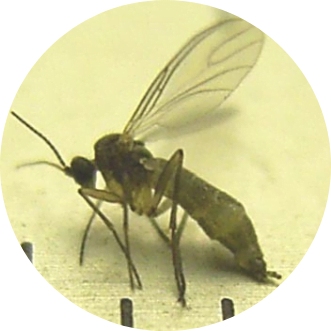
- Hundreds of blackflies feeding on lemongrass
-

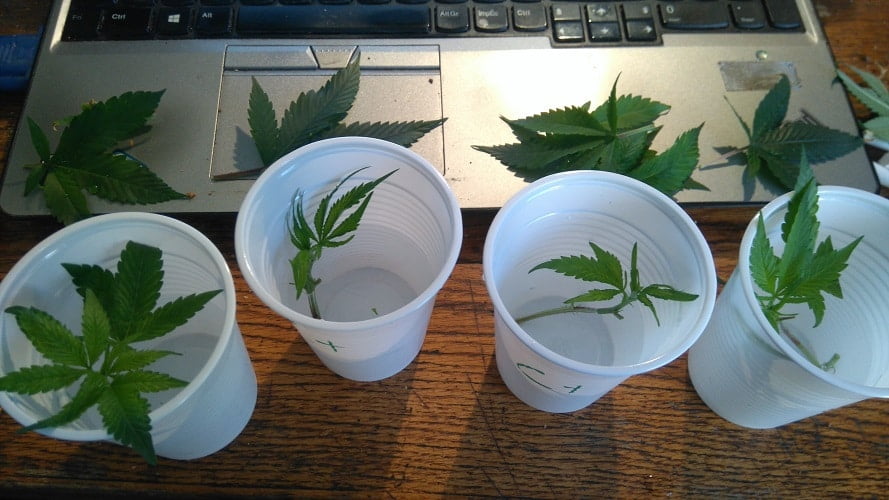
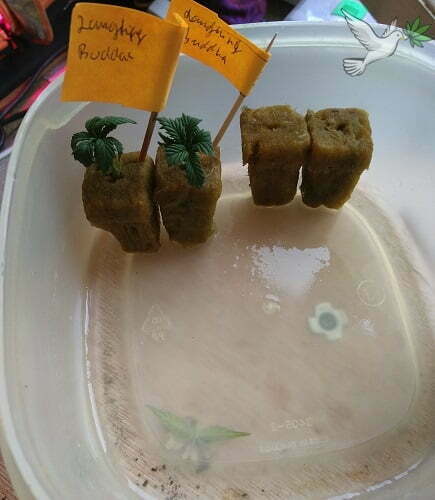
- 2 of the 4 cuttings made
-

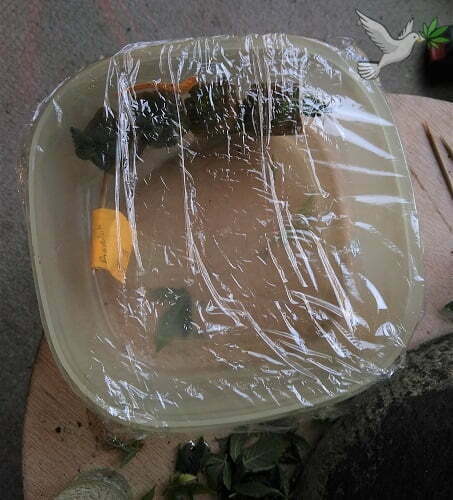
- 4 cuttings in air-proof container
-

- about 10 days later – 1 visible rooted plant, 3 pending (but still alive!)

-
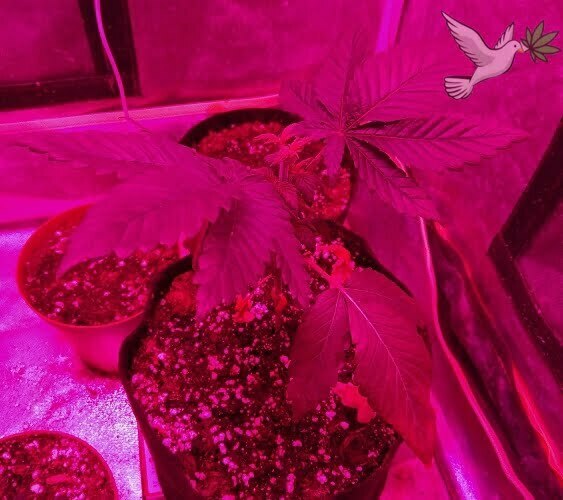
- Freshly topped, first auxiliary branches growing in
-
- 4 branches growing in
-
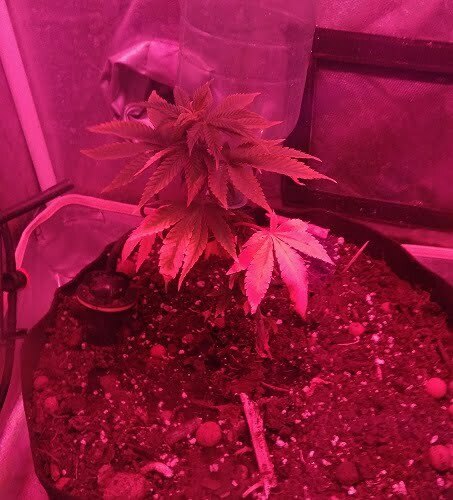
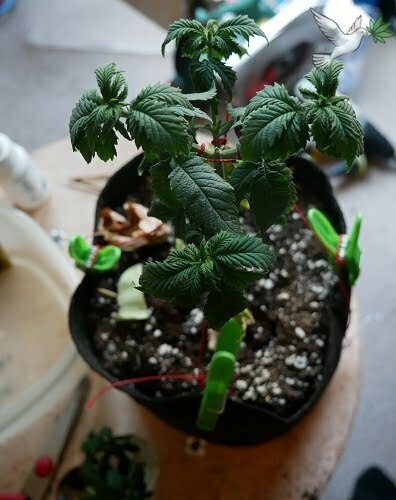
- 4 auxiliary branches grown in, flowing time approaching
-
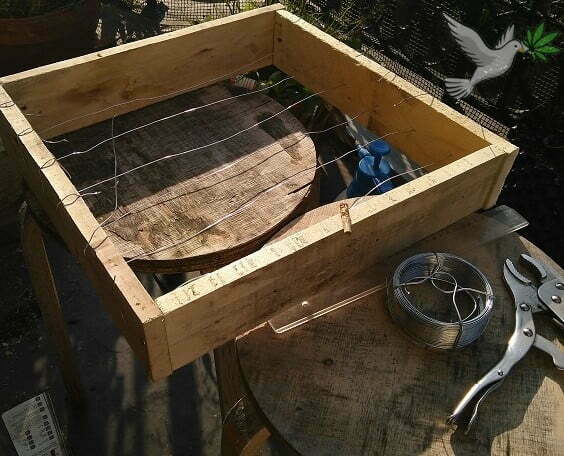
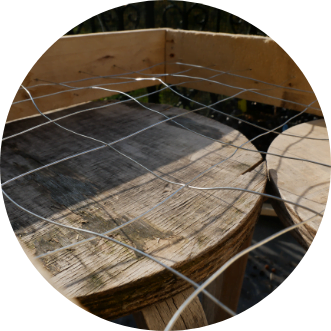
- Frame of the net and first wires in
-
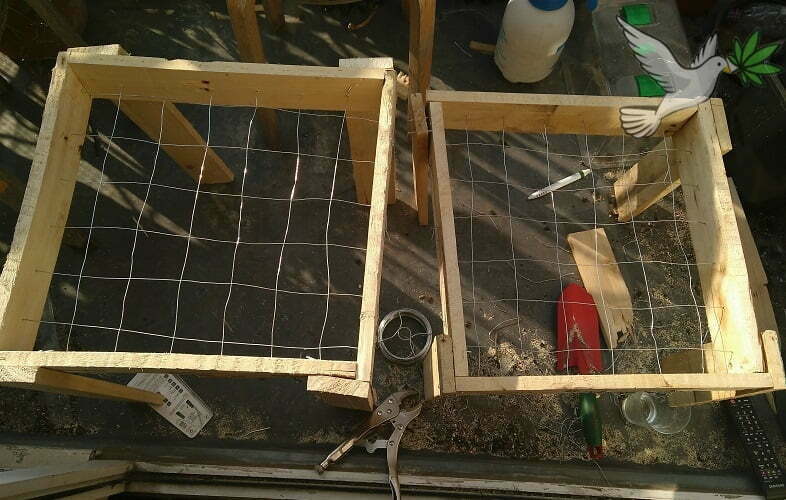
- 2 scrog nets ready to use
-
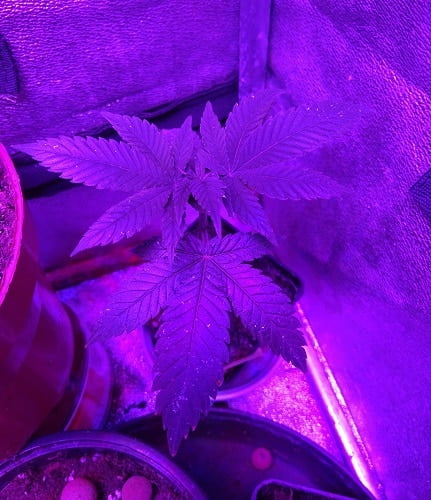
- Blue Thai freshly installed on the screen
-
- Freshly topped, first auxiliary branches growing in
-
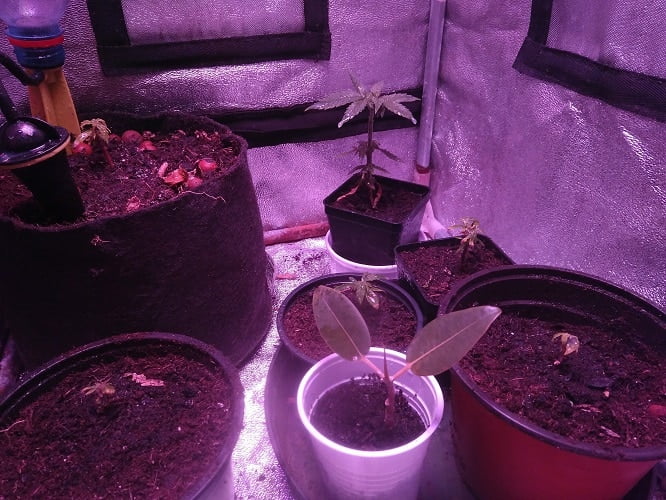
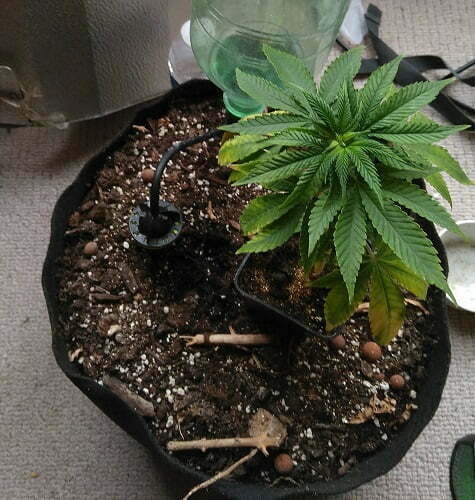
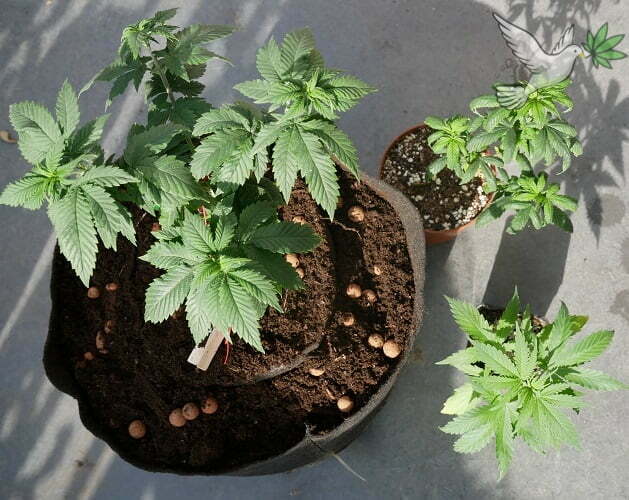
- Placing smaller fabric pot into large one
-
- 4 auxiliary branches grown in, flowing time approaching


Contribute to the shared knowledge base
Share your personal tips, experiences, videos to help the community
MAKE A CONTRIBUTION