 Search for specific products and use our comparator
 Search for a ressource in our library
Hey there and welcome (back) to Free The Tree!
This week was pretty full of events, possibly too much to cover in just one post.
We kept on training our smaller plants for the ScrOG, did a cutting on the Blue Kush for a friend, started implementing automatic watering solutions and installed the Screen to start weaving the branches!
While all this was going on, our BBC’s started showing signs of Potassium deficiency and these darn Thrips keep on coming back.. pretty intense for just a week no?
Let’s get into it, but before that here’s some links if you want to go straight to the section that interests you.
- ScrOG plant Training (Part 2)
- Installing the screen of Scrog
- Signs of potassium deficiency
- Blue Kush Cutting
- “Automating” our watering system
Keep in mind that we won’t go into each section in depth, but we will link to our articles where we do cover these subjects in depth if you want to know more, let’s get started!
Plant Training Continues
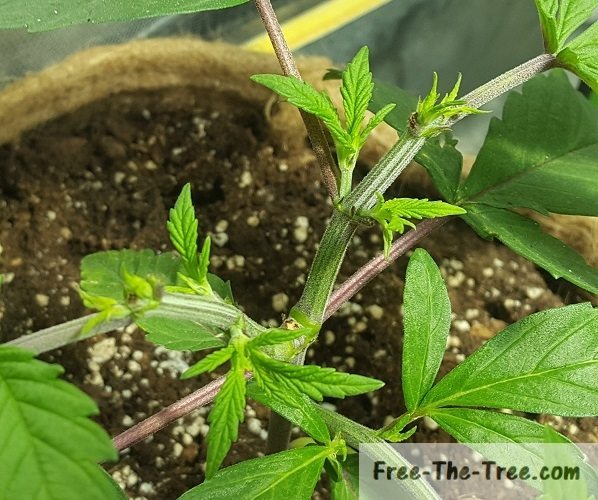
As a reminder, at this point we had just recently cut the tip of the 2 new branches. Doing this increases the energy sent to the 2 side branches growing at the spot where the knot is.
We decided to stop here, but you can keep of cutting the tops at each new stage for her to keep dividing and producing more side branches.
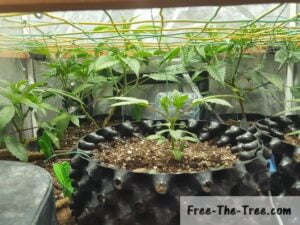
Step 5 – Wait until the branches reach the screen
Once you’ve decided that you have enough branches you’re going to have to wait for them to grow up and reach the screen in order to start weaving the branches.
You should try and pass the branches and leaves through the screen as soon as she can reach, this will push her to grow faster 😉
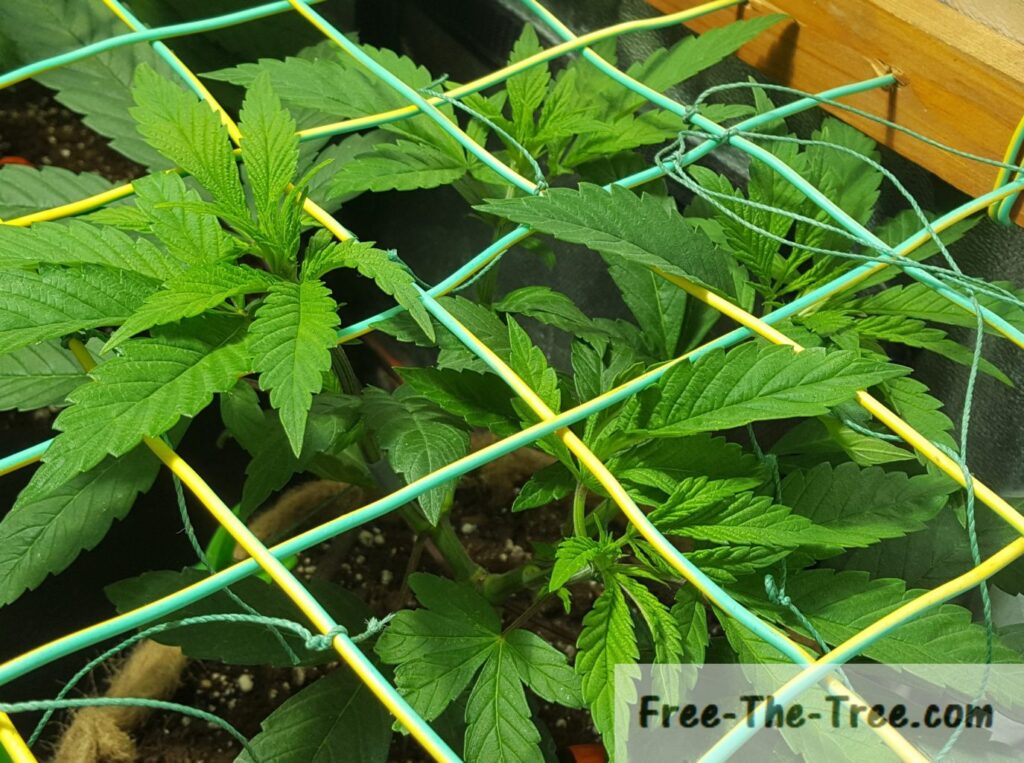
Step 6 – Weave the branches on the Screen.
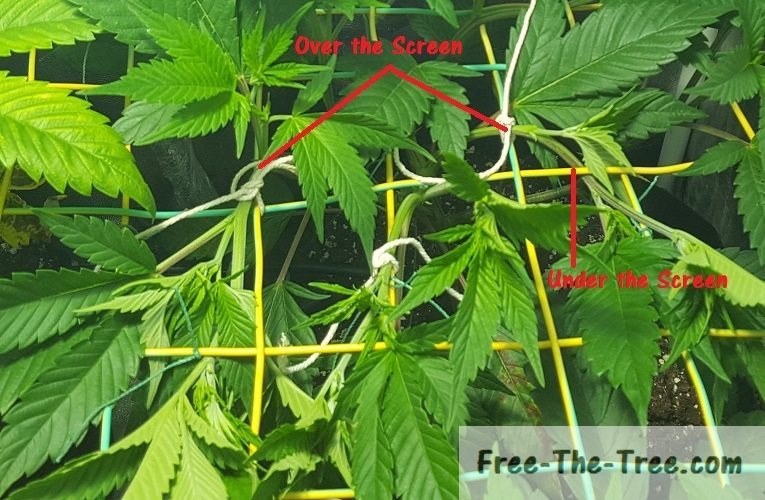
After a couple days your plant will have grown enough and will start passing through the screen. At this moment you’re going to want to start guiding the branches over and under the screen.
This will allow the plant to develop some more branches that will grow vertically, increasing even more your final yield.
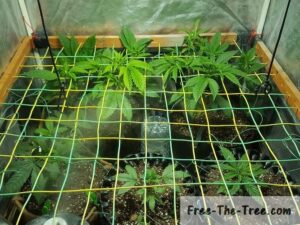
Installing the Screen for the SCROG
Although half our plants aren’t really tall enough to weave, the Big Buddha Cheese plants so far ahead that we need to get them scrogging;
The main issue being the height difference between the plants, if we hadn’t done this, by the end of the stretch we would have to choose between light burn on the BBC’s of not enough light penetration for our other plants.. Hard decision.
To avoid this we started to weave the plants on the screen, and clipped any branches that are growing too high up.
We went in depth on attaching the screen over here if you want to get the step by step process.
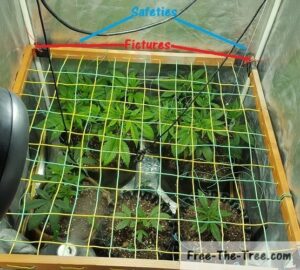
Screen attached in the grow room
Screen lowered to Apex level
View under the screen
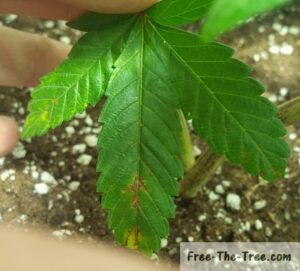
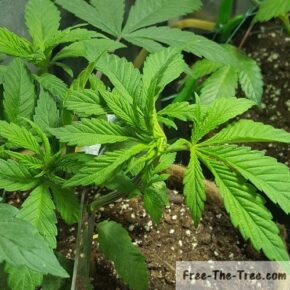
First signs of Potassium Deficiency
During this week one of our Big Buddha Cheeses plants started showing the first signs of Potassium Deficiency which isn’t cool.
We wanted to get the flowering stage started within a week, but since Potassium is one of the Nutrients that push the plant to flower, we must solve this deficiency before doing so.
We did a full guide on potassium deficiency, linked below, but basically in order to solve this issue you need to increase the amount of potassium given to the plant during the next waterings.
Making a Cutting from the Blue Kush
I don’t know if you’ve noticed in the previous posts, but we had kept a strong side branch the whole time without ever mentioning why.
The reason behind this is that we want to make a cutting from it for a friend so that he can have one of these beauties also.
We’ll just put a couple pics of this cutting here, but check out our article on doing cuttings if you want to know more
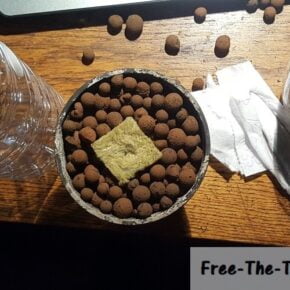
Tools needed to make a cutting
Removing the branch for the plant
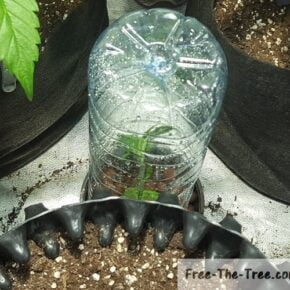
Cutting growing in the tent
Unfortunately this cutting didn’t take, we couldn’t keep the humidity level high enough for her, so she started sweating and died.
Once the plant reaches the screen we’ll prune the top of one of two branches in order to give it another run.
Automating the watering of Marijuana
Automating our watering system is really something we’ve been thinking about for a long time since it’s so time consuming. On top of that, this time around we’re using much bigger pots than before, meaning even more time to water… And honestly, we just didn’t have the time anymore to do it well.
We tested different techniques, that we’ve grouped together over here.
We’ll only show you our final setup that is now fully functional, saving us a looot of time
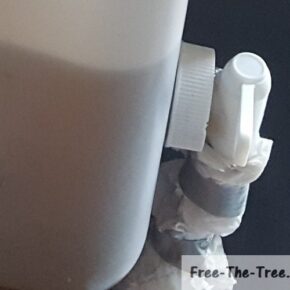
Watering mix in the container
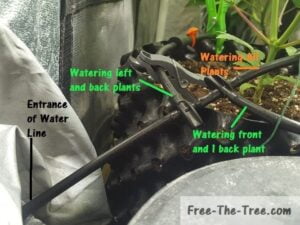
Water line entering the room
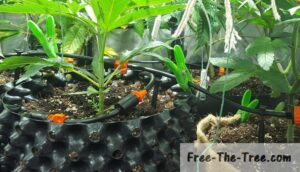
Drip System watering the plants
On top of saving time, this type of system actually waters your plant much more efficiently. Since the water flows much slower it irrigates the soil by capillarity, spreading much better across the medium.
This means 2 things:
- The roots receive more water
- You use less water at each watering (no need for the 20% run-off
Alright folks that’s all for this one!
Until next time, be safe and grow easy 😉
Don’t want to go yet? Check out our other Grow Reports
Check out all our Indoor Growing Tips