Search for specific products and use our comparator
 Search for a ressource in our library
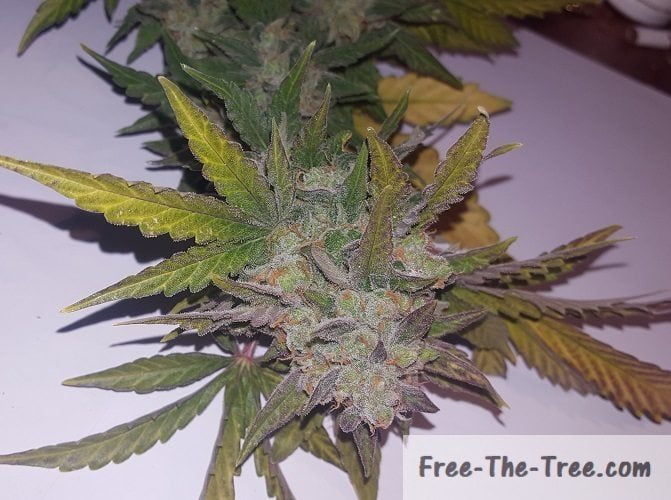


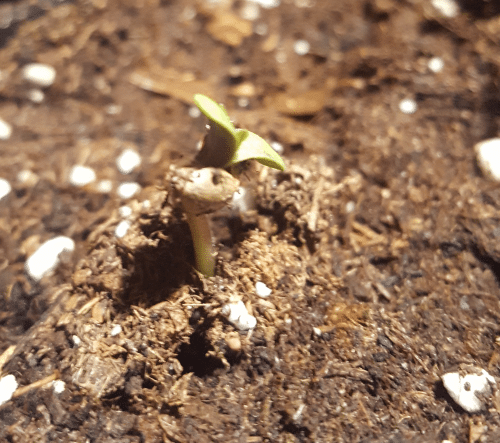
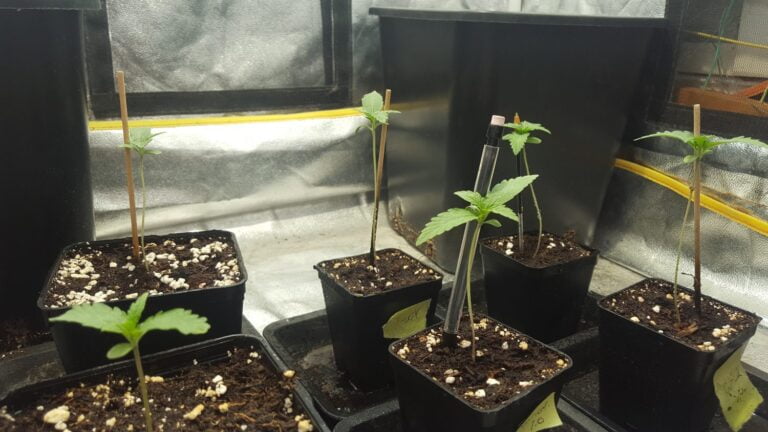
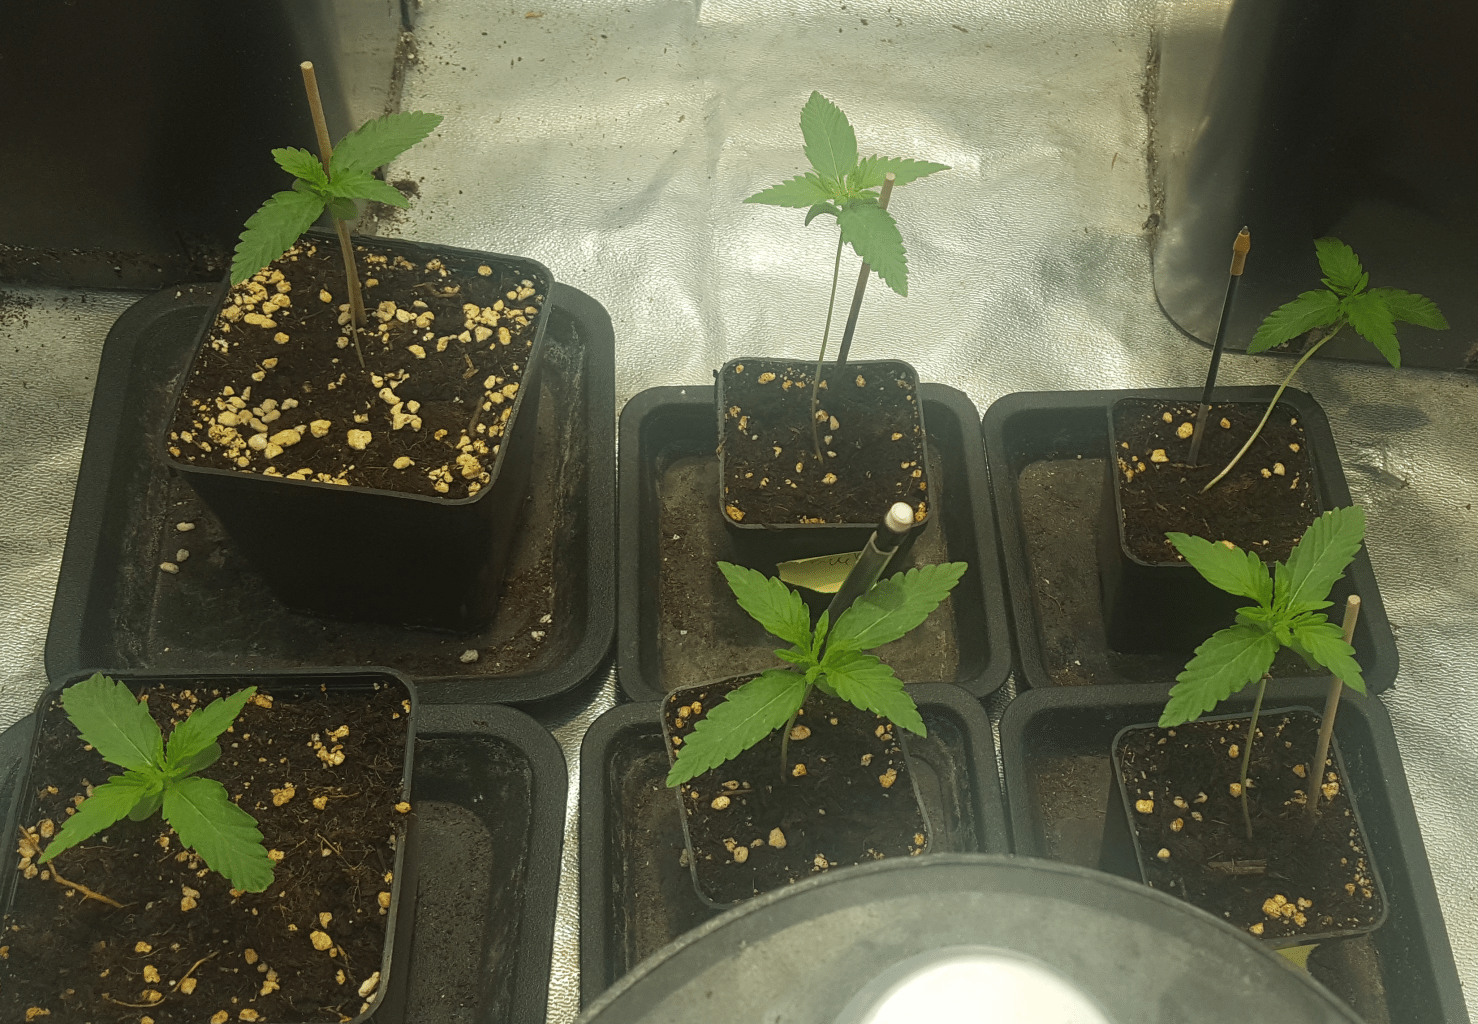
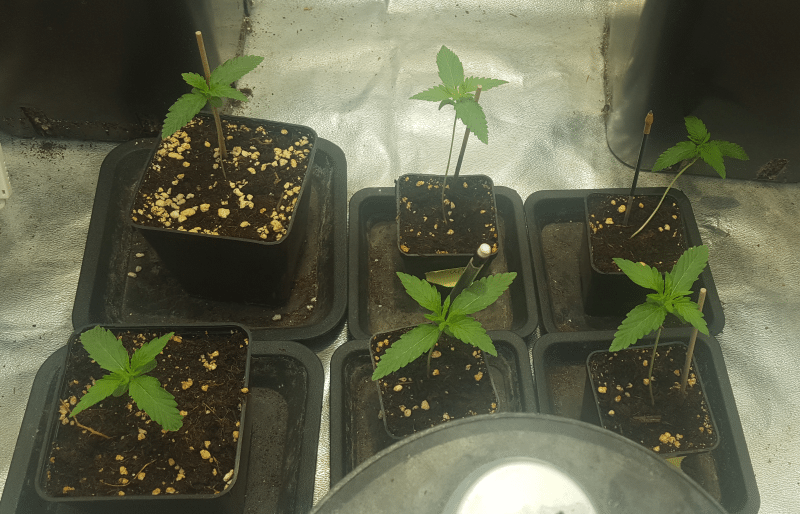
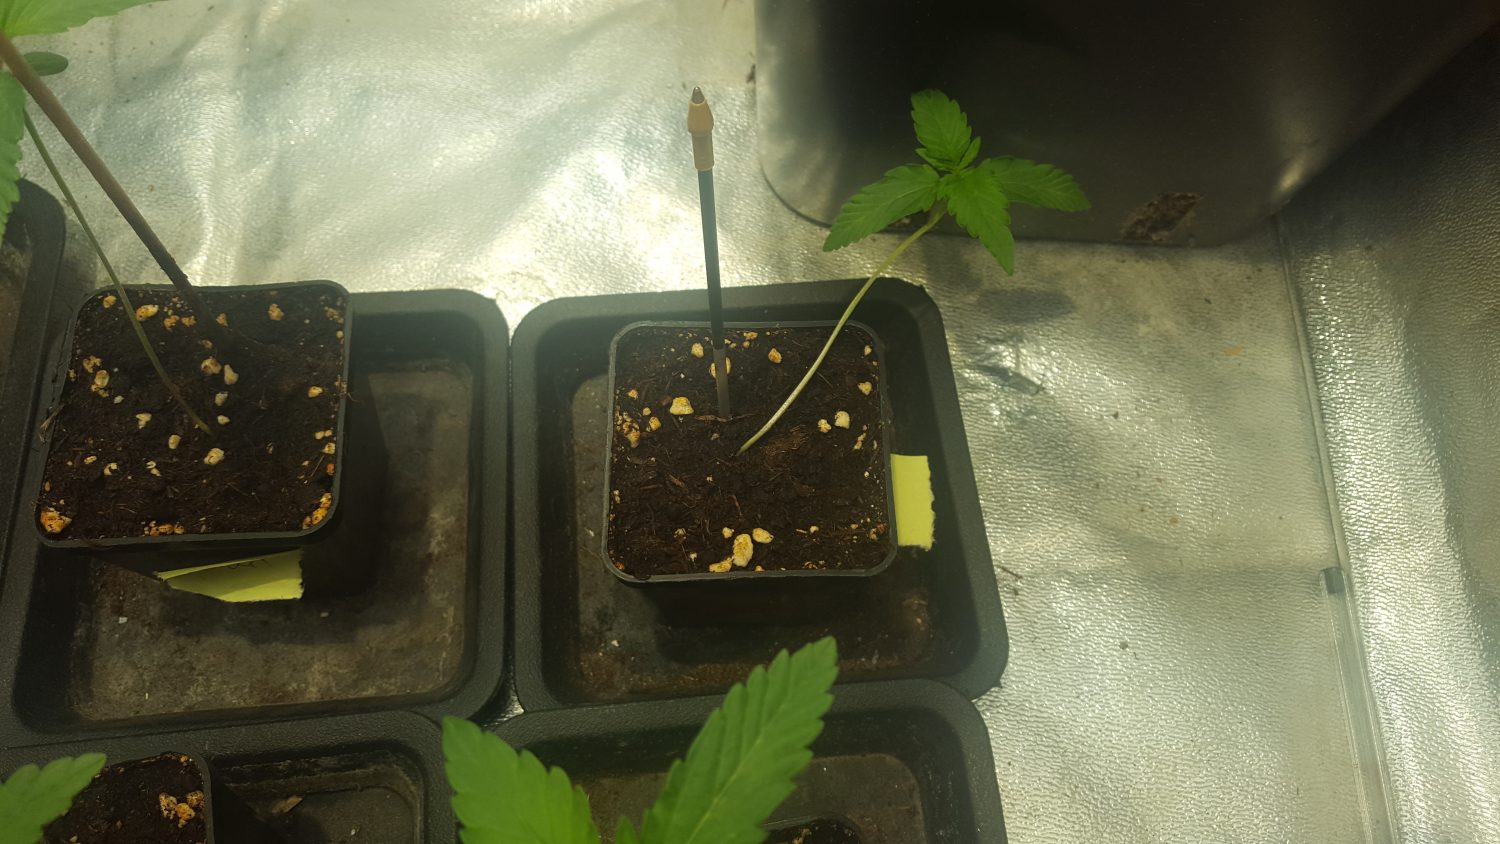
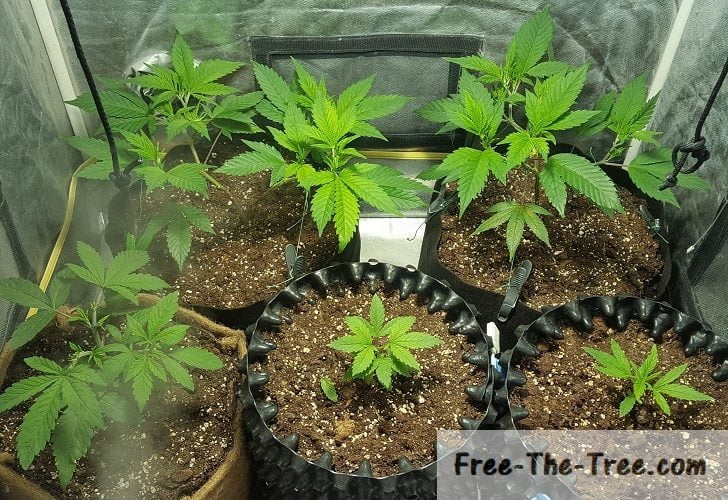
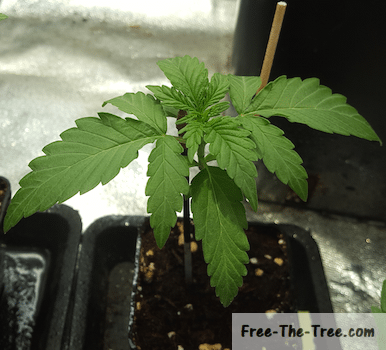
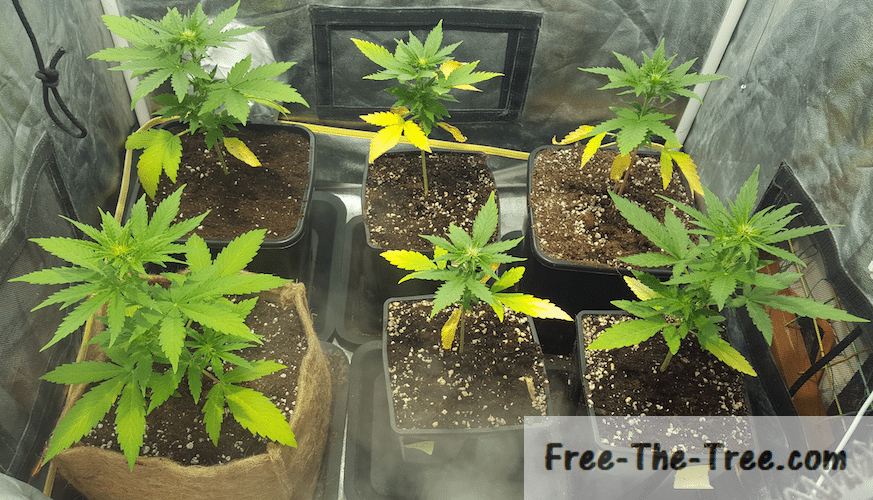
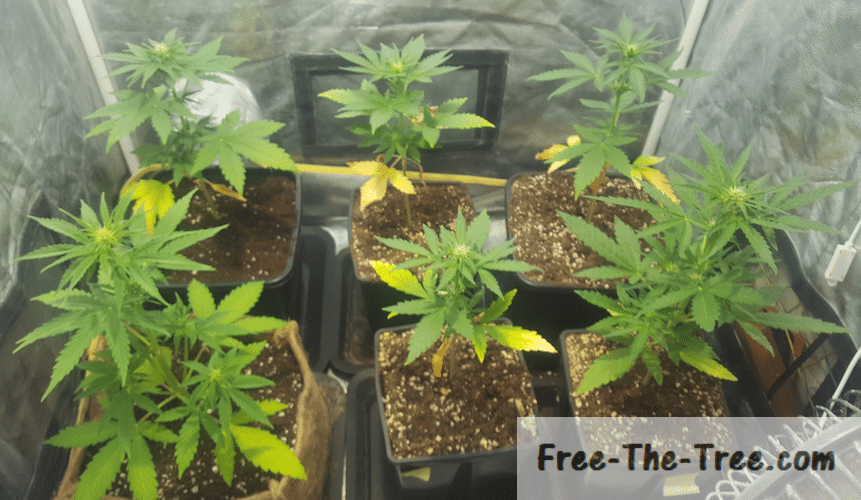
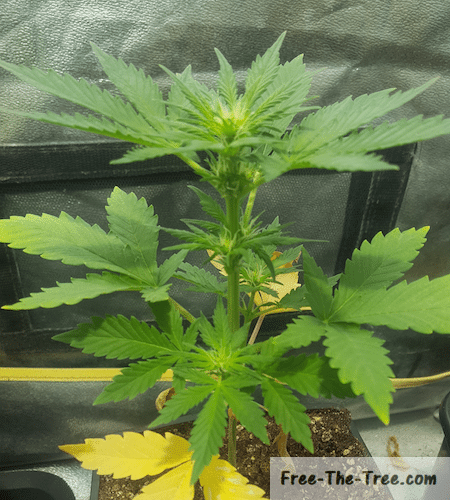
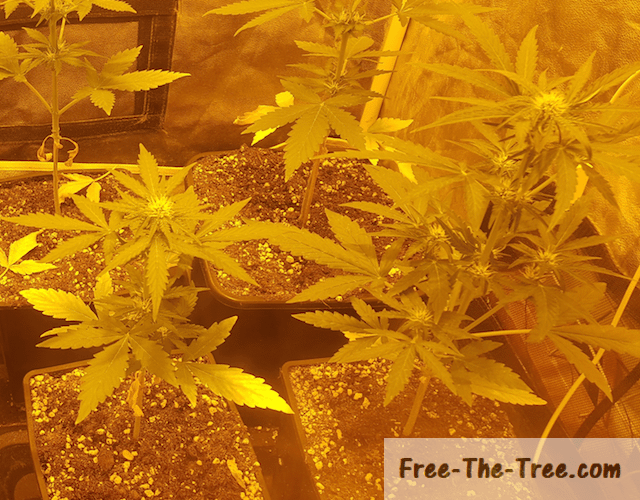
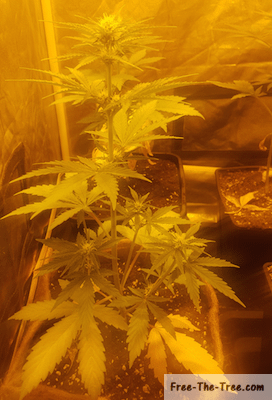
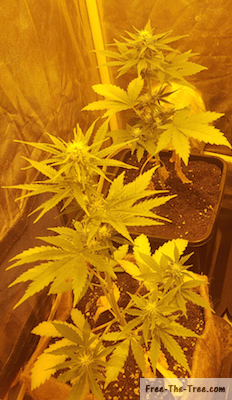
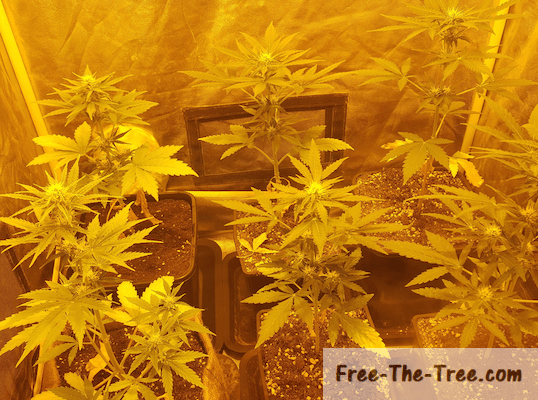
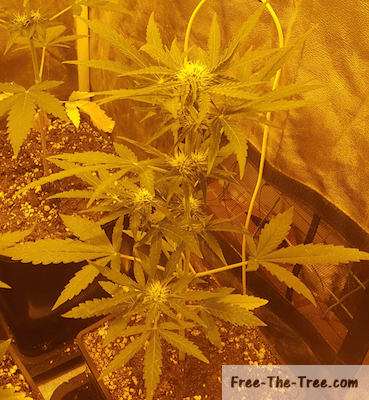
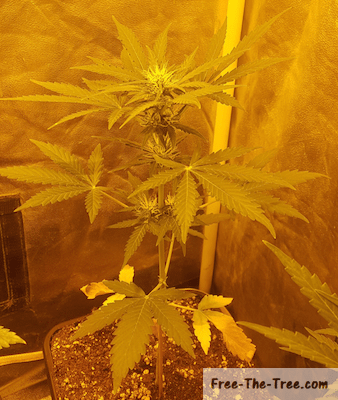
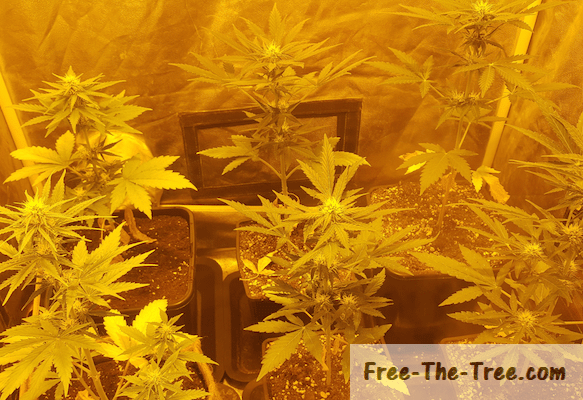
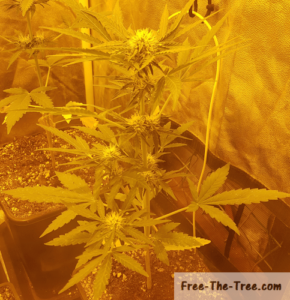
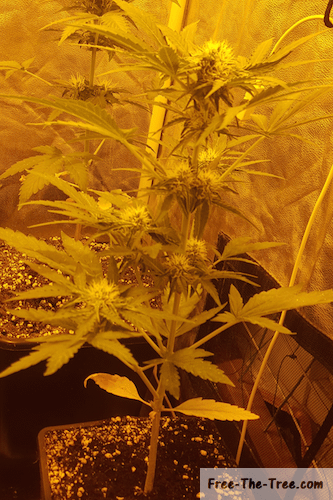
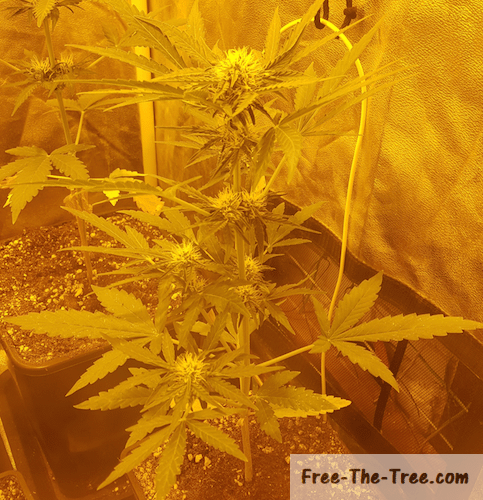
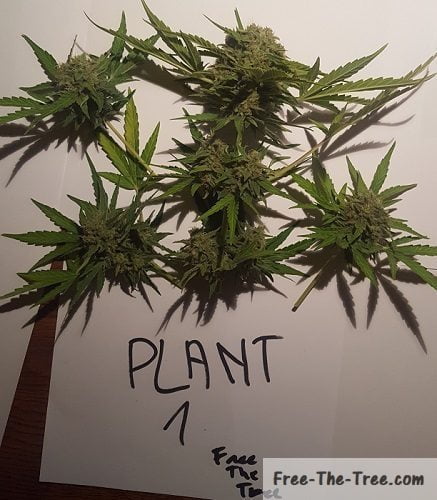
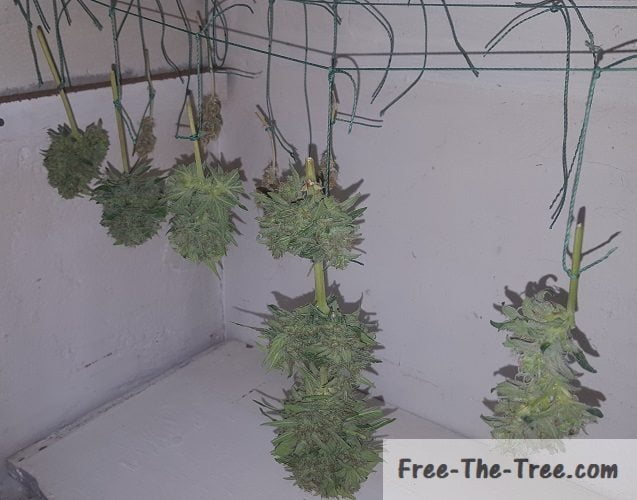
Context of the Grow
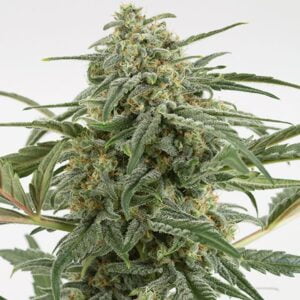
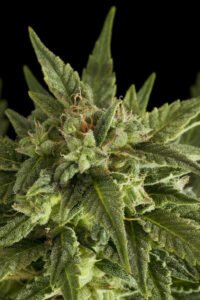
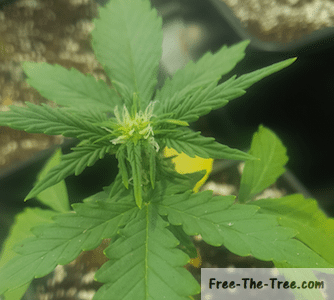
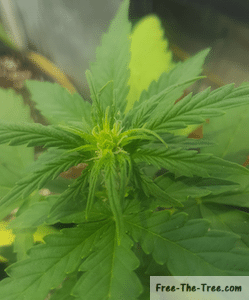
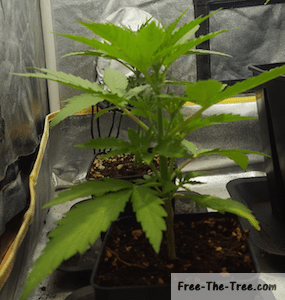
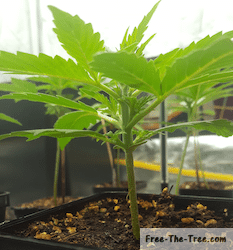
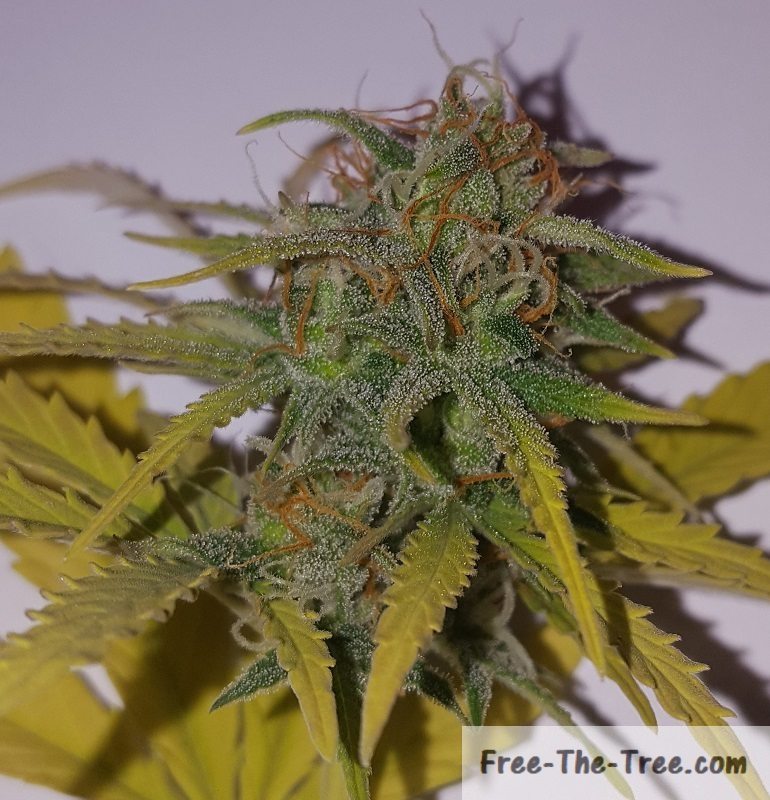
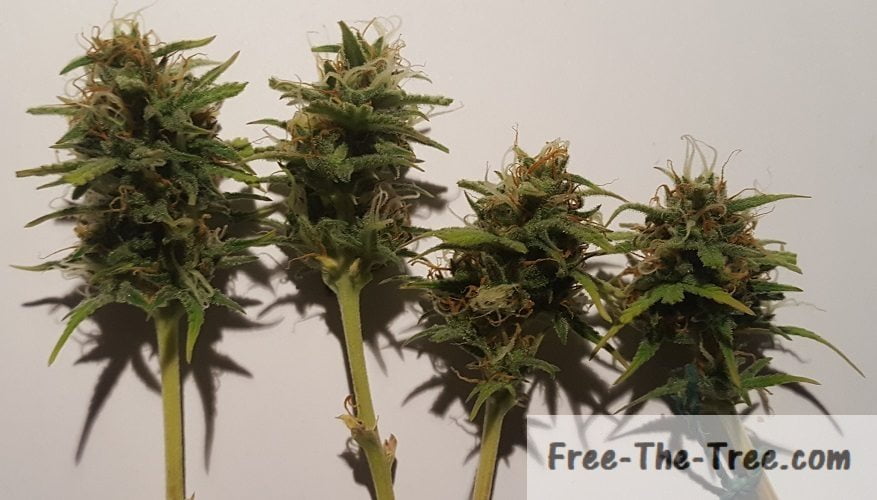
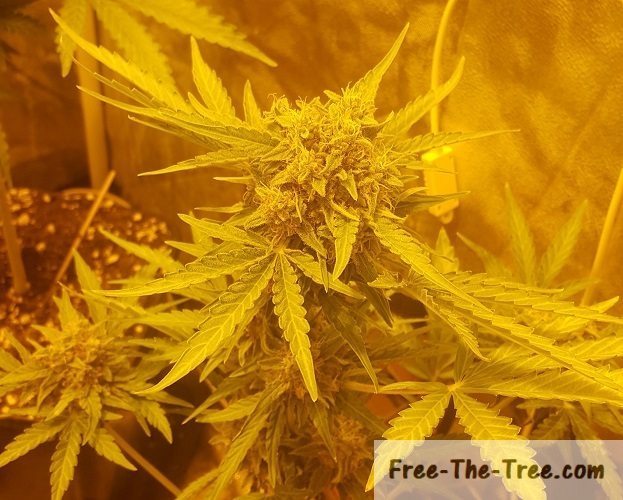
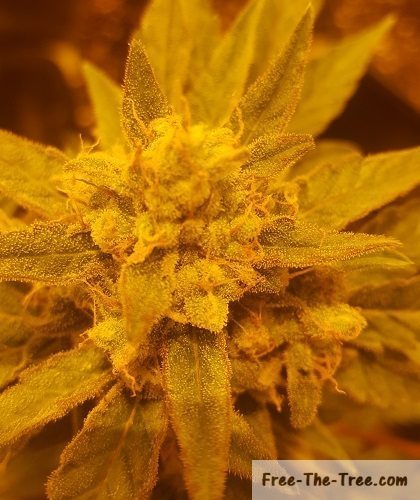
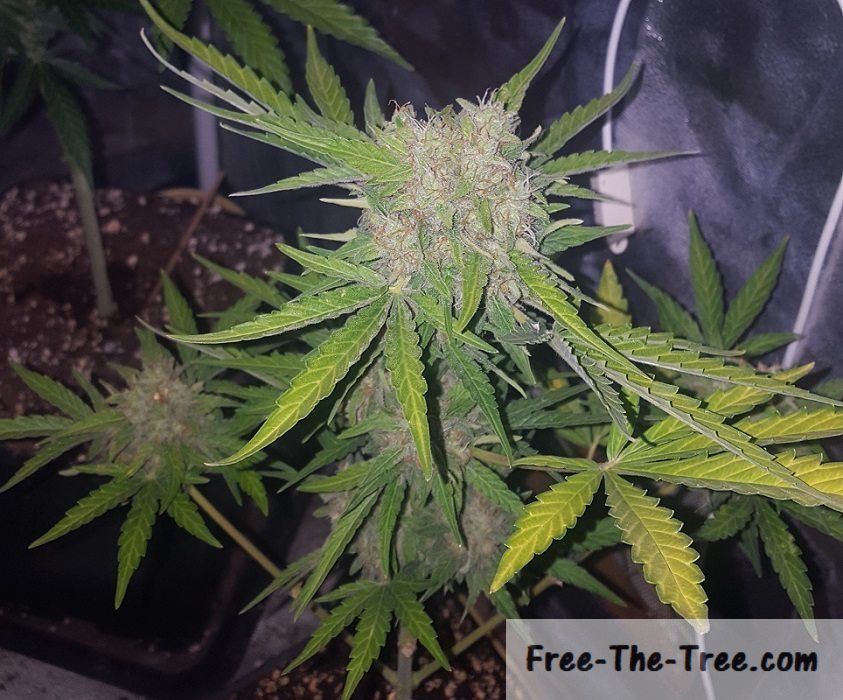
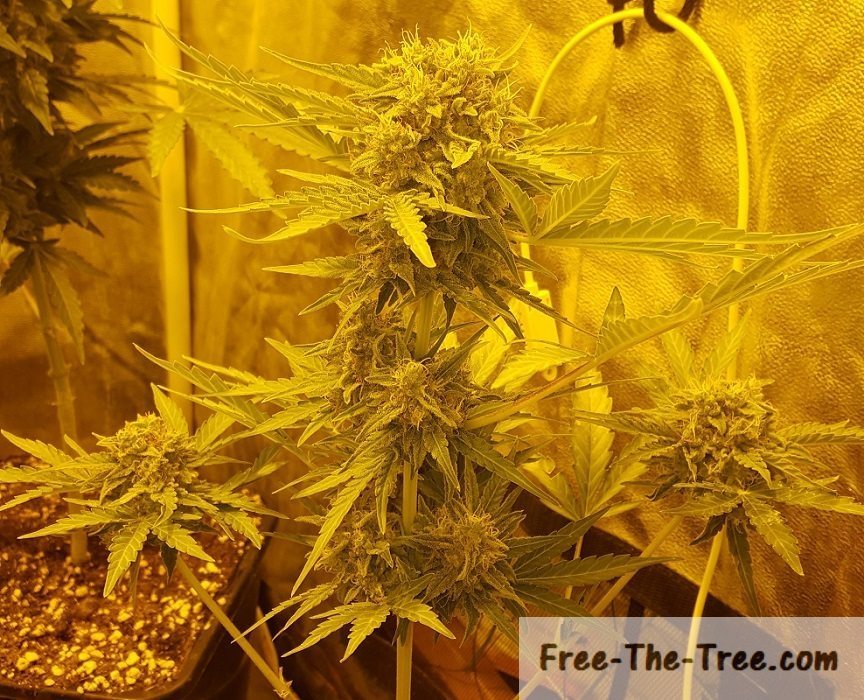
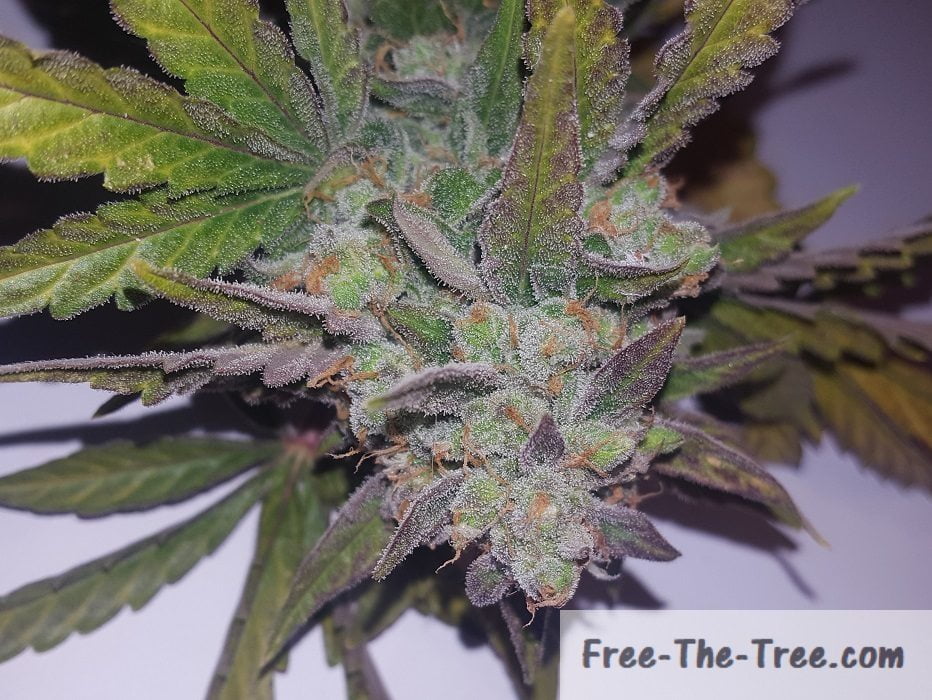
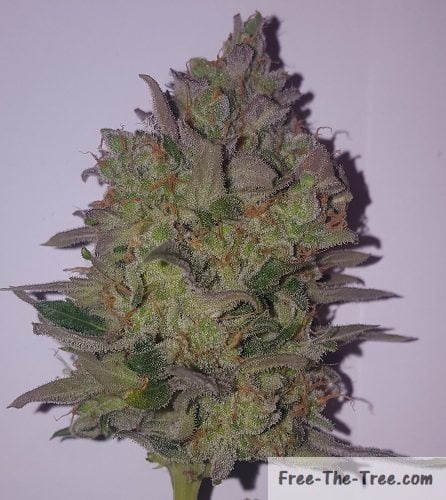
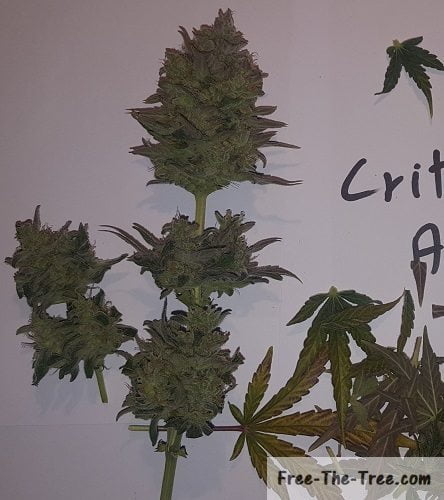
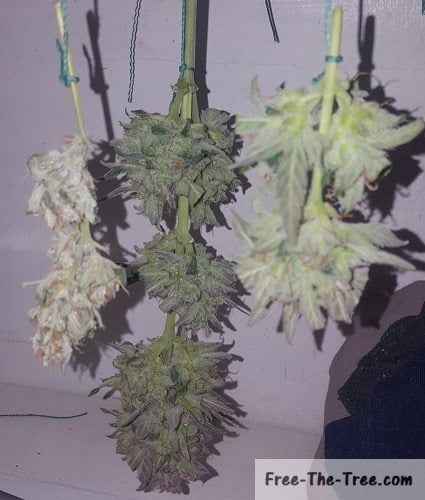
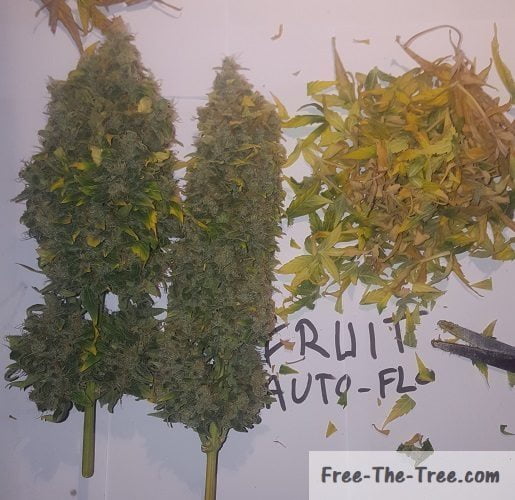
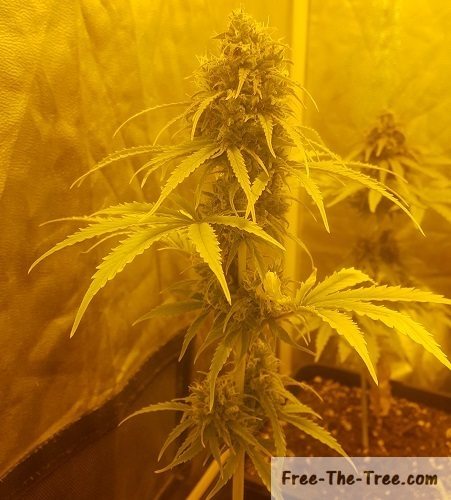
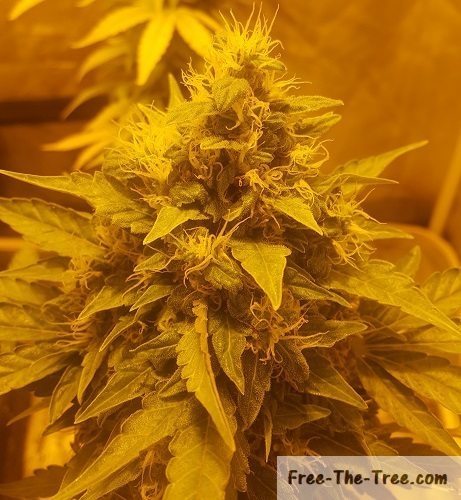
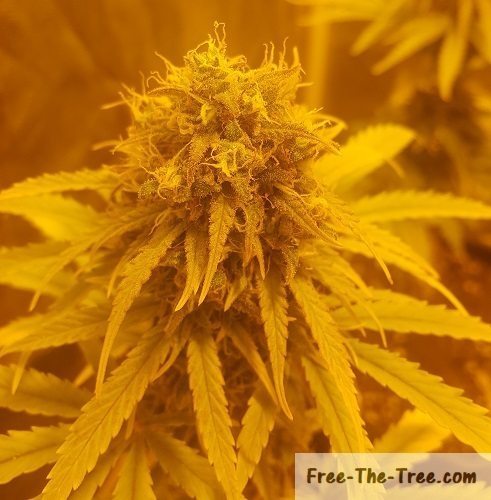
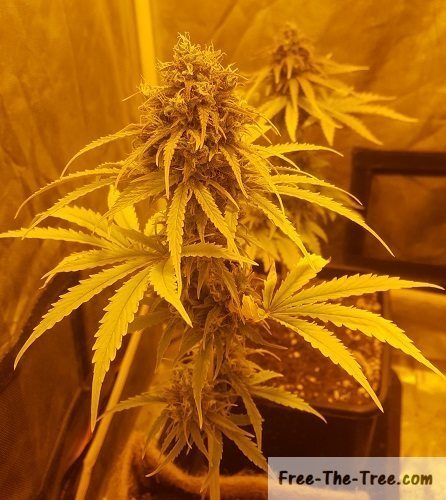
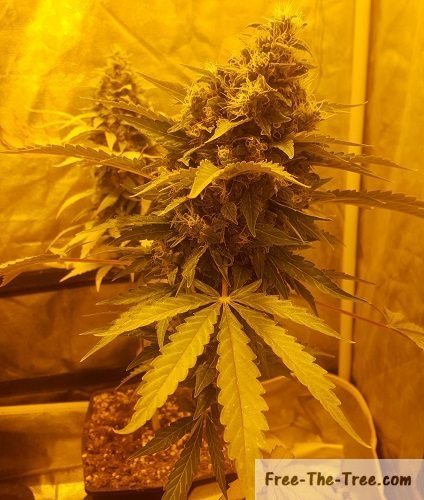
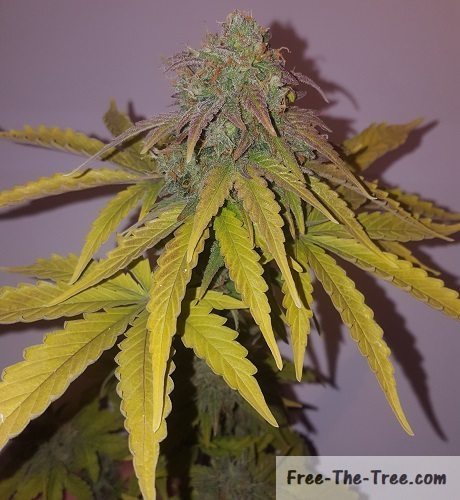
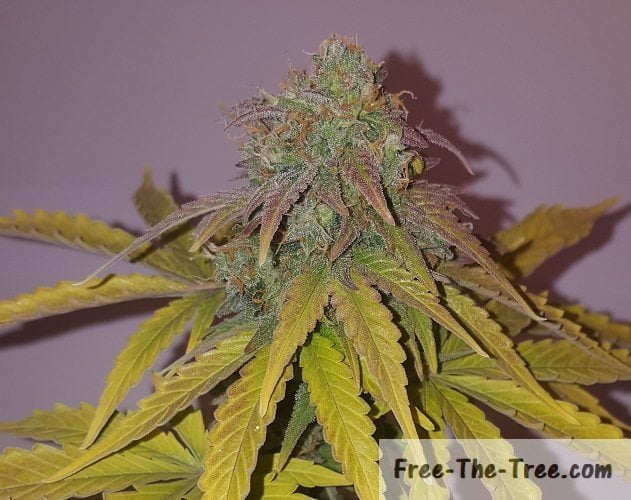
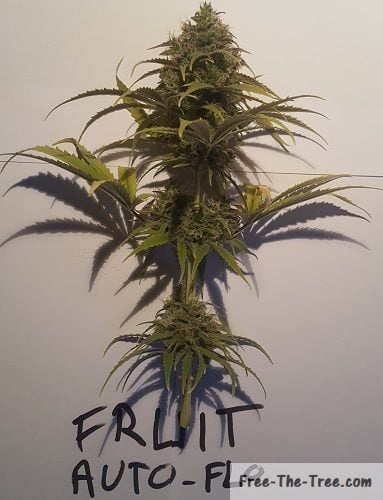
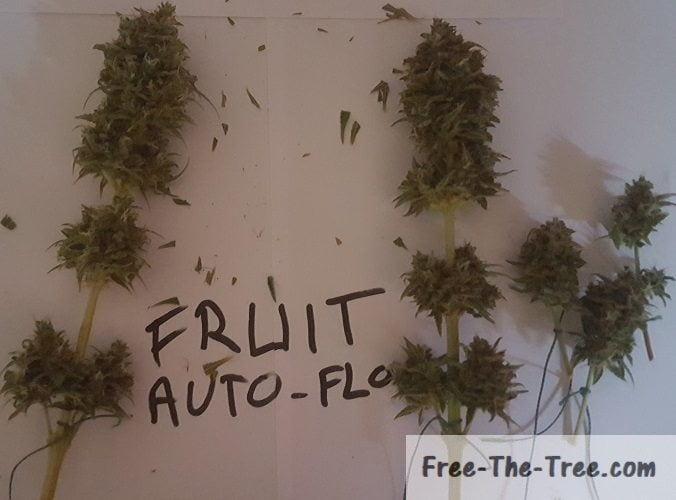
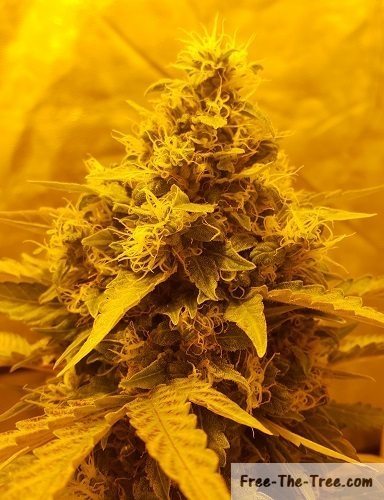
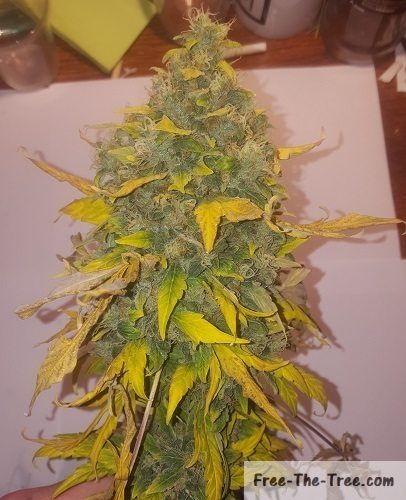
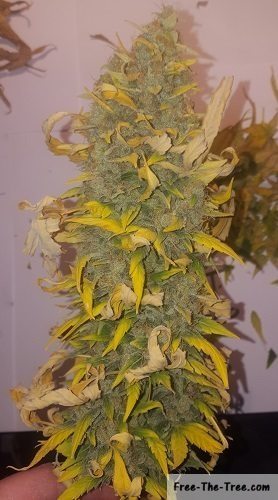
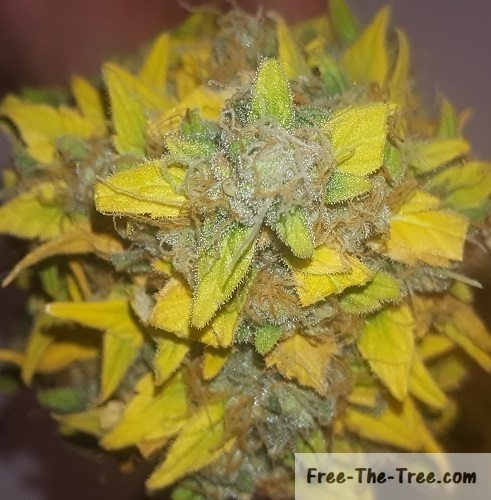
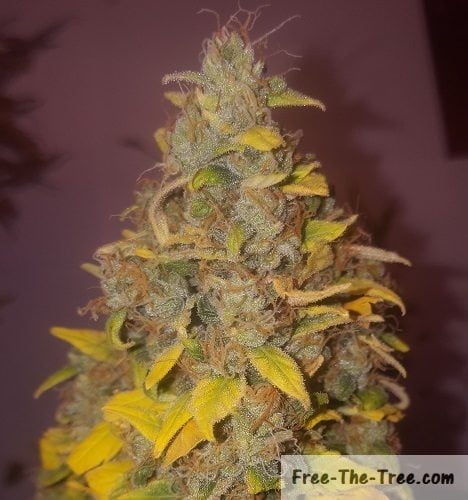
- Strain: Critical + 2.0 Auto Flowering
- Seed Type: Pre-Feminised / Auto Flowering (what is that?)
- Seed Bank: Dinafem
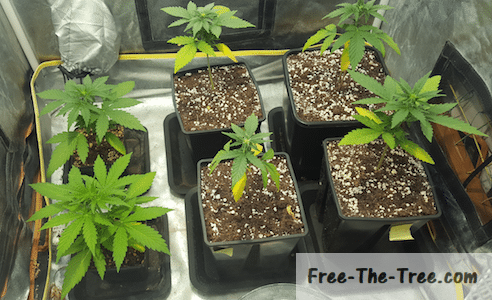
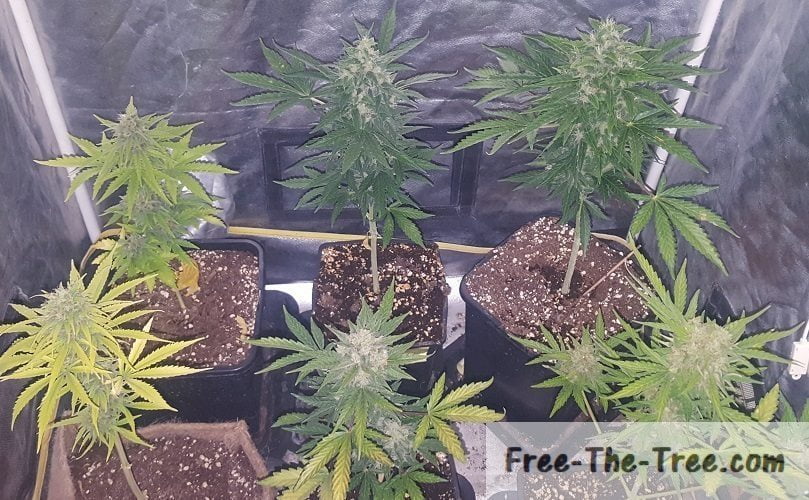
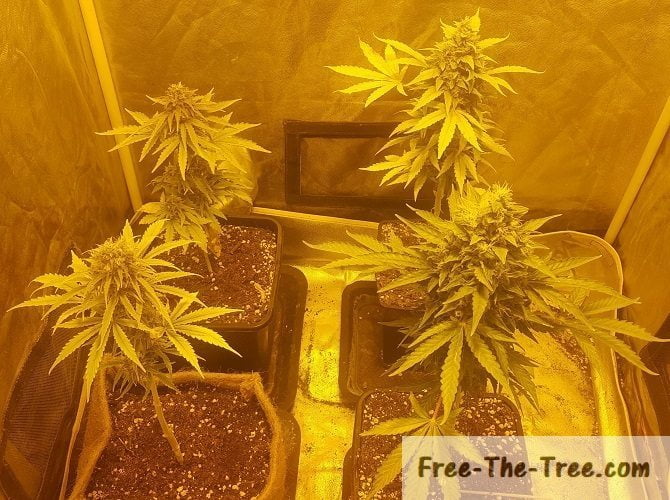
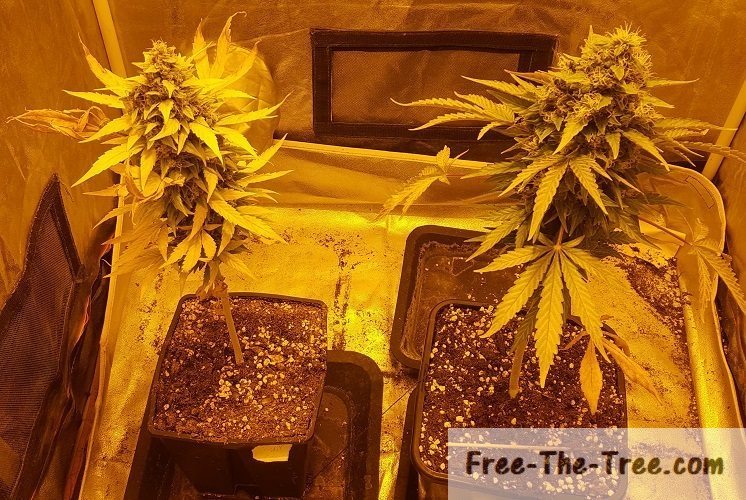
- Grow Medium: Non-enriched soil
- Nutrients or Additive Used:
- Master Grower NP and PK solutions, at the most 10% under the dosages on the bottle.
- 2 Applications of Master Grower’s Massive Bloom solution
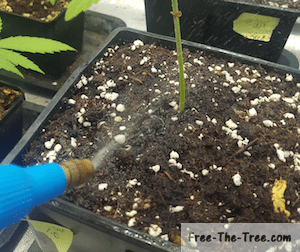
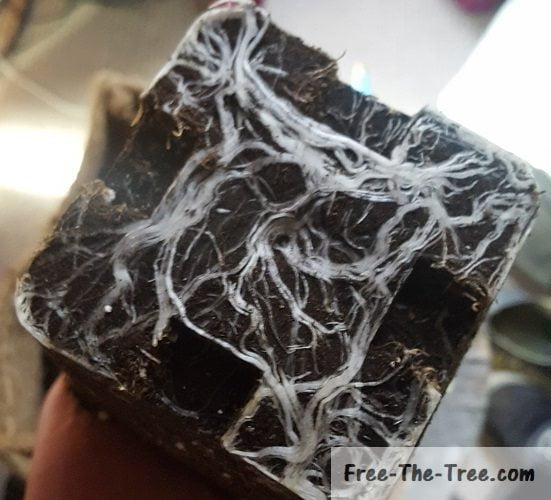
- Master Grower’s Root booster starting on the 2nd watering and ending after the stretch.
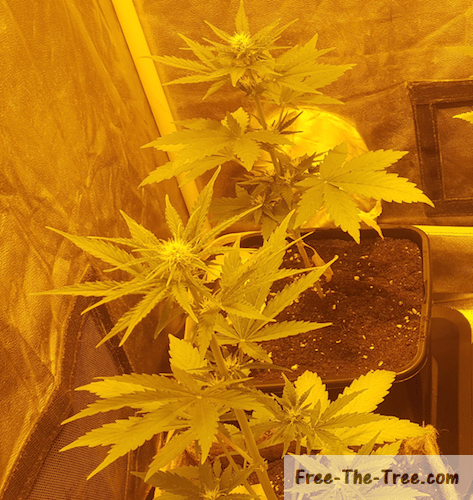
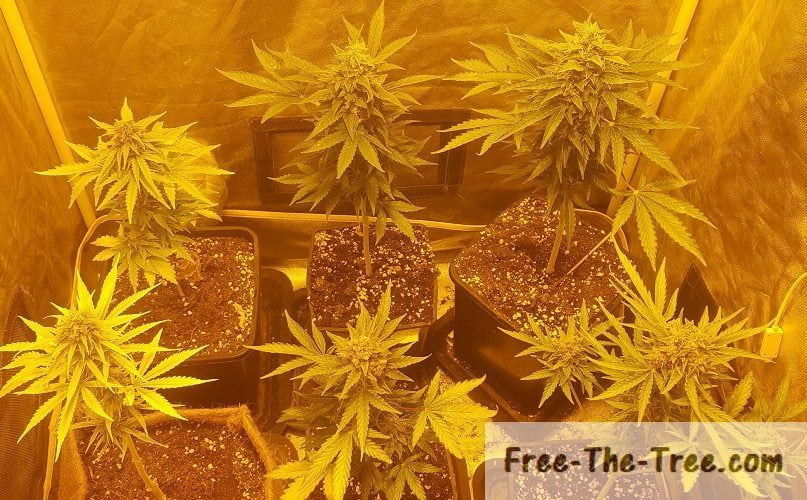
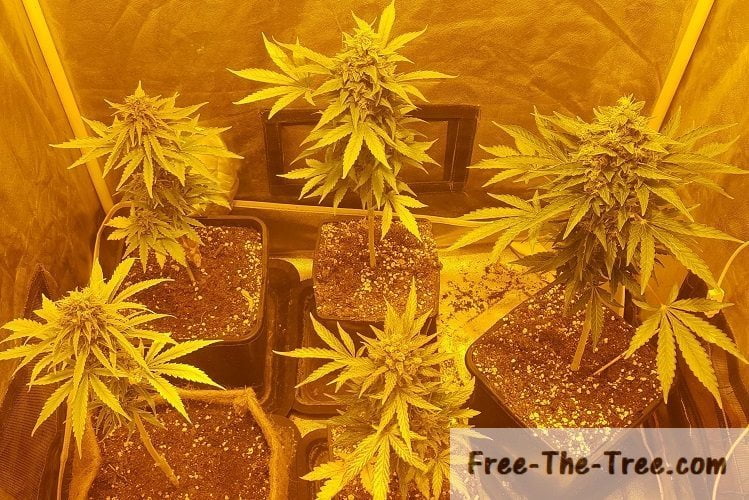
- Grow Lights:
– Vegetative Stage: 400MHz MH (Metal Halid) Blub
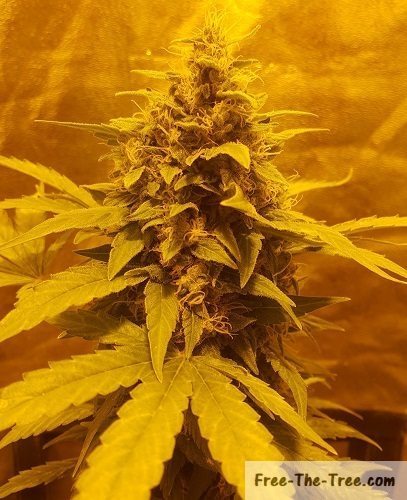
– Flowering Stage: 400MHz HPS (High Pressure Sodium) Bulb - Grower Experience: 3rd indoor culture
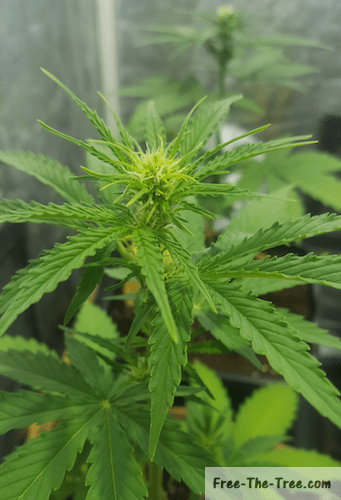
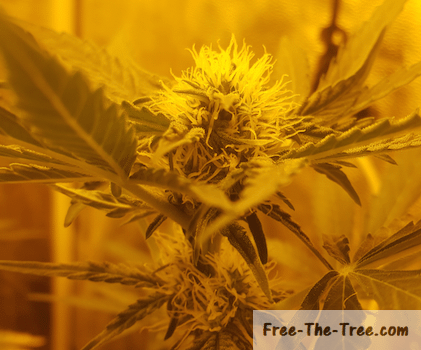
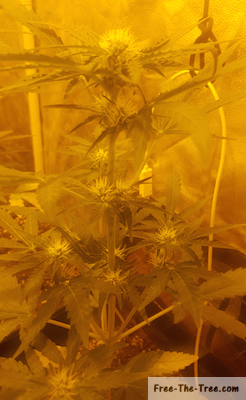
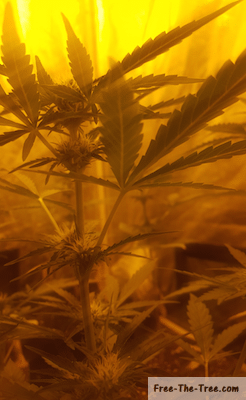
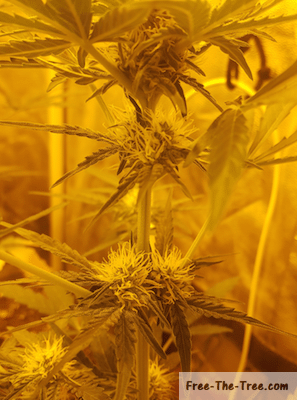
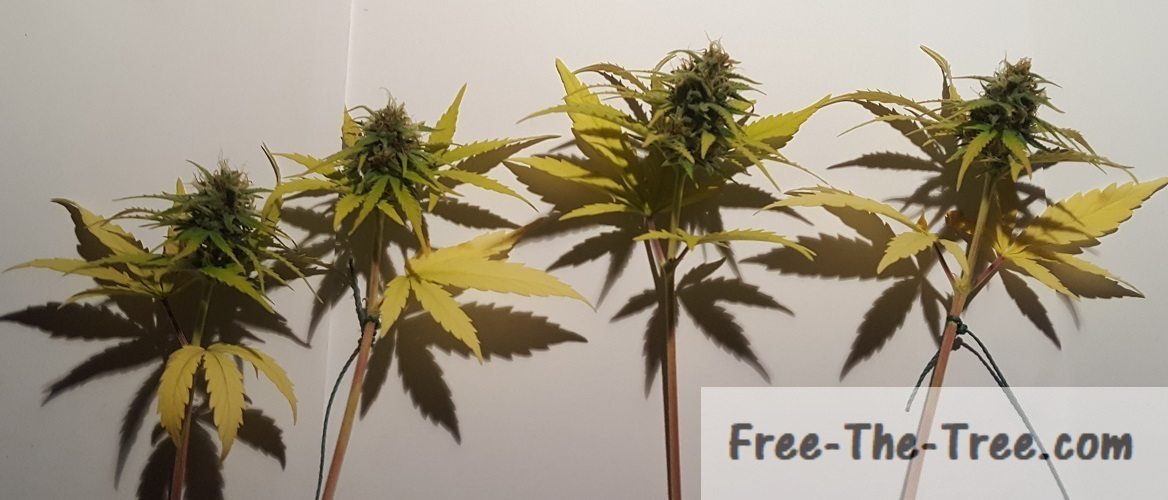
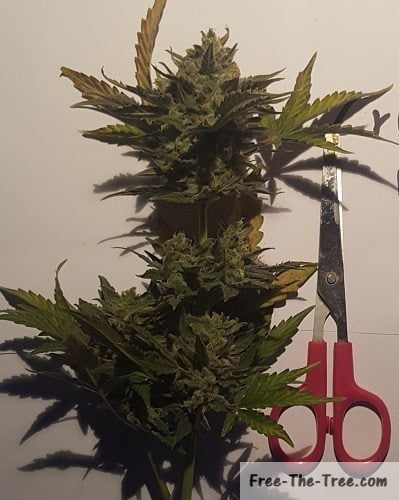
- Presentation of Critical+ 2.0 AutoFlowering