 Search for specific products and use our comparator
 Search for a ressource in our library
This plant was actually my first personal one, so the experience was full of learning, multiple mistakes were made, spent hours scouring the internet trying to find the answer to what was my issue, between forum threats and sites pushing their products, didn’t what to do.
That’s actually when I first thought of making a site regrouping all the info we’ve gathered through time and experience. Couple years down the road finally making it!
So let’s get started on these first weeks of the vegetative stage of this Big Buddha Cheese clone.
In this post we will cover :
Getting the cutting into soil
However you got your cutting going, your going to have to get her in a new pot.
I didn’t take any pictures at this moment, but for you to see what to expect I’ve gathered a couple pictures out there.
Now if you don’t have this many roots no worries! mine had just a couple and finished just fine 😉
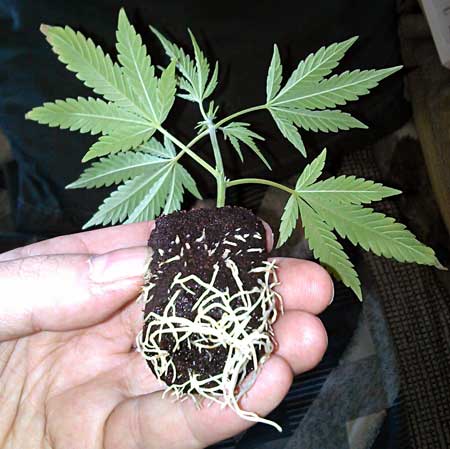
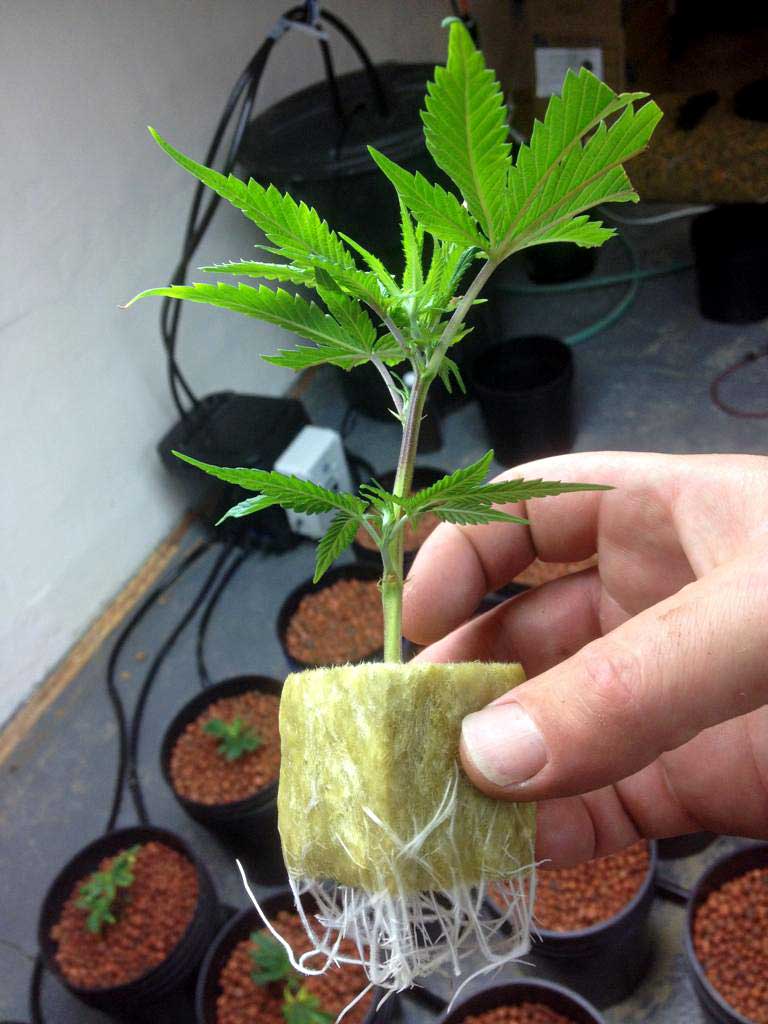
image credits to Grow Weed Easy
If you’re looking to get a friend to give you a cutting to get started, or you’re trying to clone one yourself, here’s a good guide to Cloning in 10 steps.
So let’s get the main part of the section, now that the our roots are going let’s get them into soil for the branch to finish her transition to a plant
How place Marijuana cuttings into soil
- Prepare your soil by making a whole to the depth and width your roots or cube.
- Place your Cannabis cutting into the whole you’ve prepared.
- Fill in the gaps with soil if needed.
- Prepare a water mix with a Ph around 6.5.
- Water the soil favouring the outsides. You want the roots to start conquering the new soil, best way to do so is have more humidity there.
- Let her do her thing.
Now that you know how to plant your cannabis cutting, let’s get back to the evolution of this Big Buddha Cheese
First days of the clone
The initial plan was to have about 4 plants, unfortunately 3 out of the 4 didn’t take.. I decided pretty quickly that this would be the opportunity to go for a SCROG, but I’m getting ahead of myself here.
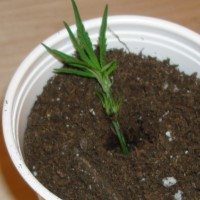
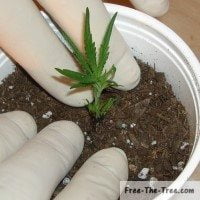
Here’s a couple pics between day 0 and days 4 after potting the cuttings into the soil. She took real well and just started growing 🙂
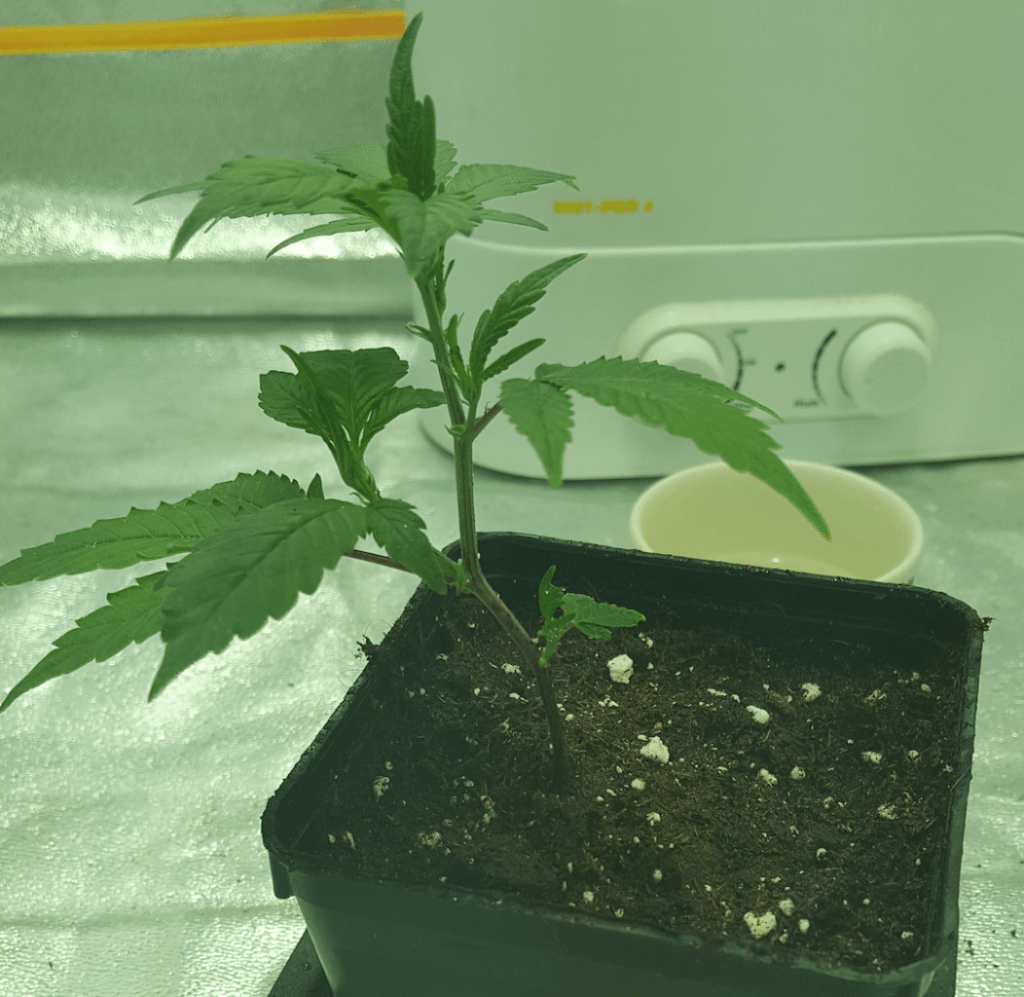
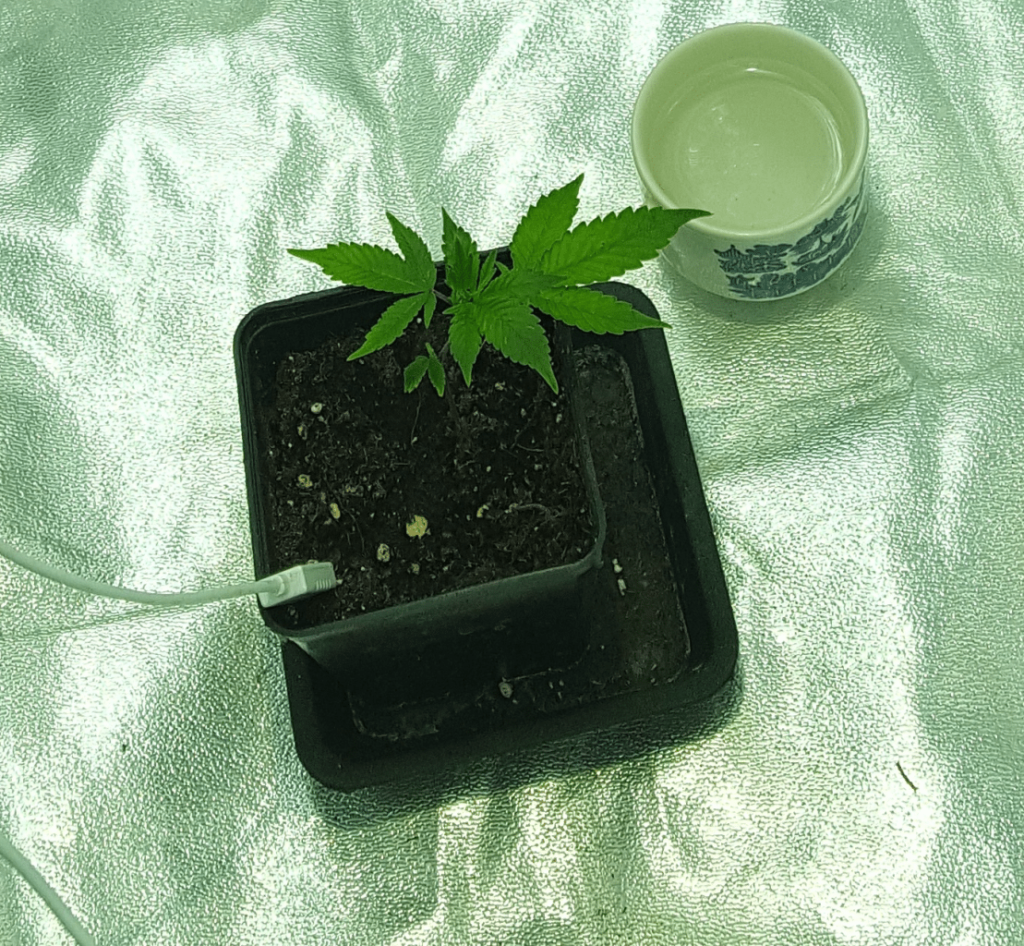
You can see on the left image that she’s already go 1 good branch already going on the side.
This picture is actually about day 3/4 so she had already started growing, but pretty cool for this scrog testing
We’ve also got 3 nice leafs for her to produce energy, new leafs growing and 2 or 3 branches starting to grow. All good signs for a nice big plant.
Make sur you keep the Ph around 6.5 during this time period, this will allow the plant to get all the nutrients she’ll need for her gwoth
My mix was simple, mainly composed of root booster and a little Nitrogen.
The early Vegetative stage
This plan got pretty big pretty quickly which is awesome. Before getting into it here’s a couple picture of her at this stage
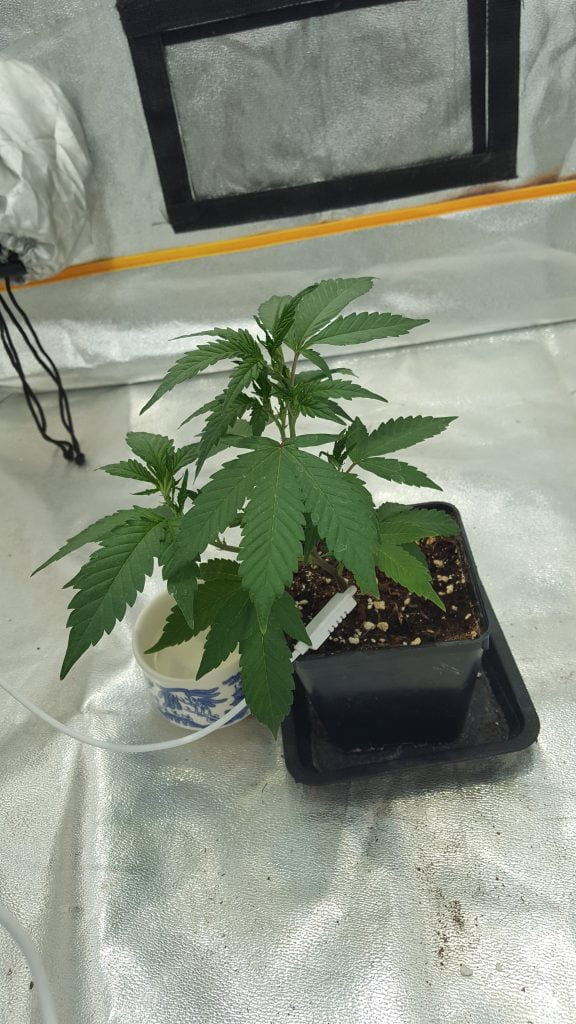
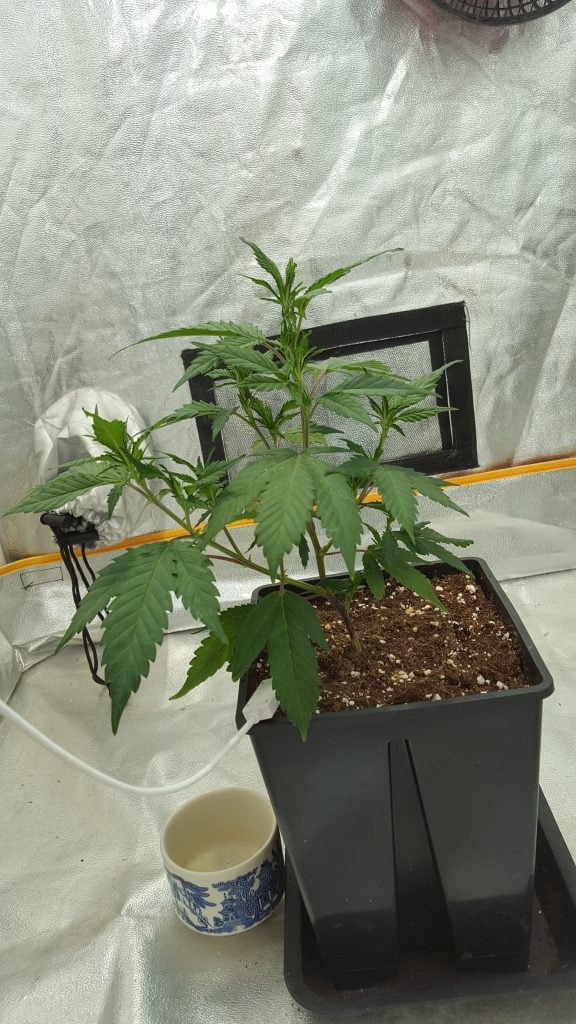
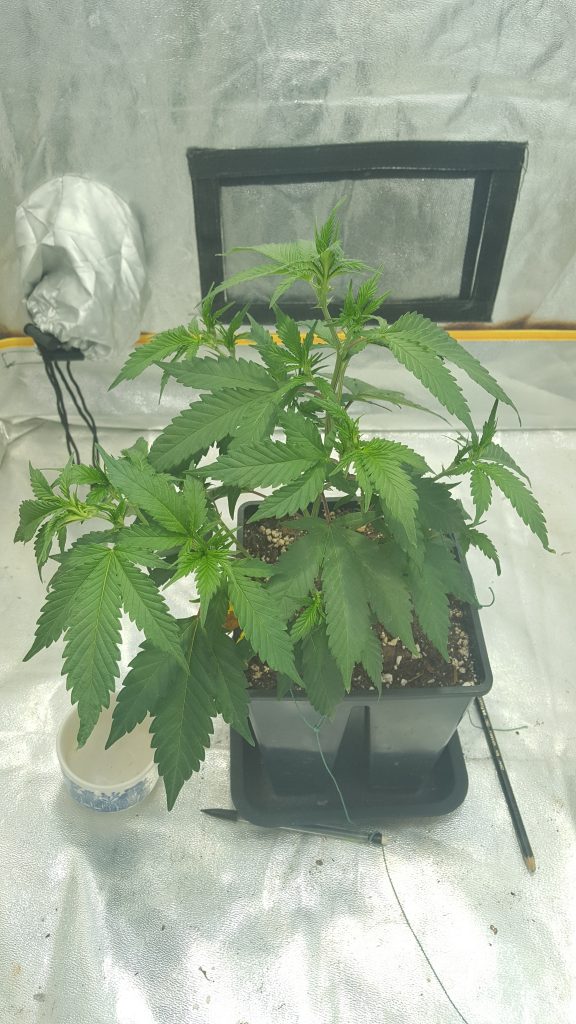
You can see that during these first couple weeks those first branches, we talked about earlier, started to stretch out and get pretty big, developing their own leaf mass allowing the to produce more energy. Perfect.
In length the left one’s actually almost as long as the Apex, pretty nets!
By the time we got to the third picture I should of starting cutting branches more intensively. I had my main one’s to keep and just let her produce more and more branches.
She got all over the place pretty quickly. meaning the energy is spread out producing a bunch of little branches instead of focusing on a few strong one.
Even when going for a SCROG you want to choose the branches that you will use to invade the screen.
Looking back these first couple of weeks were pretty chill, I tested different types of dosages of nutrients for the plant, and that where it starting going sideways.
It started with nitrogen deficiencies, then nutrient burn… tell you all about it in the next post on of our Big Buddha Cheese series!
Until then, be safe and grow easy