 Search for specific products and use our comparator
 Search for a ressource in our library
Hey there, welcome back to another edition of the Big Buddha Cheese series!
On this post we’re going to go over:
Being my first I was really exited at each new stage of this plant, and really just reading all over the place to try and find answers to all my questions.
So let’s get started
The vegetative stage of Big Buddha Cheese
As we say in the previous post we had just gotten out of Nitrogen deficiencies and Nutrient burn, so needless to say we we’re being veeeery careful on nutrient levels.
Basically our mix was of about 5ml of vegetative grow for every 2L of water, given every other watering. She seemed to react pretty good to this so we kept it going.
If you’re looking for tips on watering you’re marijuana plant check out our article right here
She was also growing a large number of new branches and leafs, I made the mistake here to let them all grow, when really I should of cut down the leaf and branch mass.
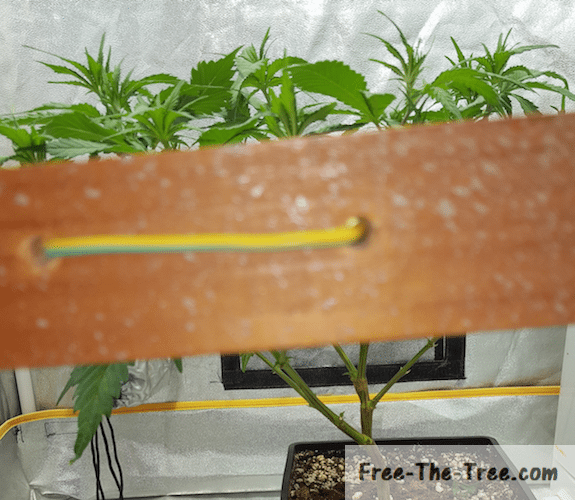
This is what she looked like at this stage
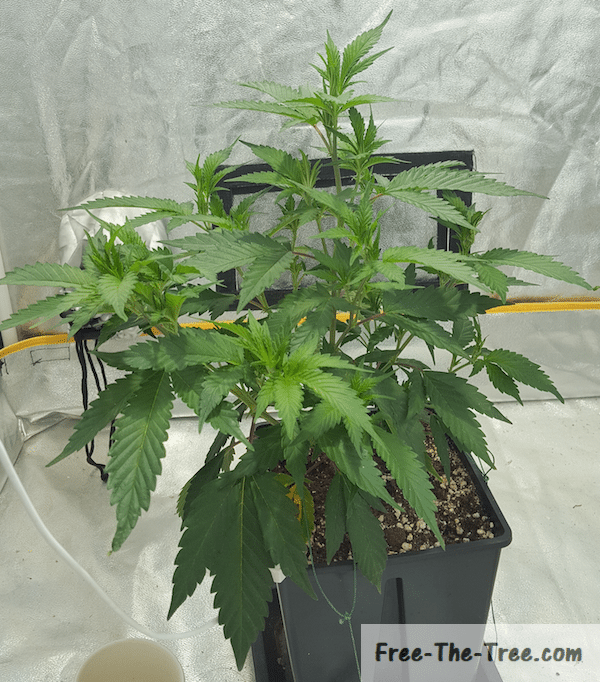
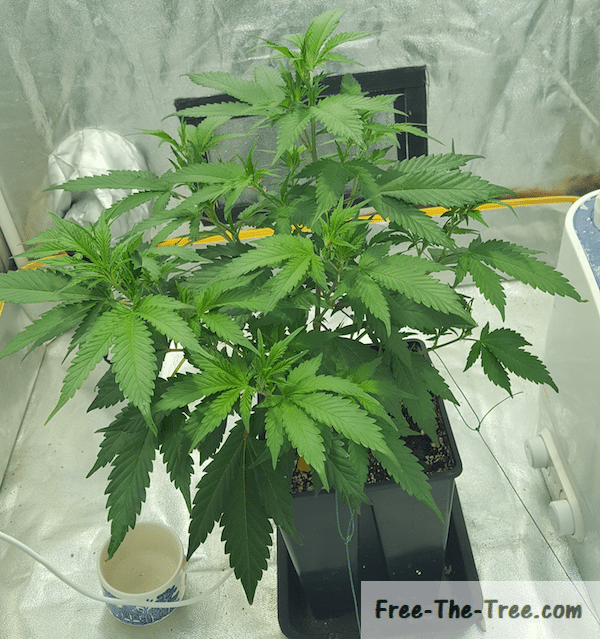
In the left picture she’s 20 days into the vegetative stage, the one on the right is 2 days later.
You can see that we’ve chosen a couple branches and that we’re pulling them with string to the side. The objective for this was to get them growing laterally so that they would get direct access to light.
The second idea behind it is to have multiple branches “invading” the screen during the next steps. This actually worked out pretty well!
Once you have chosen your branches, don’t hesitate to cut unwanted starts once in a while.
I should have also gone for a big trim here, cutting of all branches and leafs that are useless so that she could focus on the growth of the rest.
At this point, we decided that the next day was the day to install the screen (drumroll)
Installing the Screen Of Green
So we did this over 4 days.
On day 1 we installed the screen and starting pulling the branches towards the whole we wanted them to go to. Each day we would lower the screen a little bit, that way we would gain space to start weaving her, without stressing her out too much, I call the “the acclimatation phase”
By day 4 they had reached high enough for us to start weaving the branches on the screen, let the invasion begin!
If you want more info on installing a scrog, check out our tutorial over here
Here’s how it went step by step:
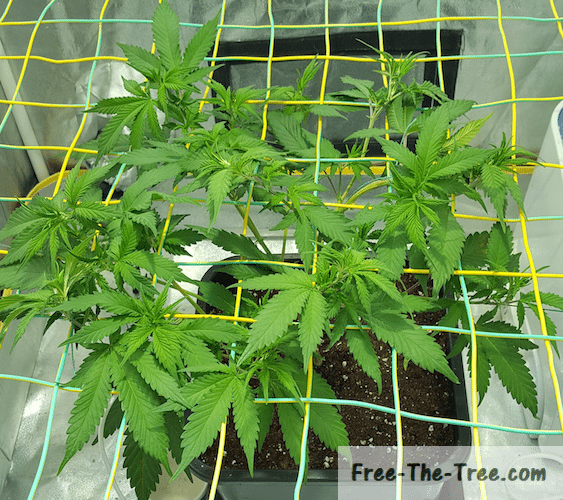
day 1 : Installing the screen
At this point all we did was get the screen in and slide it down at her level.
Now I strongly advise installing the screen high up and slide it down slowly. If it falls you might just brake your plant.
After getting it at the Apex’s level we got some of those top leaves laying on the screen so that they would get as much light as possible, but also so that she started getting used to the screen.
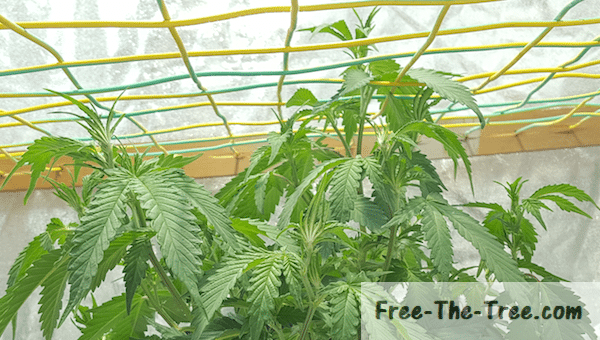
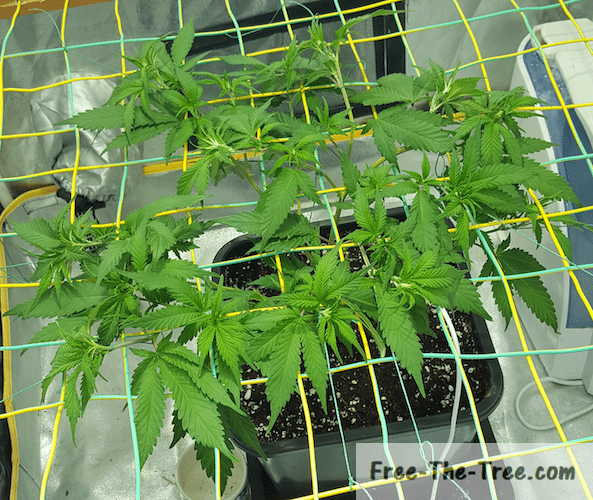
day 2 : Branches going through the screen
By the end of the second day we we’re pleased to see that the branches had grown and started passing through the screen.
In order to take a little more advantage of the previous growth we also brought down the screen a little, which went pretty well. As you can see we also started bending the Apex over the first screen
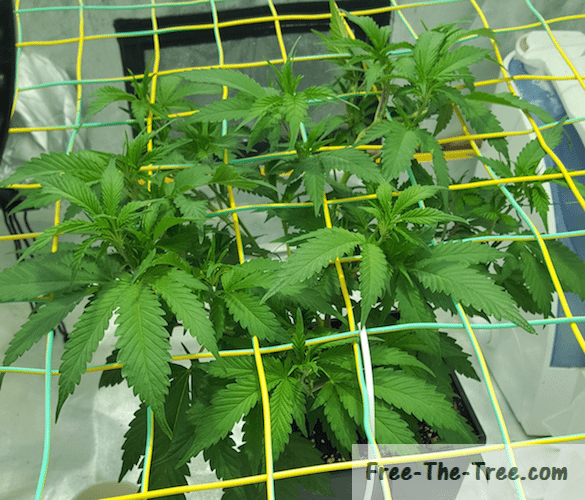
day 4 : Weaving the branches onto the screen
As you can see by the 4th day after installing the screen, the branches had well passed over the level of the net, meaning it’s time for the first session of weaving :).
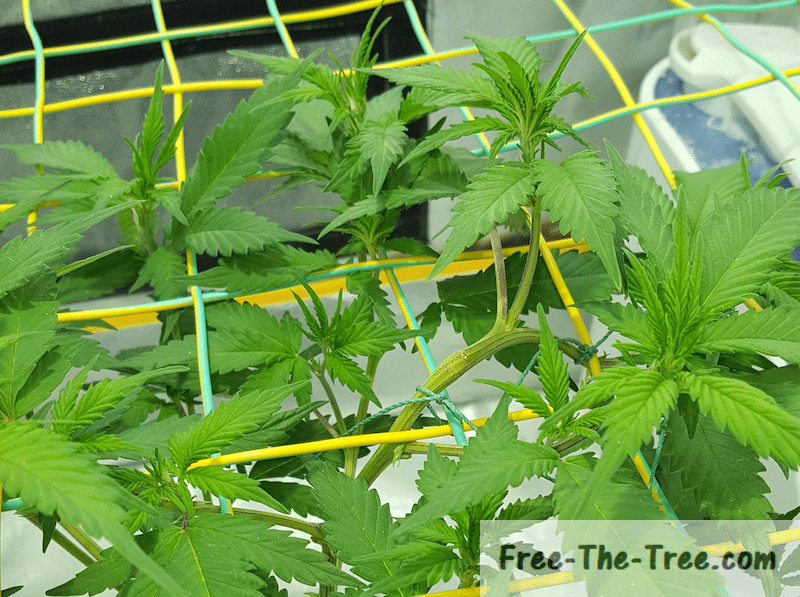
Here’s how to weave a marijuana plant for a scrog in image:
How to weave your branches for your SCROG
- Identify the direction you want each branch to go in. This planning step is important, you want to make sure that each branch has at least one free space to its left, and one to its right
- Bend the top of the branch over the first line and under the next one.
Don’t hesitate to tie down the branch onto the netting so that it holds.
In the first image on the side here you can see how we tied the apex on both nettings in order to pass her under and over the screen. - Cut any leafs making shade to a spot where a branch could come out. You should also cut the branches that are to close to each other. At each not you should have tops 1 branch growing vertically.
- Take a string, on one end tie it around the top of your branch and the other tie it in the direction where you want you plant to go on the screen. Don’t hesitate to pull well on her she can take it.
You can see on the last image of the set how each branch is weaving over and under the screen, as well as the green string pulling them in the direction we want her to go.
Thanks to this technique, with just one plant you can actually fill up a whole grow room! the only thing is that you’ll keep her in a longer vegetative stage.
That’s all for this one guys! On the next article we’ll go over her invasion on the screen, it got pretty dense hehe
Until then, be safe and grow easy