Search for specific products and use our comparator
 Search for a ressource in our library


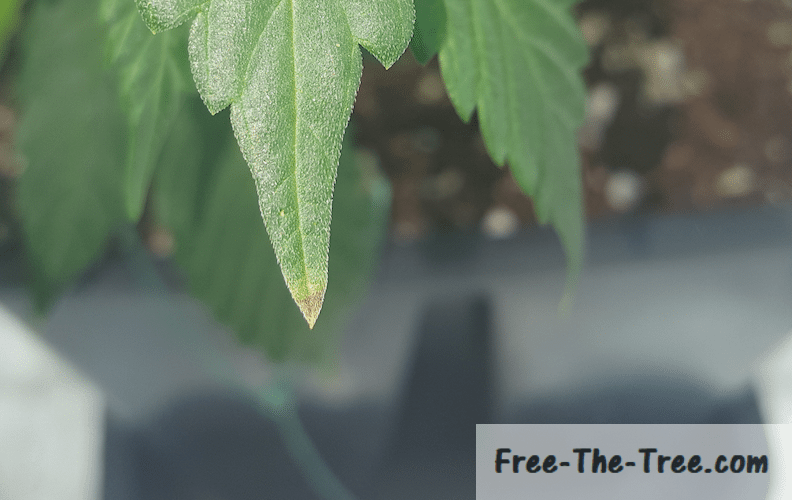
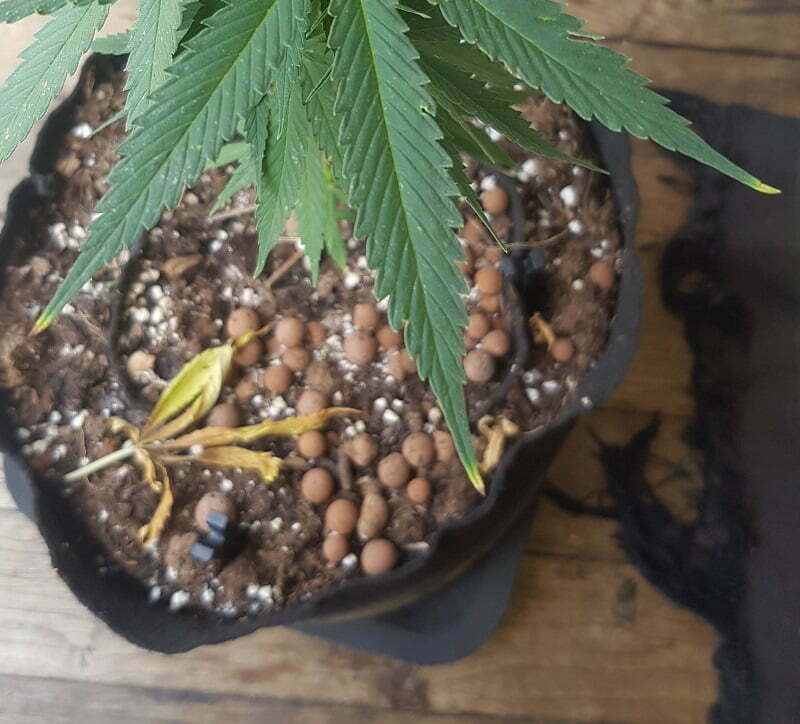
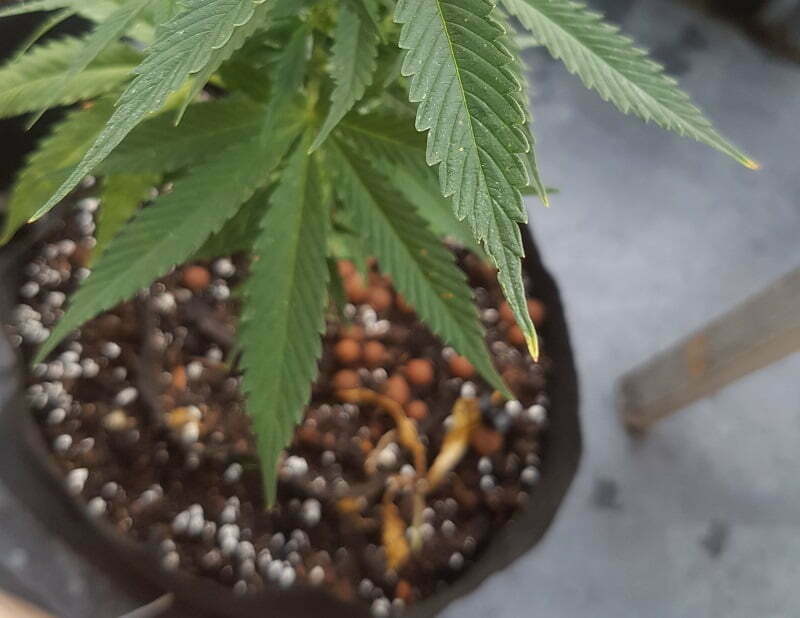
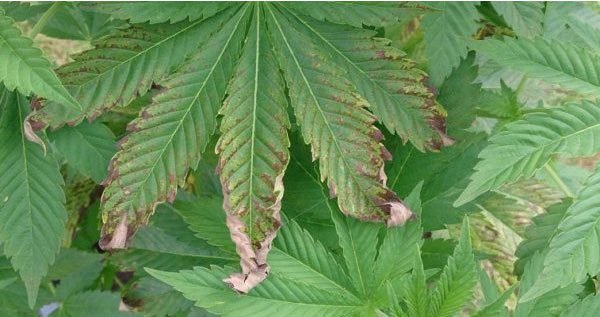
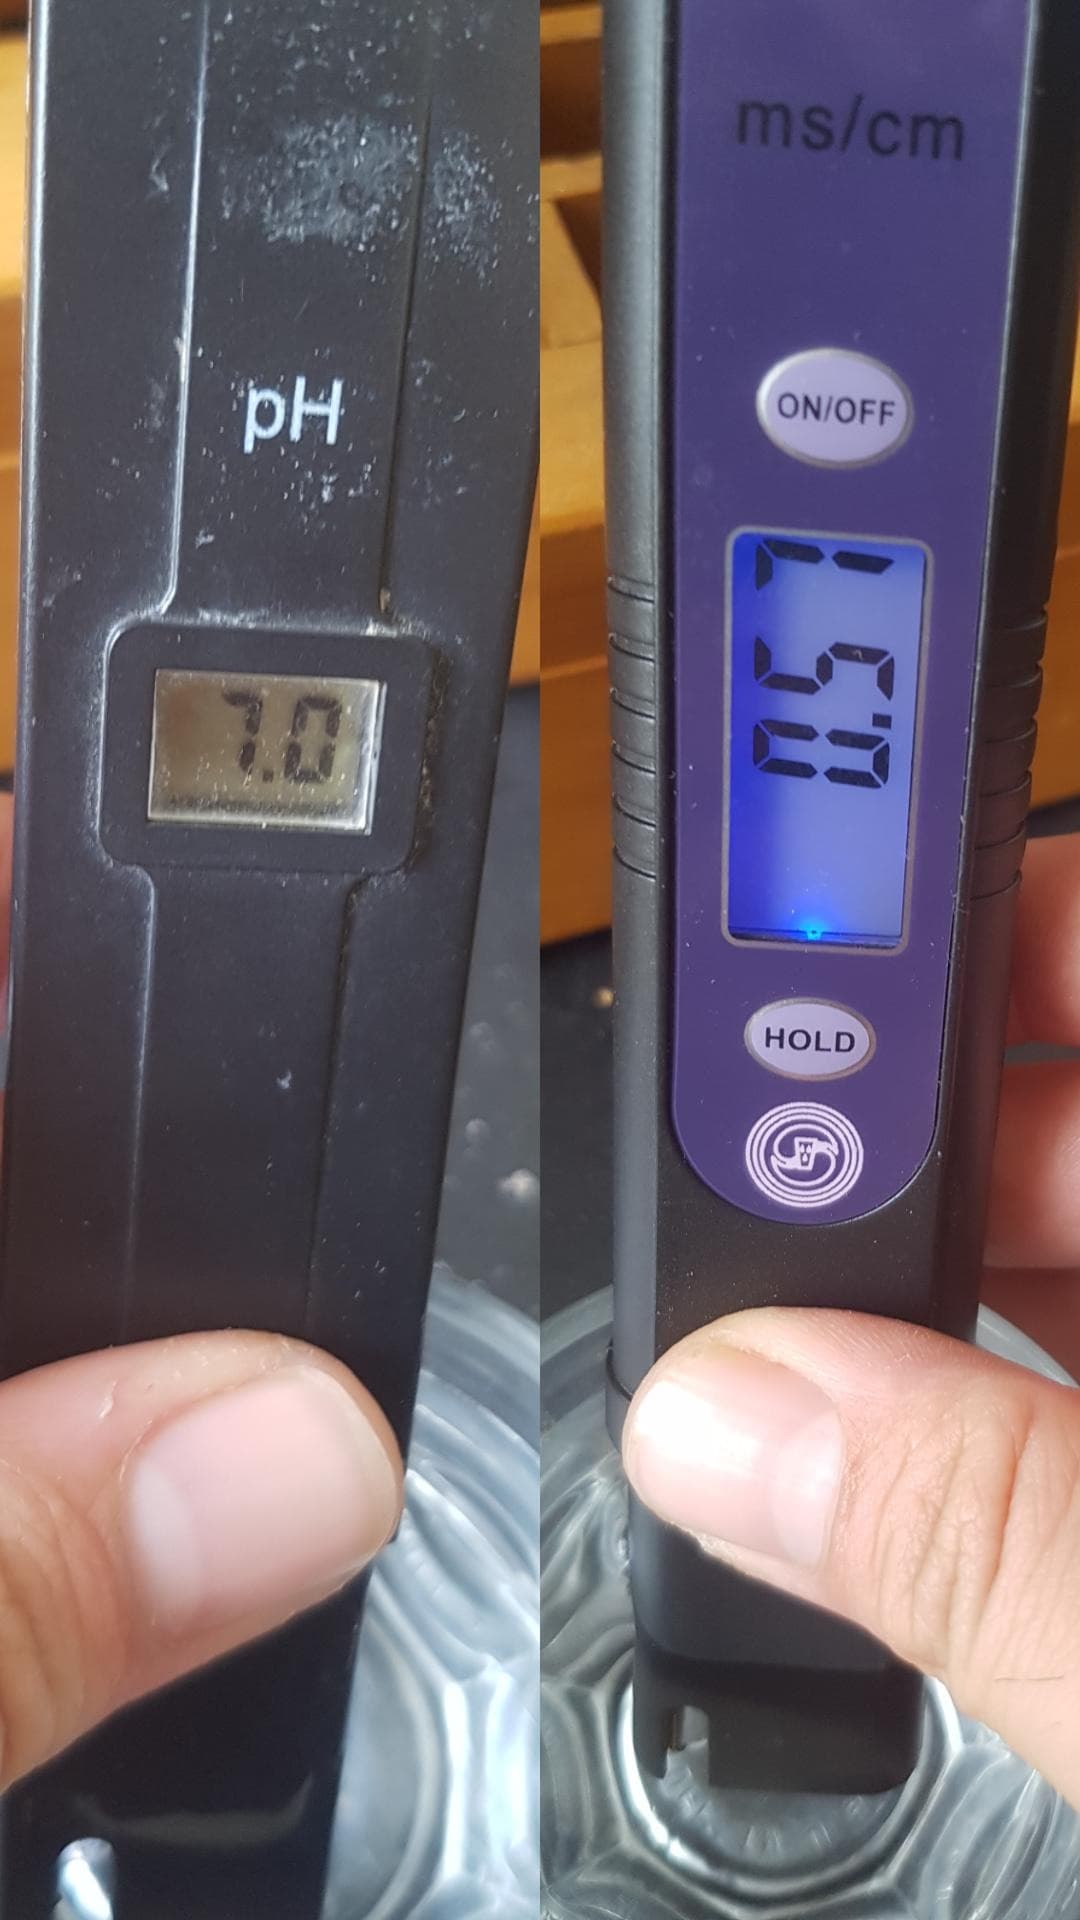
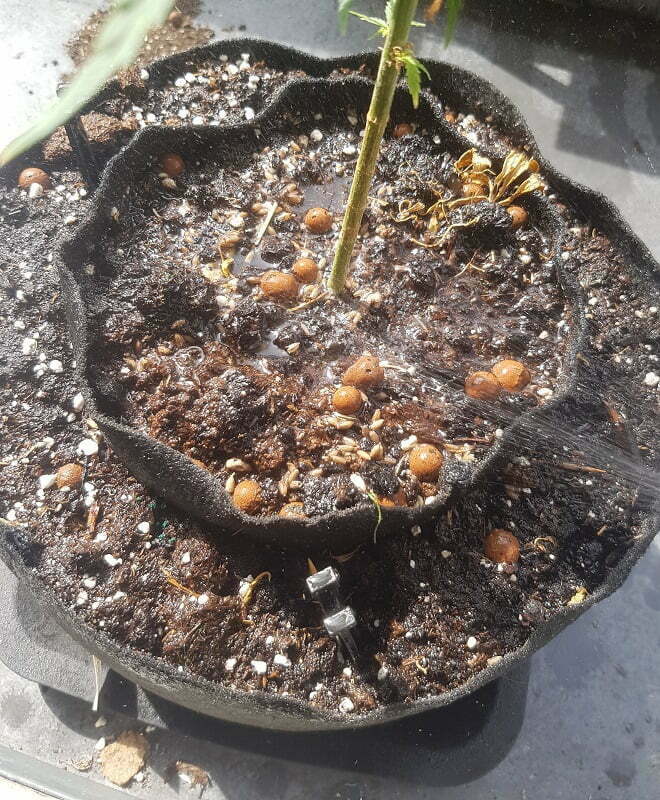
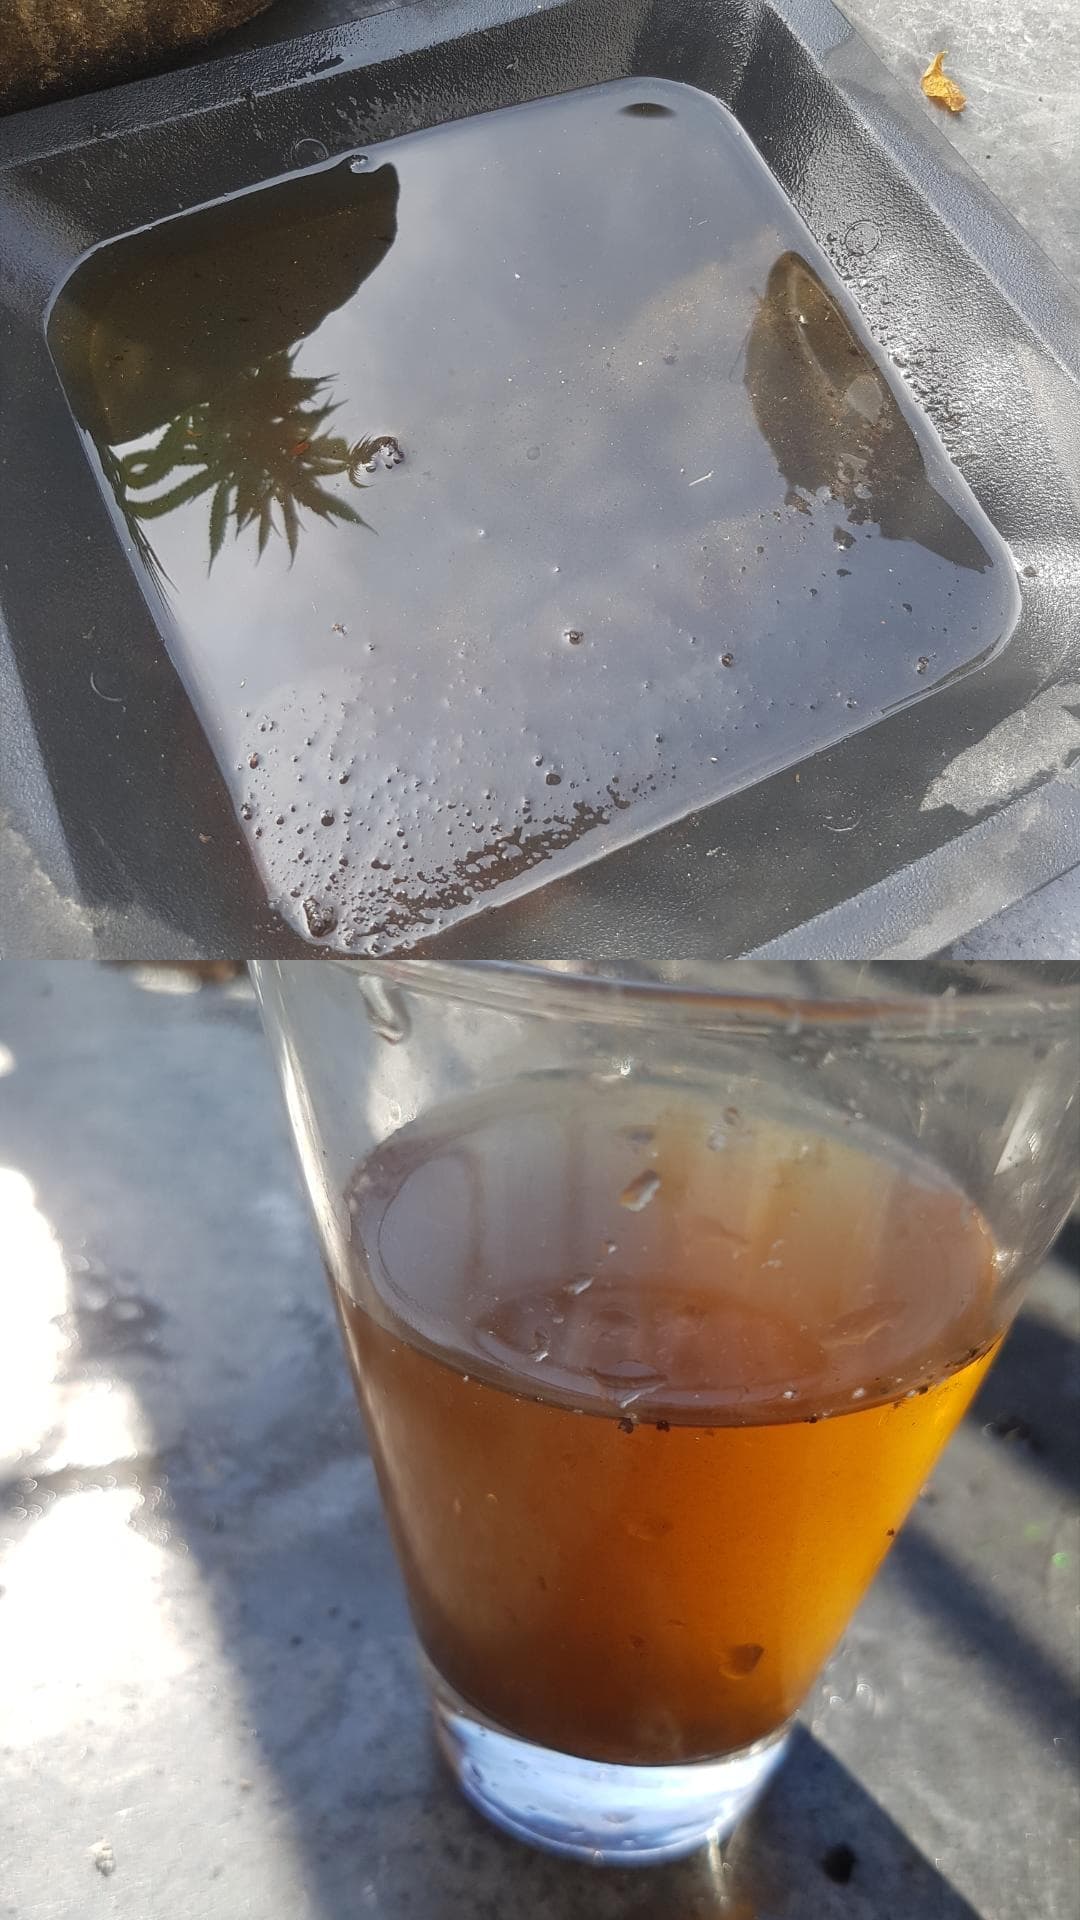
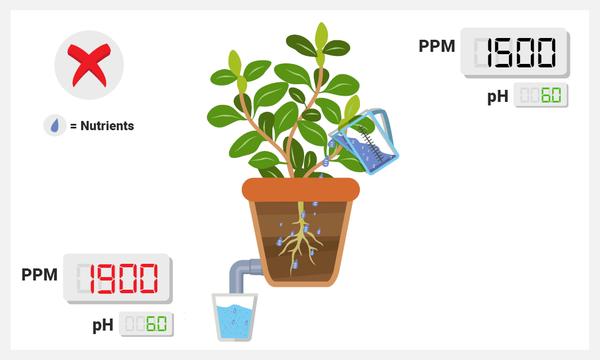
What is nutrient burn?
Nutrient burn, also known as Overfeeding, occurs when too many salts (nutrients) are present within the soil. This can happen if there is too much decaying matter, or when the grower has added too much nutrients within the soil.