How to transplant your Marijuana plant?
6 easy steps to transplant your cannabis
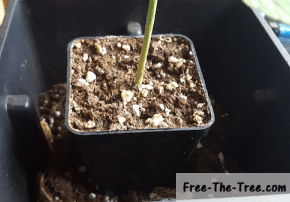
- Get soil into your new pot
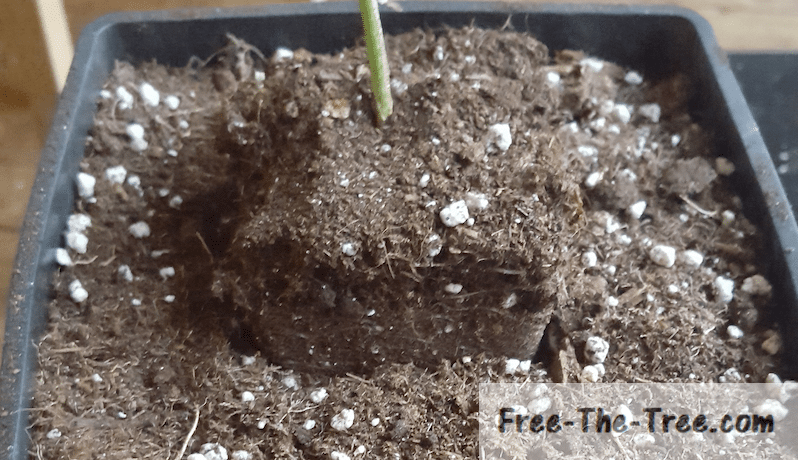
- Once you’ve gotten to the hight of your old pots, take one of them in order to make enough room in the soil for your plant. Using an old pot will make sure there’s juuuust enough room for her 🙂
- Tap with your nails along the sides of the pot, on all 4 sides and all levels. This will get the roots loose in case they’re stuck to the pot.
- Turn the plant up side down and tap on the bottom of the pot. It should come pretty easily, but don’t hesitate to tap multiple times on it. If your plant really doesn’t slide, just go back to step 2.
- Place the roots into the space you’ve made in the new pot.
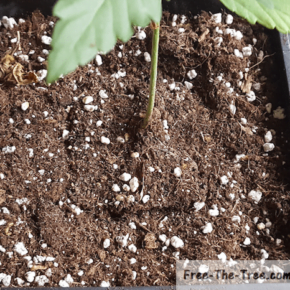
- Place an extra layer of soil on top of it all. This will get it all together + getting soil around the stem will increase her stability, and enable her to grow roots at that level
It’s important to note that the best time to transplant is between 2 waterings, when the soil isn’t too humid, but not all dried up either.
After transplanting your plant water the new soil so that the roots invade the new area. Furthermore, expect her to show a little stress signs, after which she’ll show you love 😉 Here’s the steps accompanied with some pictures so that you can see what to expect.
Now that we have the overview, let’s go into each step
Step 3: Getting your plant out of the current pot
In order to get your plant out of the current pot, you’re going to want to:
- Tap the sides of the pot, this will allow any roots that are stuck to get unstuck
- Turn your pot upside down
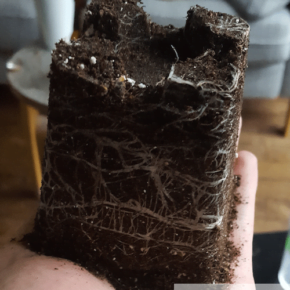
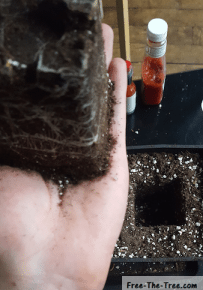
- Tap on the bottom of the pot. You might need to tap on it a couple times for the soil to loosen, but you should feel it loosen little by little. Full disclosure, on this one I tapped pretty hard to get her out of the pot, hope the stress won’t be too intense
- Once you feel the soil in your hand, get the pot off
Step 4: Place your plant into the whole you’ve prepared
Again this one is pretty straight forward, place your previous soil into the whole.
It may not totally fit, if this is the case, pick up the pot a couple inches off the ground and drop it softly; repeat this step until you the soil is pretty flat.
Step 5: Cover up the soil
Add a layer of soil on top of it all. Getting the bottom of the stem into soil will get her to produce roots at that level, making her more stable on rooted into her new home 🙂 This is especially good to do if you’ve had balance issues in the previous stages of the plants life
Step 6: Water the soil
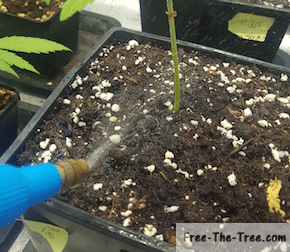
Once you’ve got your plants in your new pot and it’s back to into the grow house you want to water your plants. Now make sure you focus on the exterior part of the plant soil where there are no roots for this first watering. This will force your roots to invade the new soil quickly.
You might need to make wholes on each corner of the soil in order to help the water enter the medium. Since you just transplanted you can make wholes safely in the new soil so don’t hesitate.
And there you go! Your plants got a new home ready to grow in. You may see some signs of stress during the next day or two but don’t worry, she’ll be loving it soon enough. And remember, the first few watering focus on that new soil to give incentive to conquer that area. Adding a little root booster at this time is also a plus.


