The process of curing starts as soon as you are ready to cut down the plants. The first steps of drying the buds should take anywhere from 5-7 days depending on the level of humidity present. The outside of the bud should feel somewhat dry to the touch before they are trimmed but not completely brittle. Follow these steps for the best drying and curing cannabis.
Preparation for Curing Weed – Proper Drying and Trimming
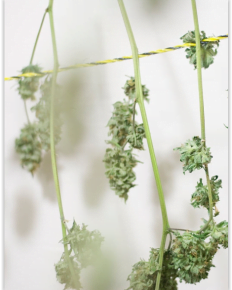
After the plant is cut down it must be hung it upside down in a drying room. Choose drying the whole plant or separate branches depending on the time you have and the level of humidity. If your room is far from being dry and you need the weed to be dried a bit faster, you would cut the plant into smaller portions and dry them with a drying rack.
Fan will also help, the main rule is not to put hot airflow directly on the buds otherwise, some parts will dry too fast while our goal is to provide a slow and uniform process. After hanging the plants check their level of dryness daily.
- Around day 5 or 5+ the cannabis buds feel dry on the outside (if it happens faster than 5 days you dry the weed too fast), take them down, and remove all possible stalks and sticks. If the smaller buds pop off easily, it means your drying goes properly.
- Trim off the bigger fan leaves from the stalks.
- Trim buds so little leafy parts are removed and only buds remain. Don’t throw away trimmed off parts, they are a good fit making marijuana edibles (e.g. butter), or extracts.
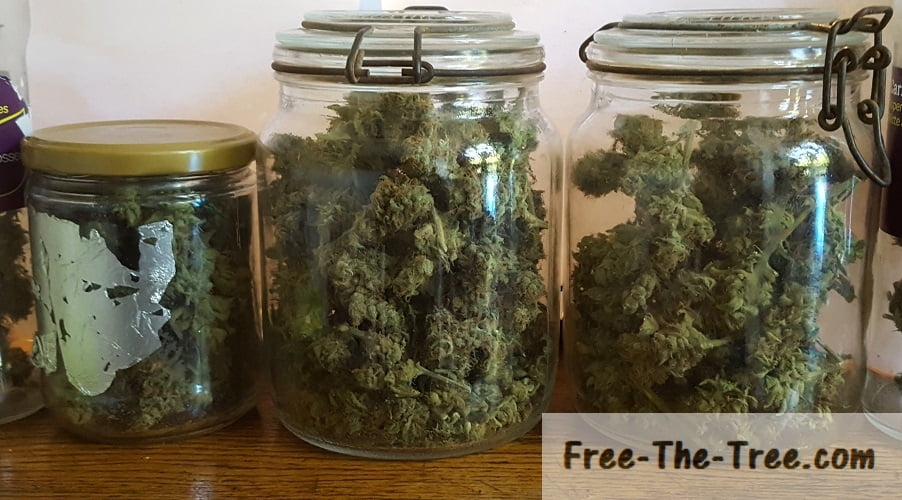
- Now let’s jar the plants. The humidity of the jar must be between 60-65%, and when the buds go into the container temperature in the room should be 70°. Wide mouth mason jars of 32oz are the best containers: they should hold around 1oz of weed. Fill the glass jar 3/4 full so there is still some air at the top. How to cure weed if the buds are sticking together: just shake the jar gently to keep them apart and to circulate air, so the moist air evaporates completely.


