How to Set Up an Indoor Growing Tent
4 Simple Steps to install your grow room
Hey there, hope all is good 🙂 In today’s article we’re going to go over some quick steps to show you how to set up your indoor growing tent!
There’s a couple tricky parts that you wouldn’t really anticipate, which is actually why we’re writing this piece.
Indoor Growing Tent Set Up Guide - Table of content

Contribute to our knowledge base
Submit articles, videos or tips to enrich our library
Make a contribution
How to set up your Indoor Growing Tent
So let’s get into why you’re here for, easy steps to set up your indoor growing tent easily 🙂
Step 1 – Making the Bottom Frames
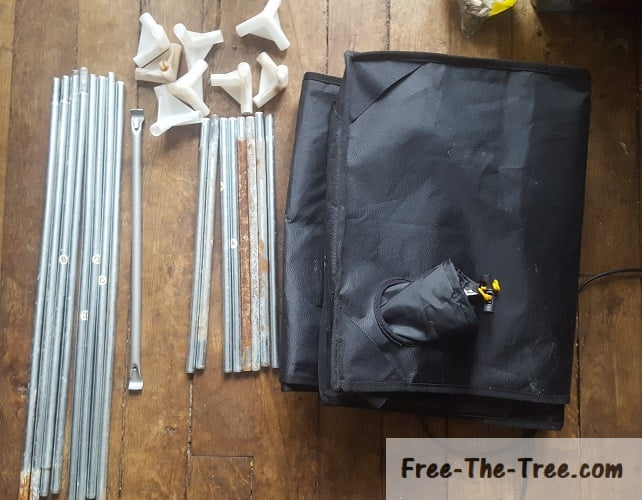
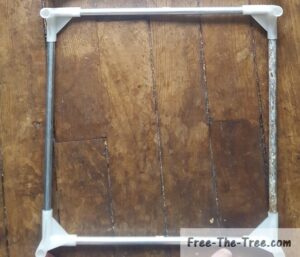
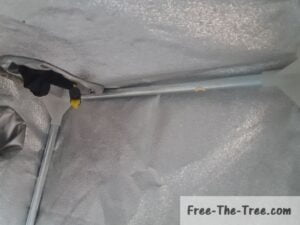
So the first thing you’re going to want to do is connect 4 of the 8 aluminium tubes that will compose the bottom frames.
You can identify them since they’re the only ones that have identical endings on both sides.
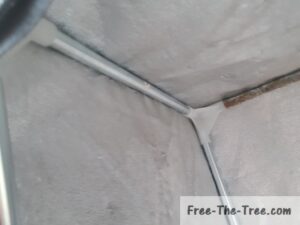
In order to make the base, place these aluminium tubes within the plastics corners that are provided.
Estimated time needed: 5 Minutes
Step 2 – Place the Base Into the Tent
Once your top and bottom sections are done, you’ll want to get one of them into the tent to form the base.
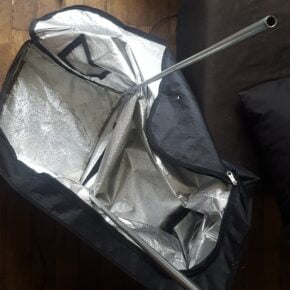
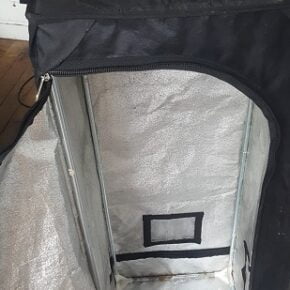
This is a pretty simple step, all you need to do in open the tent and place the aluminium square in there.
Once the base is in place you can start to place the vertical tubes, but don’t install them all yet!
Just install the ones in the back on the tent in the following way:
- Back left : Place both vertical tubes
- Back right: Place only 1 of the 2 tubes
Step 3 – Placing First Aluminium Bars in the tent
Place the plastic corner on top of the tube and and bring the tent over the corner. Repeat this with the back right corner
Once these 2 vertical tubes are installed, make sur the tent is over them and place a base tube between them in order make the connection.
Step 4 – Placing the Final Aluminium Bars in Top Frame
Now that the back section is in place we’re going to work our way forward.
You can start on either side and all you need to do is repeat the instructions of the previous, just make sure you connect the sides before the entrance bar (full disclosure, we haven’t fully place that last top bar)
Read up on light systems
Setting up your grow tent - Community contribution
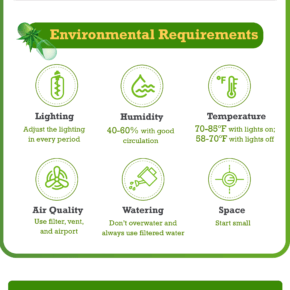
Here’s an infographic created for Free the Tree by Alan from the Weekend Gardener that gives you a step by step process to set up your grow room 🙂
Click on it to get the full version


Alright folks that all for this one! Hope it helped you out, and as always don’t hesitate to send us a message is you have remaining questions! 🙂
We will answer you directly and/or update the content for others
About the author
plant-lover
RELATED ARTICLES
Contribute to the shared knowledge base
Share your personal tips, experiences, videos to help the community
MAKE A CONTRIBUTION


